This article will cover how to create and send newsletters. Newsletters can be sent via email to all clients and blog subscribers, or to a select audience. They are a great way to promote your services, keep clients engaged and share announcements.
Tip
One of the best ways to write a newsletter is to first write it as a Blog post or article, then create your newsletter. Search engines target your blog, so this will help in your search rankings. BookingTimes allows you to insert summaries from your blog into your newsletter with only a few clicks.
Creating a newsletter
Steps
Navigate to Marketing > Send Newsletters
Click Create a Newsletter
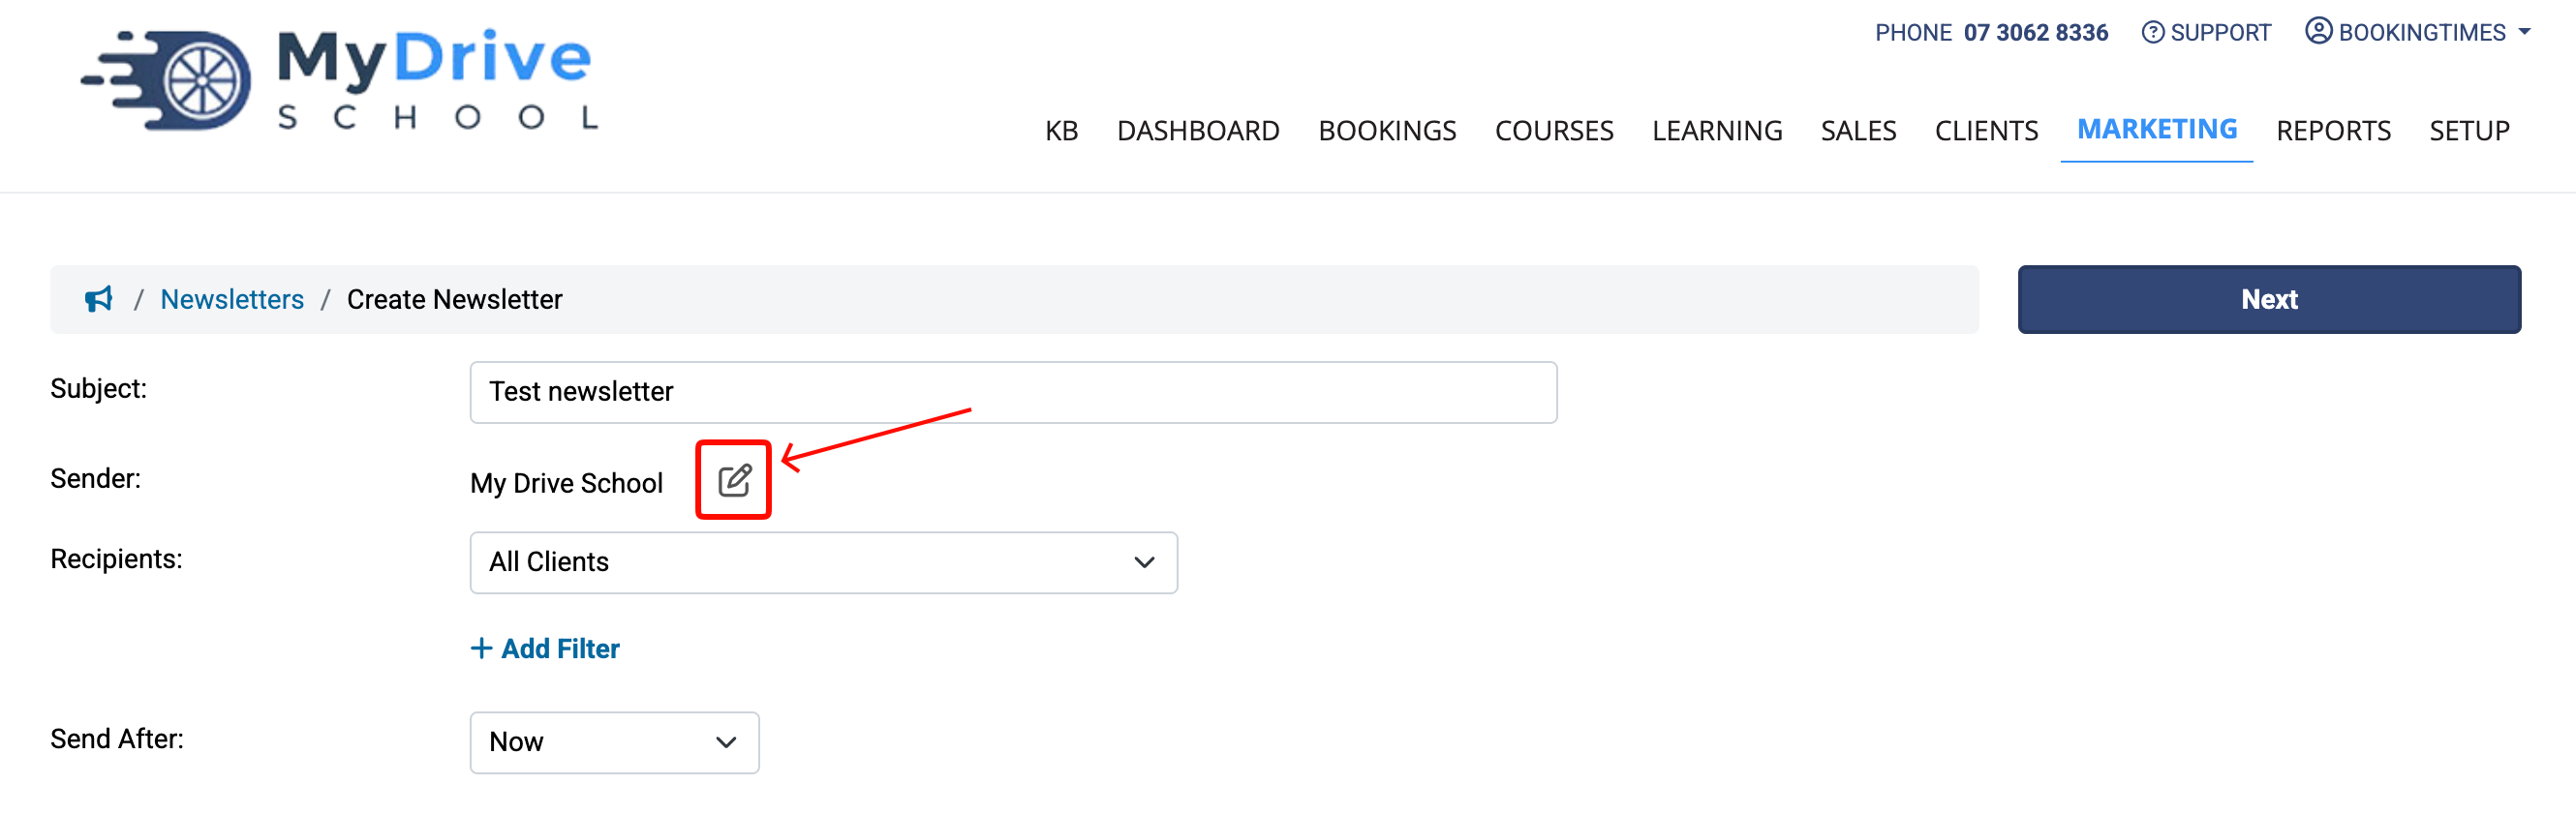
Enter a Subject for the newsletter
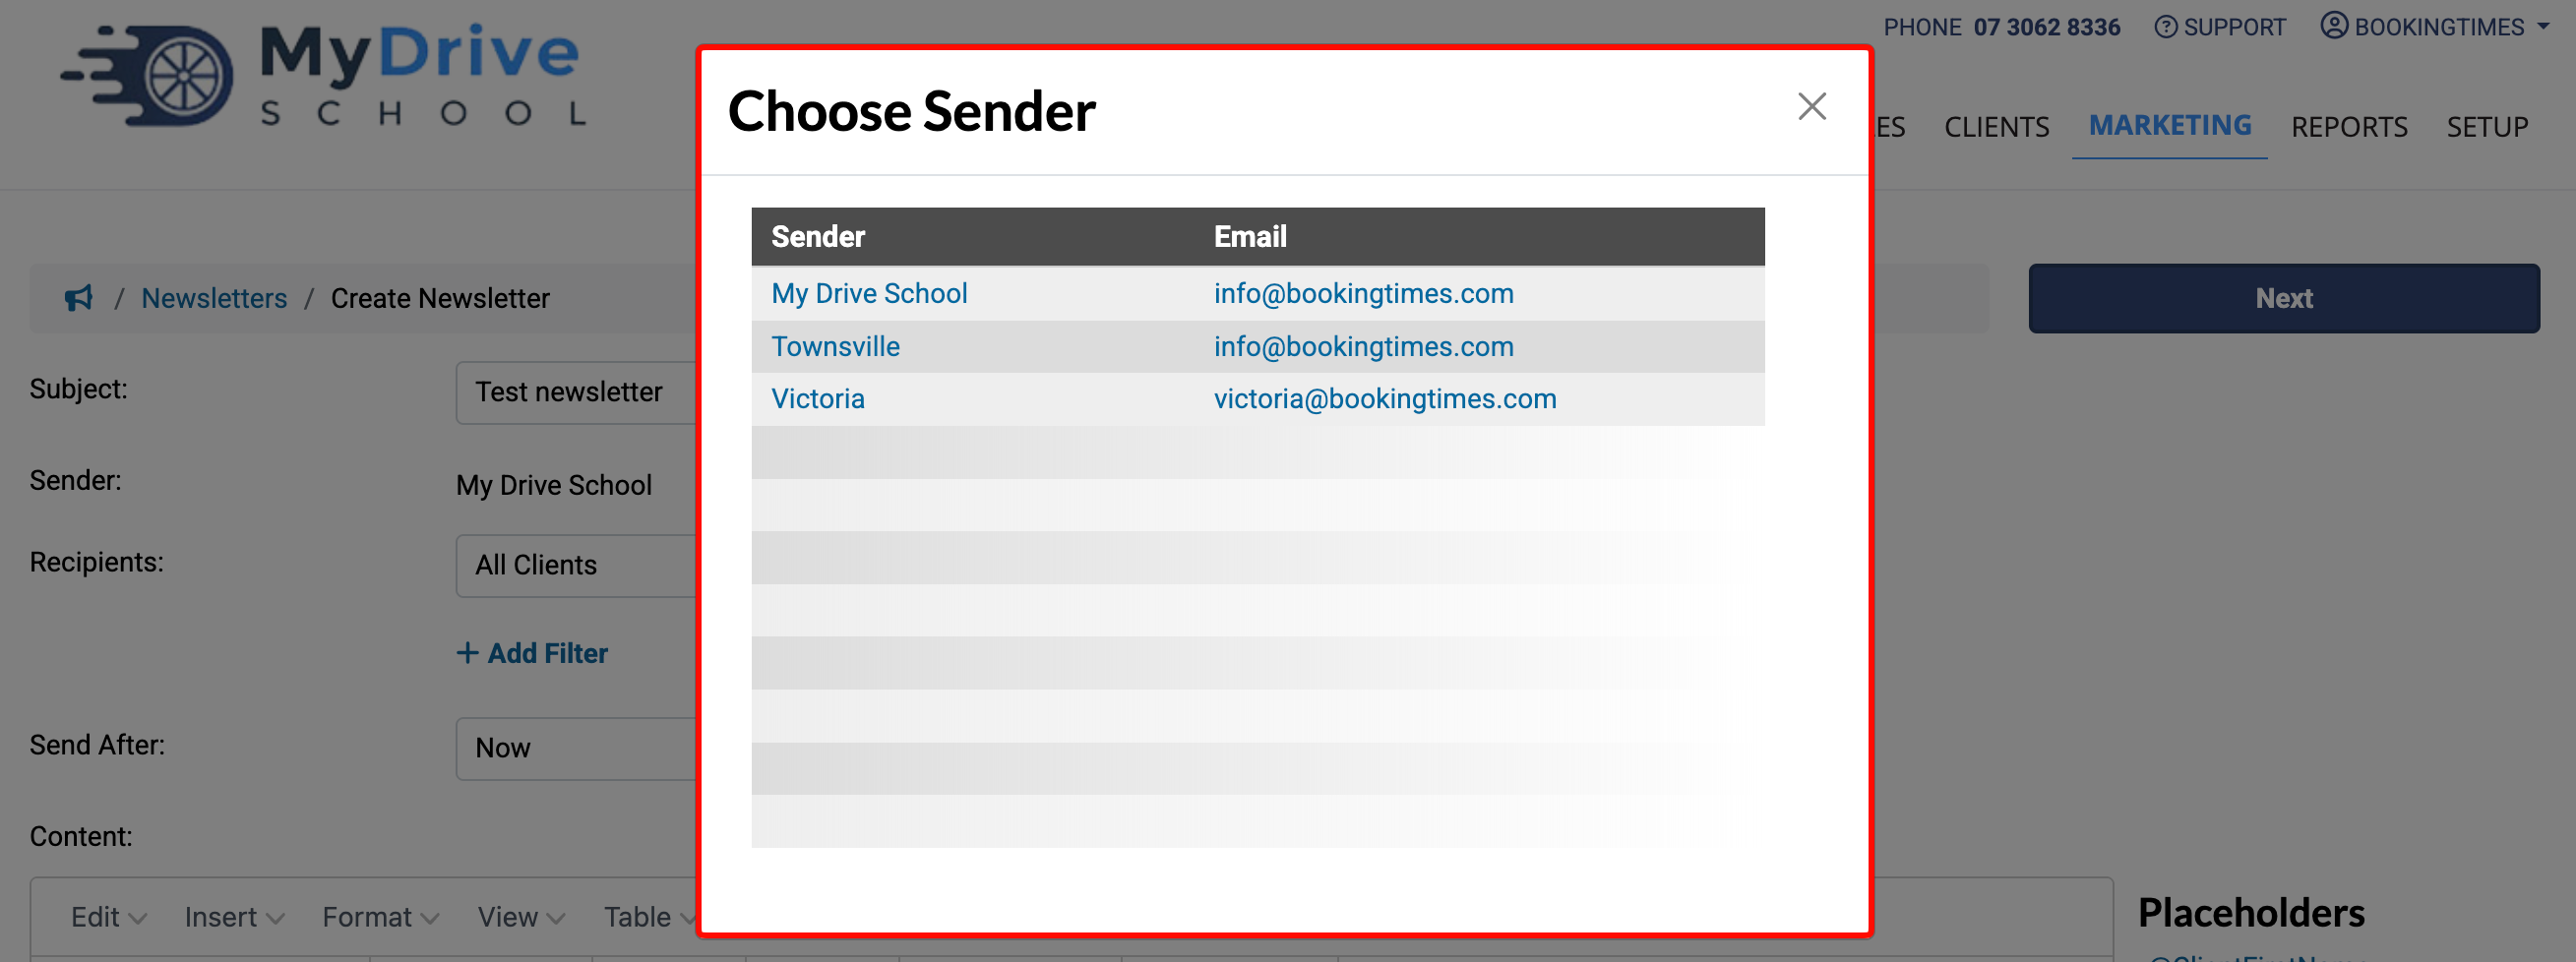
Choose a Sender by clicking the edit icon to select the newsletter author
Select Recipients from the drop down list
See the List of recipients section below to explain the list of available recipients
Click + Add Filter to choose any additional filters you wish to apply to the list of recipients
See the List of filters section below for more details
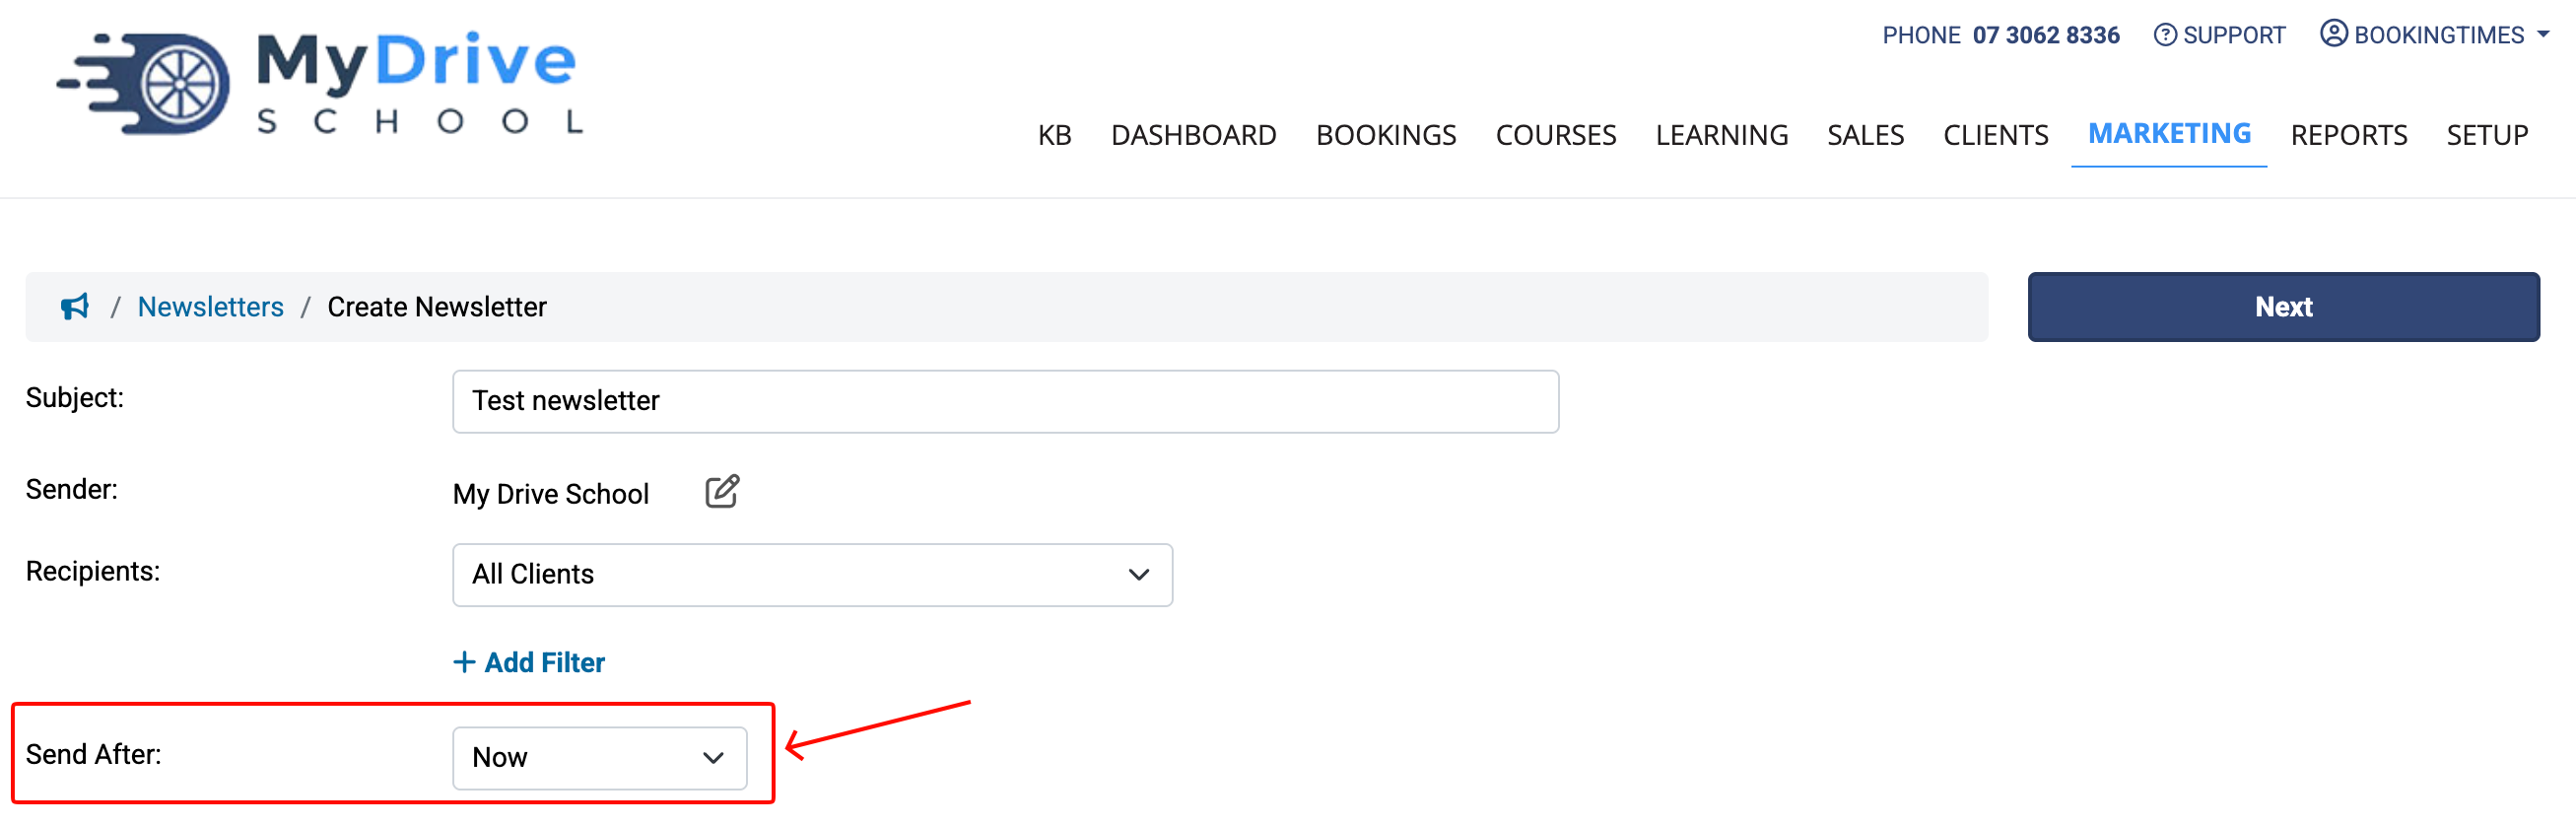
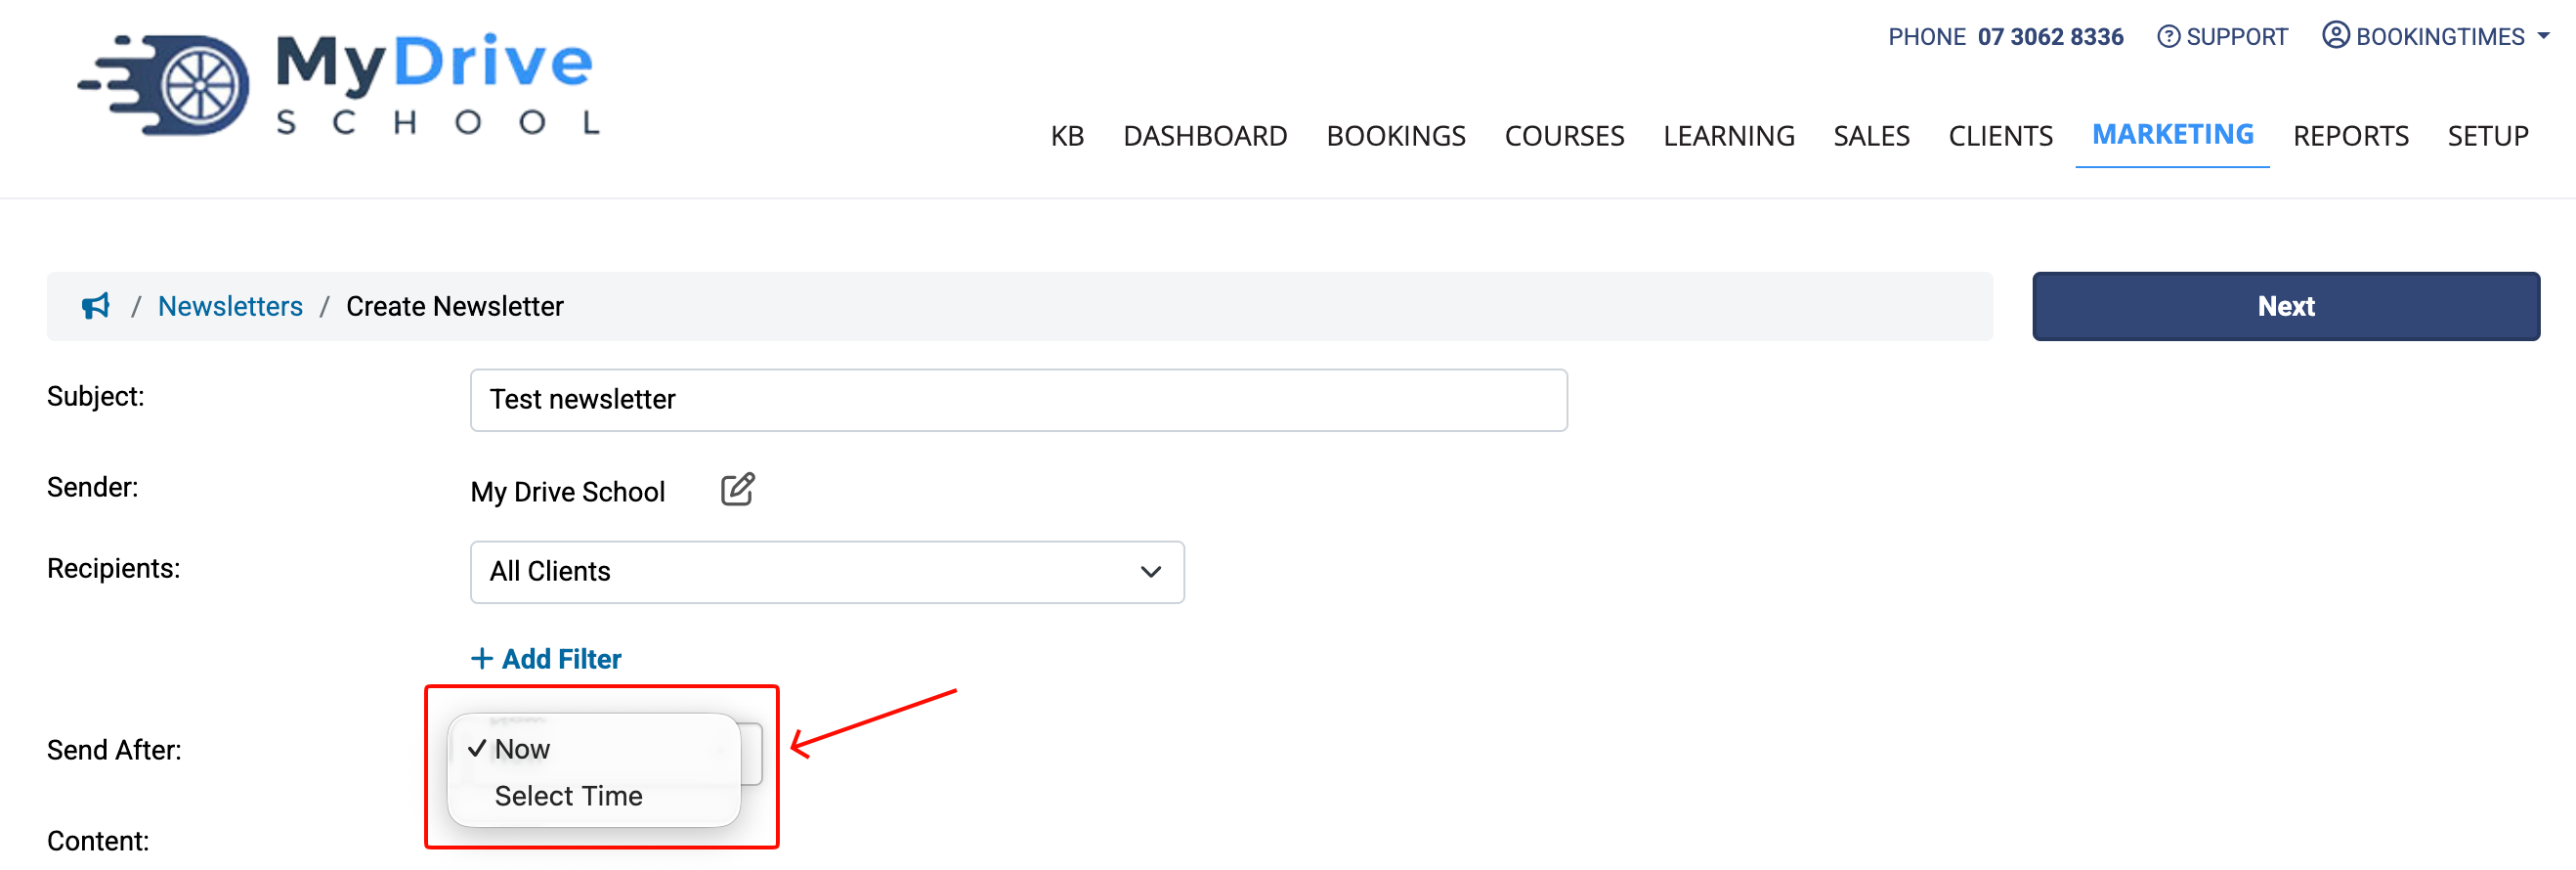
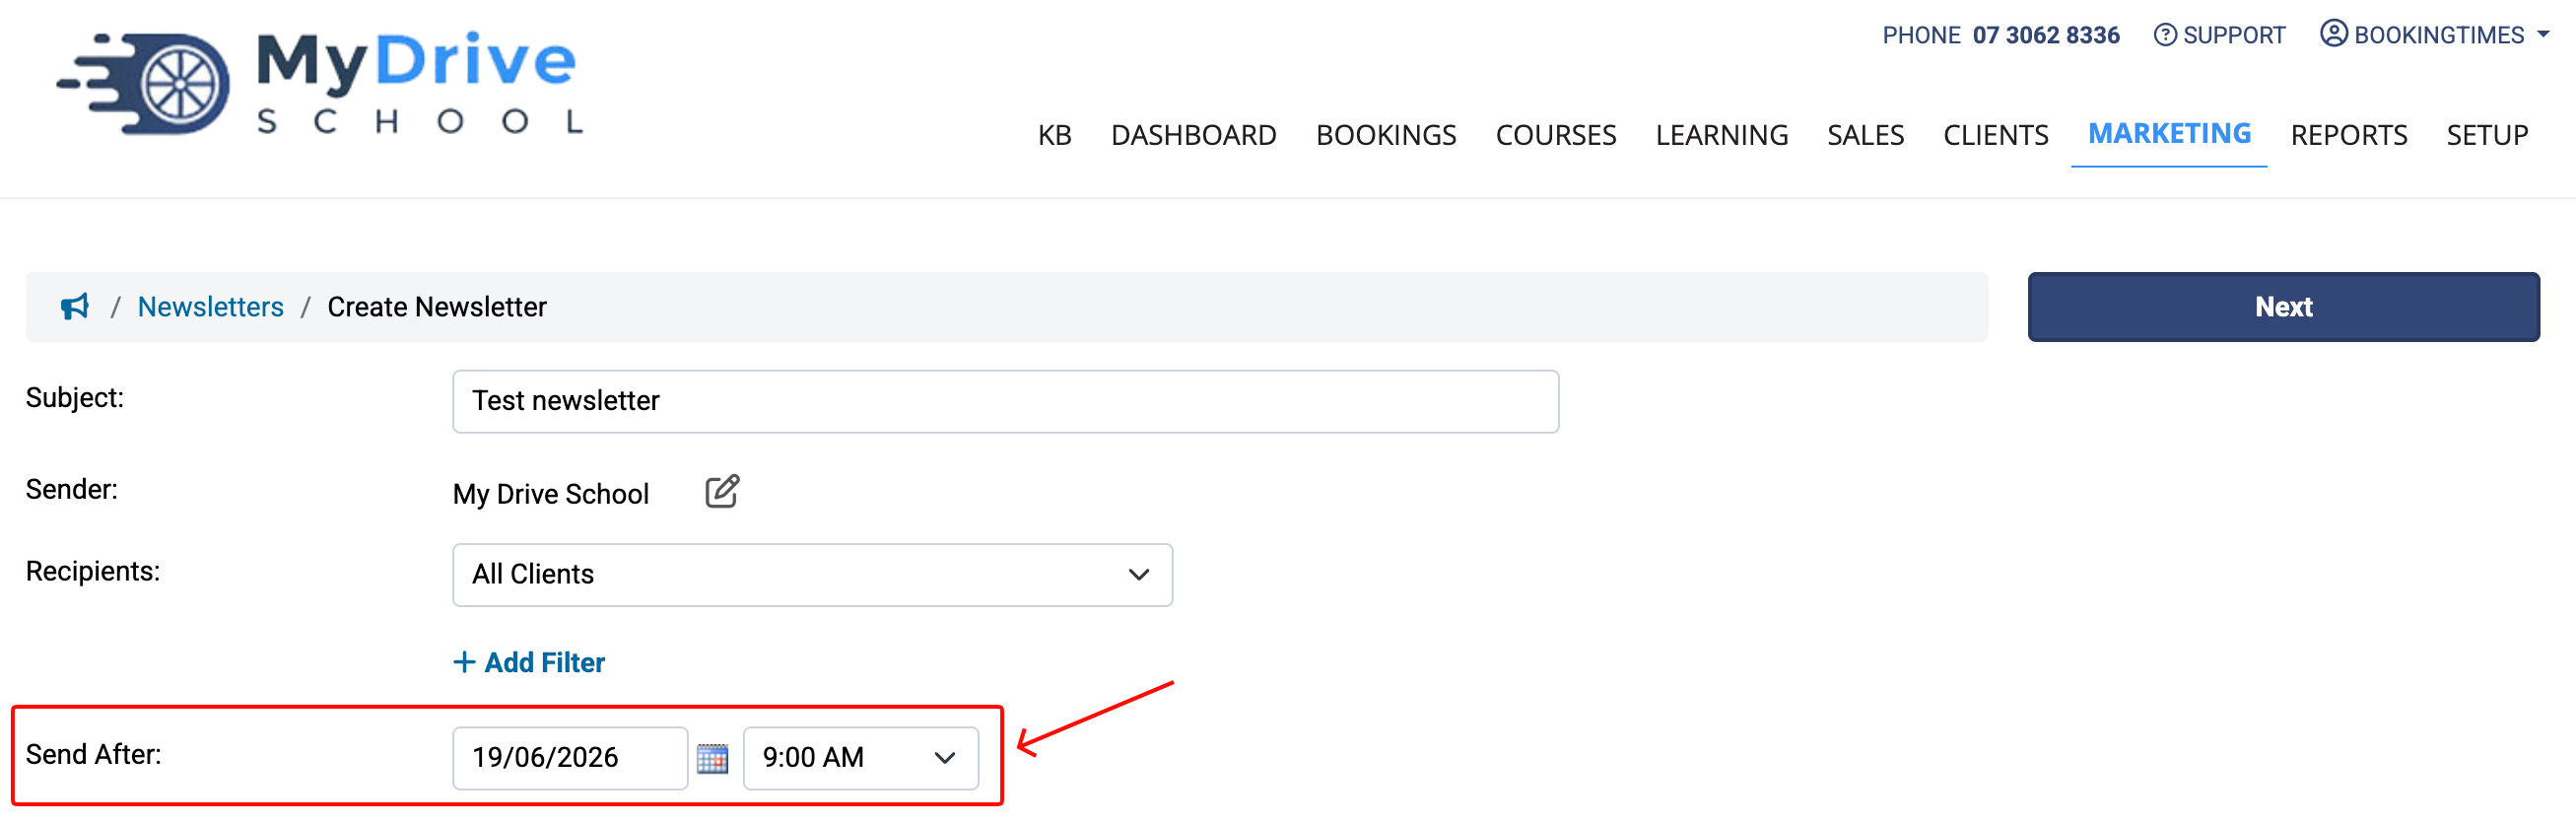
Select when you want to send the newsletter
To send the newsletter immediately, select Now in the dropdown list
To send the newsletter at a later date, select Select Time in the dropdown list then enter the required date and time
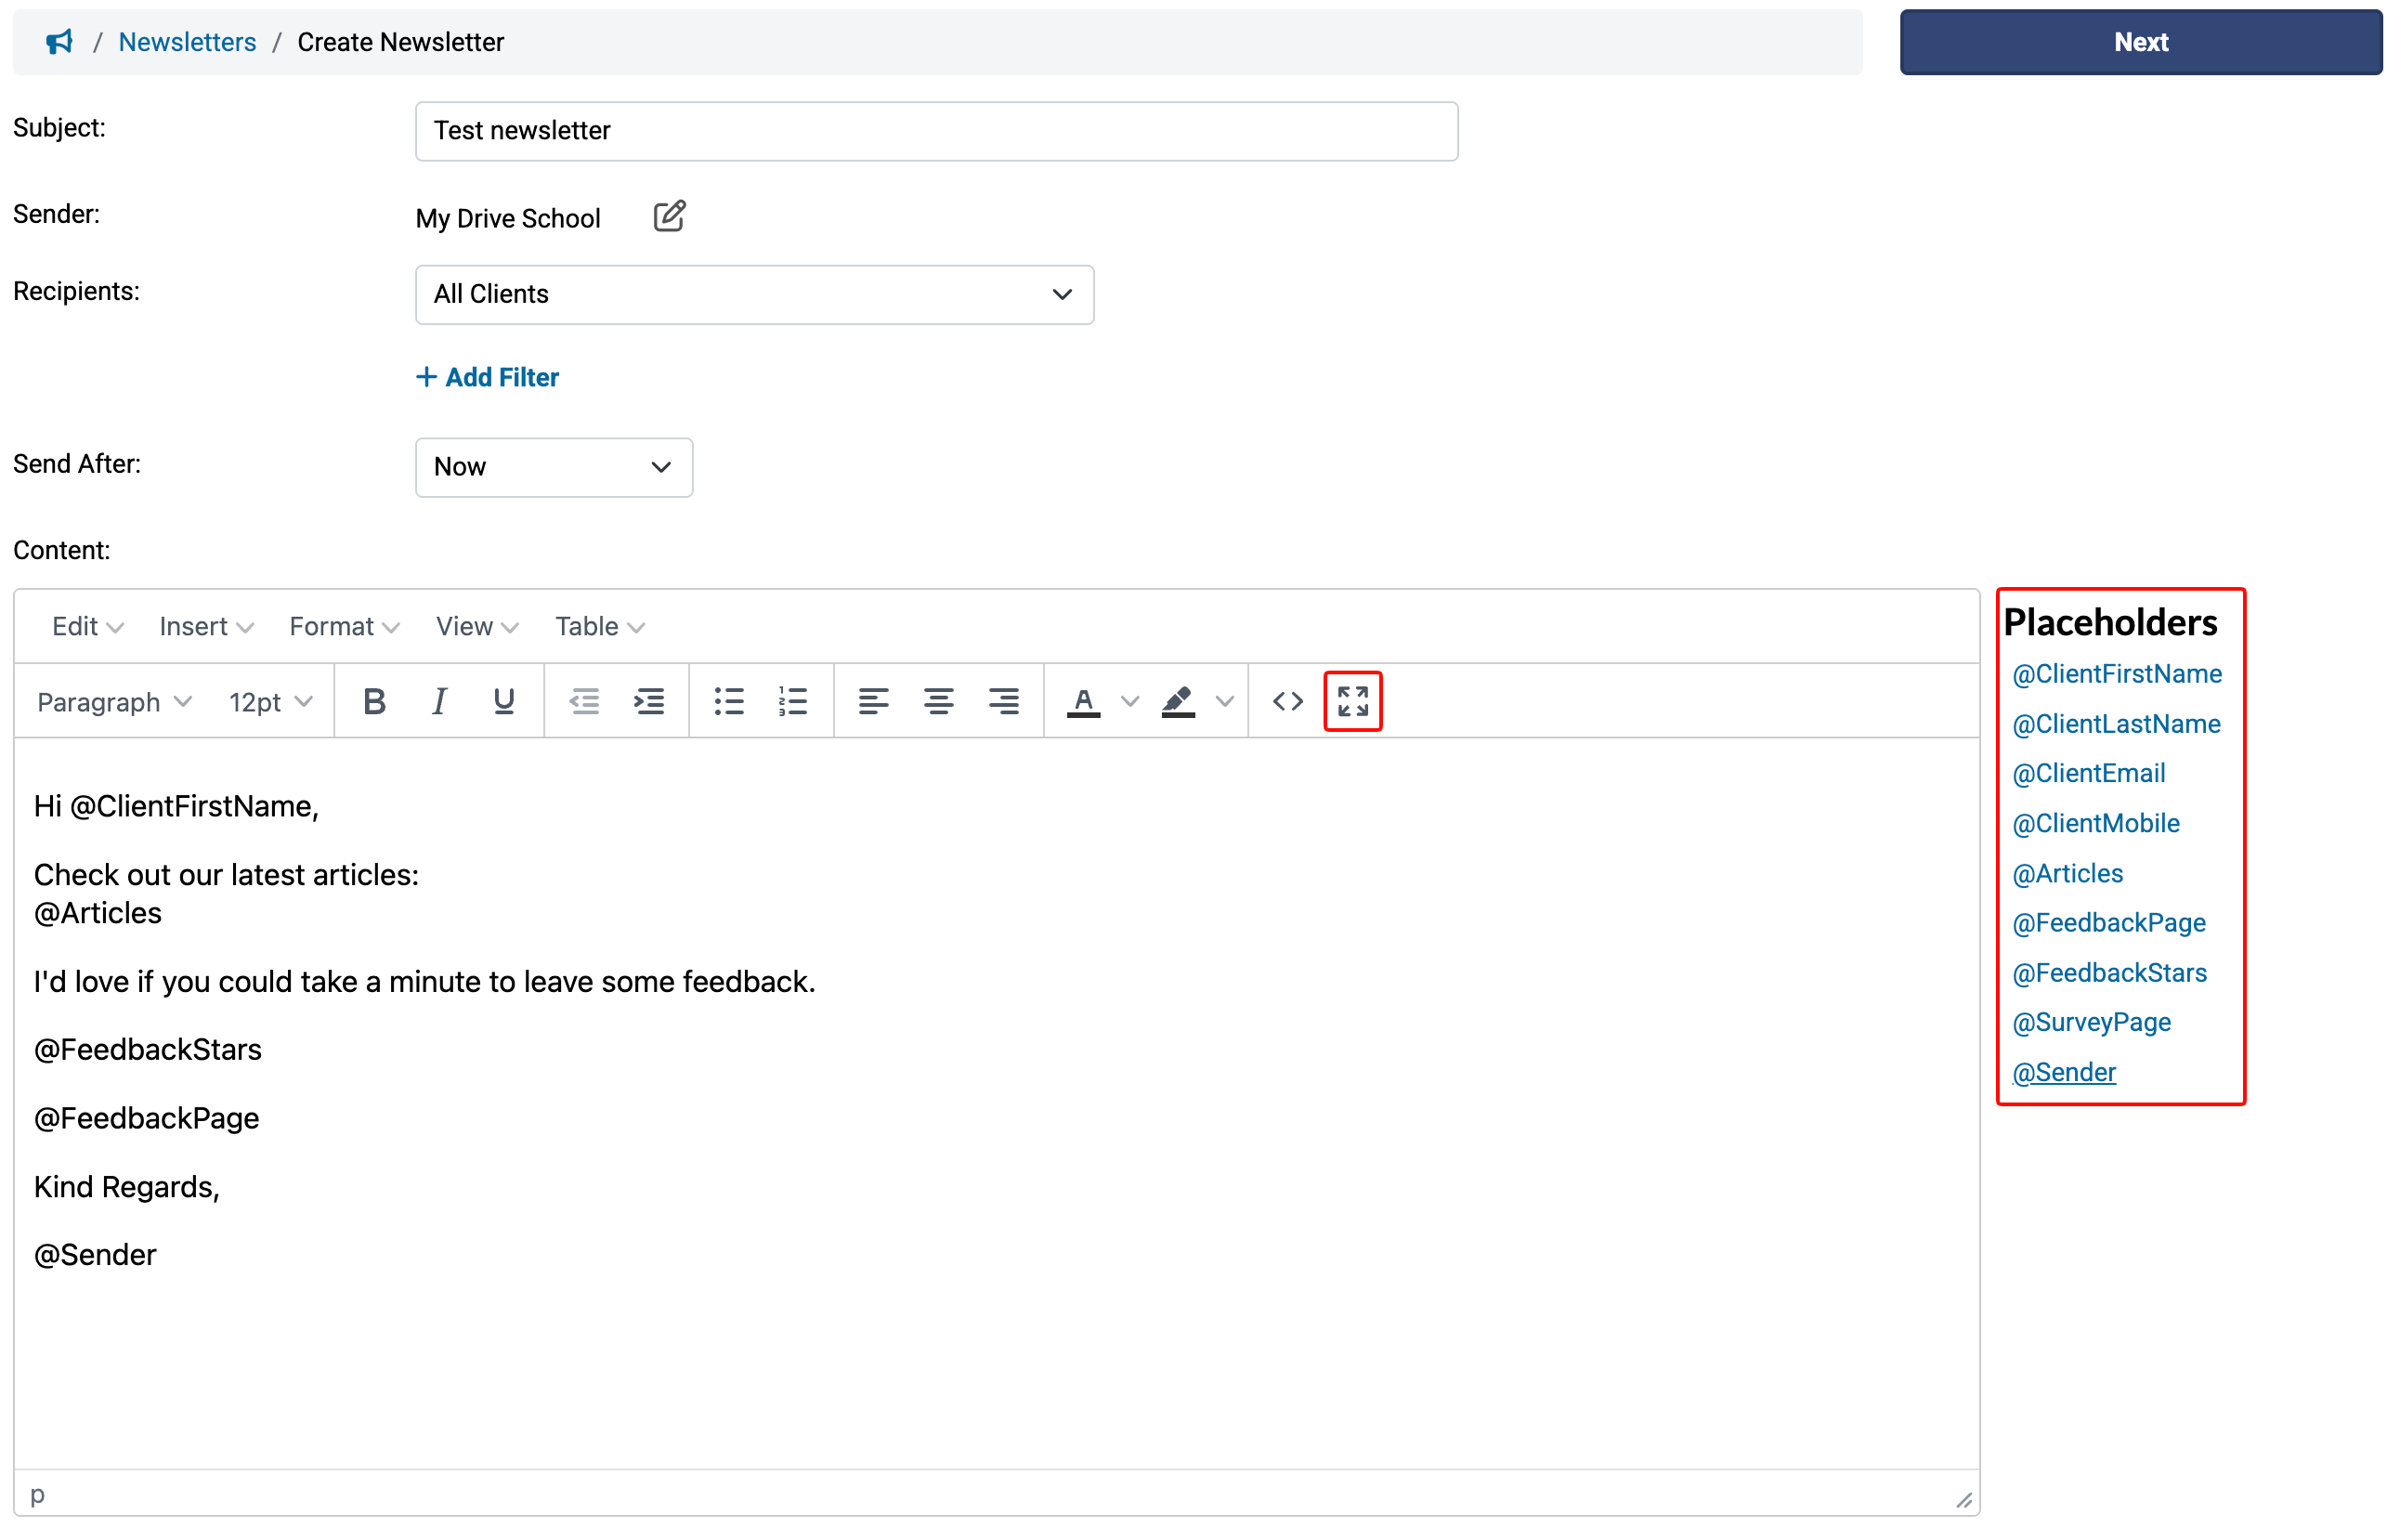
Click in the text box to edit newsletter content
Tip: Click any placeholders from the right to insert it into your message (a place holder will automatically populate with the right information for each client. e.g. @Sender will change to the name of the staff member who is currently logged in).
Tip: Click the expand icon in the text editor to open the drag n drop editor. This will give you special text and image blocks you can drag onto the page.
Click the Next button
(Optional) Check the box to the left of any published articles/blog posts you would like to include

Click Next to see a preview of the newsletter (then continue to the Sending a newsletter section below)

Tips for images
Some people will have their email configured so that any images within an email do not automatically show or get downloaded.
To cater for this, ensure that if you include any graphics, that they’re a small file size, and they don’t contain any important information (such as course dates etc) in case the image cannot be seen. Always ensure that any important information is also included in the newsletter body as text.
Sending a newsletter
Steps
If you're following on from creating a new newsletter go to step 3
If you're wanting to edit and send an existing newsletter
Navigate to Marketing > Send Newsletters and select the desired newsletter
Make any edits and click Next to see a preview of the newsletter
Click SEND... button on the preview of the newsletter
If you would like to go back and make further changes, click Edit Newsletter in the navigation and repeat above steps

Click Send Test Email button. This will send a test newsletter to your email address so you can check if it is formatted correctly and test any links

If you’re happy with the test email, click the SEND… button again, then click the large red button image on the left to send to the selected recipients

Copying a newsletter
Steps
Navigate to Marketing > Send Newsletters
Either select the copy icon next the newsletter you wish to send again

Or select the desired newsletter you wish to send again
Click Send Again... button
Click Copy to a new Newsletter link
Follow the steps in the Creating a newsletter section to (optionally) edit the copied newsletter, select the list of recipients, and then finally sending the newsletter.
List of recipients
Select the Recipients you want to receive the newsletter via the dropdown list. The options on this list are automatically created depending on what terminology you use for your business. For example:
All Clients
My Clients (send only to the sender’s clients)
All Organisations (send only to the email associated with each organisation)
All Organisations + Admins (send to the email associated with each organisation, and all associated clients who are marked as an Organisation Admin)
All Organisations + Members (send to the email associated with each organisation, and all associated clients)
All Instructors + Admins (i.e. any staff member that does not have a calendar associated with them)
All Instructors
Staff Role
Steps
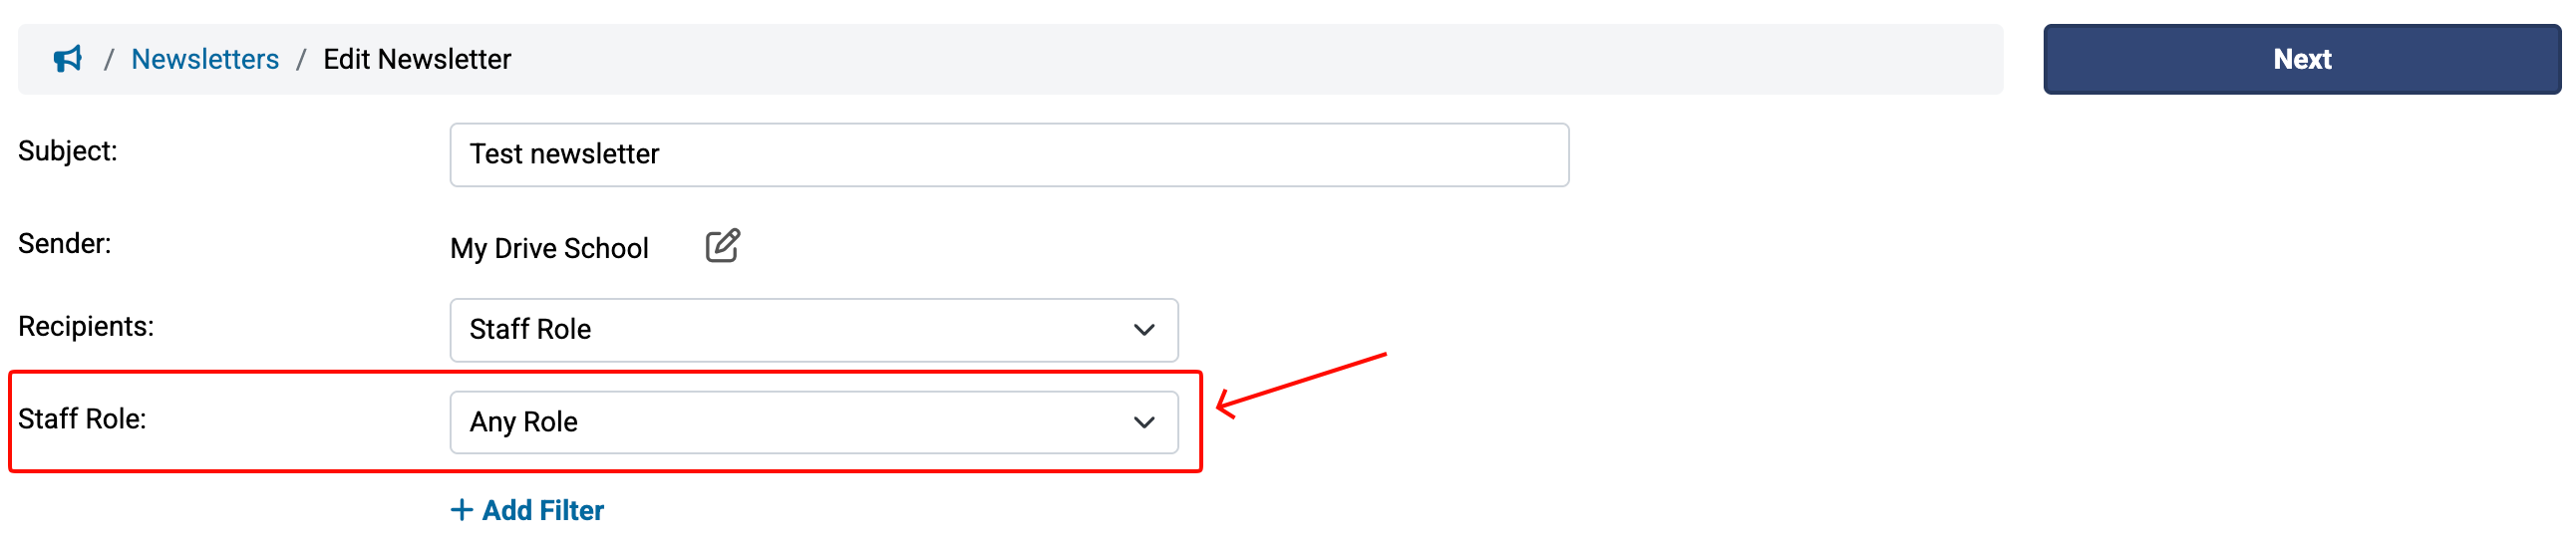
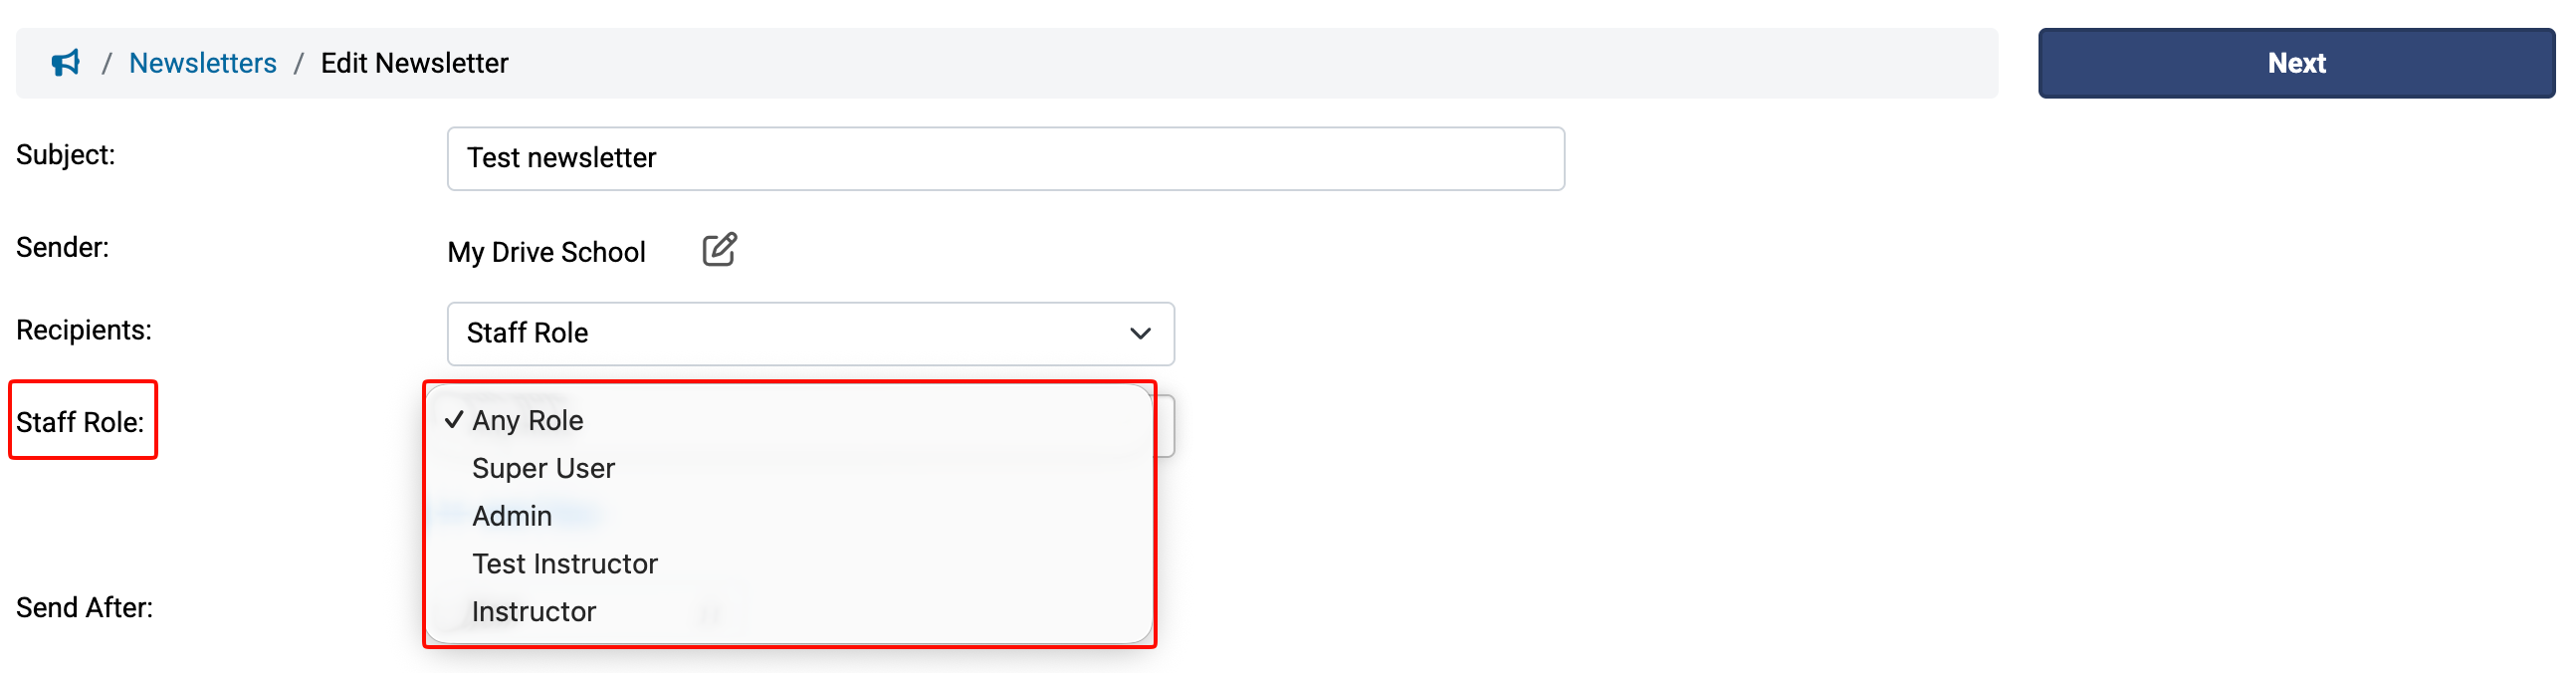
Select the Recipients you want receive the newsletter

If you select Staff Role as the recipient, an additional dropdown list will be displayed for you to select the role
Continue with the steps below in List of filters to apply additional filtering to the list of desired recipients
List of filters
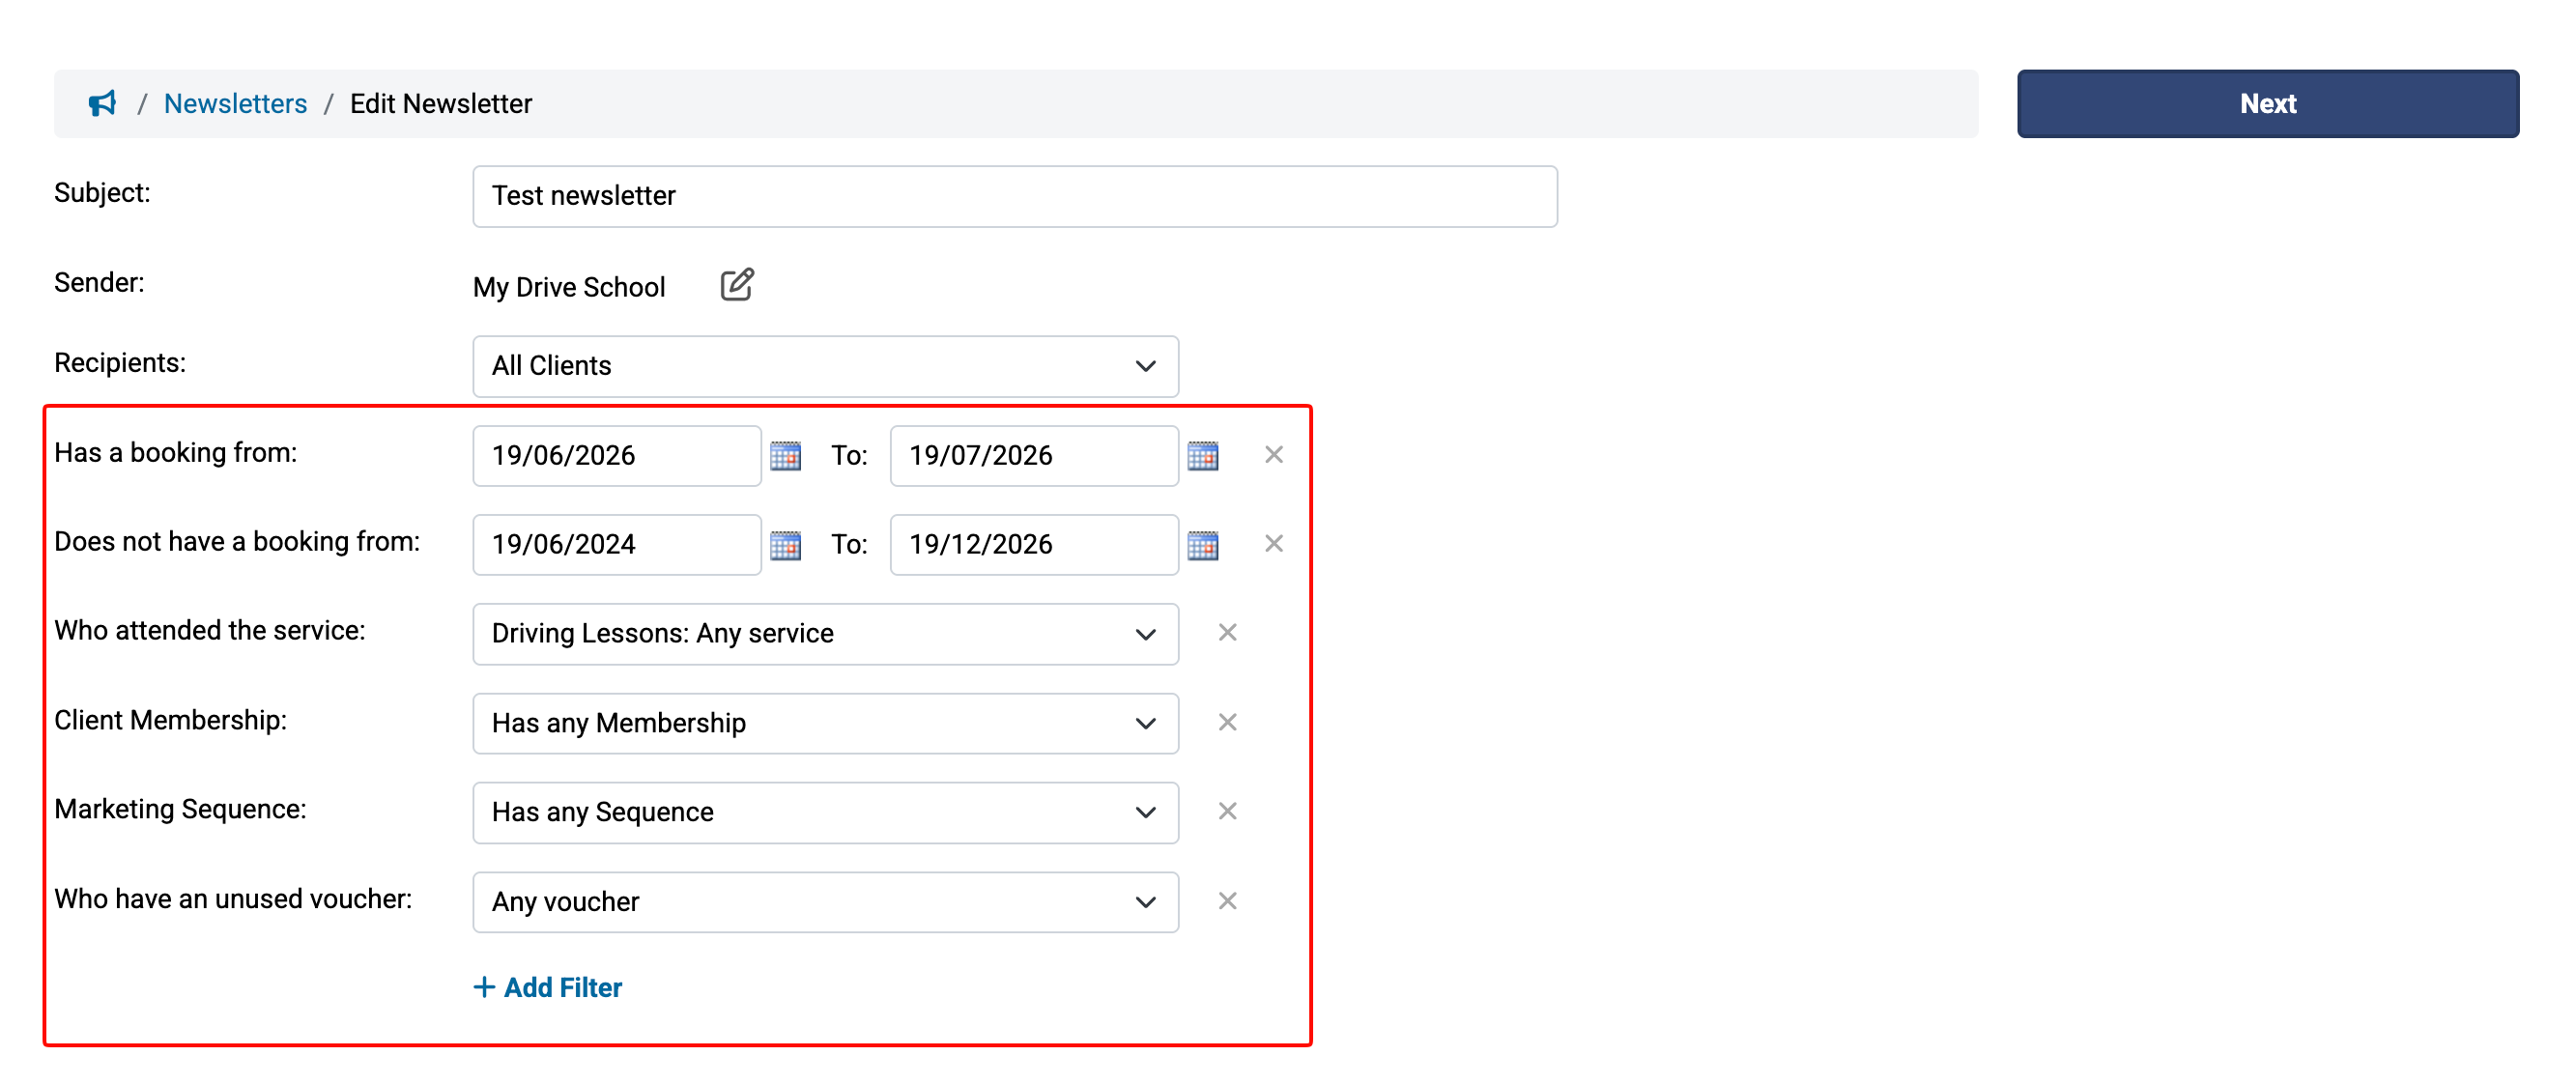
When you click on + Add Filters under the Recipients dropdown list the Add Recipient Filter popup will be displayed with options .
Steps
Click the + Add Filter link

Select the Recipient Filter that you’d like to apply (Note: some filters may also be applied at the same time)

Edit the appropriate recipient filter details based on your selection
To add additional filters simply click the + Add Filter link again
To remove individual filters click the “x” next to the filter
To remove all filters, first click the + Add Filter link to display the Add Recipient Filters popup then click the Reset Filters link
Note
If you choose to filter recipients by those who have passed or failed a service, recipients will only appear for services that have been set up with the "Shows a Pass/Fail on the Booking." option selected. See the Adding a service article for details.