Like bookings for services, courses are scheduled on the calendar from the bookings menu. Courses can also have additional supporting staff members added.
Unlike bookings for services though, you schedule courses into an empty calendar. The slots cannot be marked as "Available". See the Clearing your schedule article for how to quickly clear a whole day at once.
Creating a course
Before being able to schedule a course, it must be created first. Please see the Adding a course article to set this up which then allows you to select it during the scheduling process.
Copying a scheduled course
Please note if you want to copy a scheduled course, the course needs to be set up correctly for this. Please see the Copying scheduled courses section in the Copying your schedule article to set this up.
Scheduling single day courses
Steps
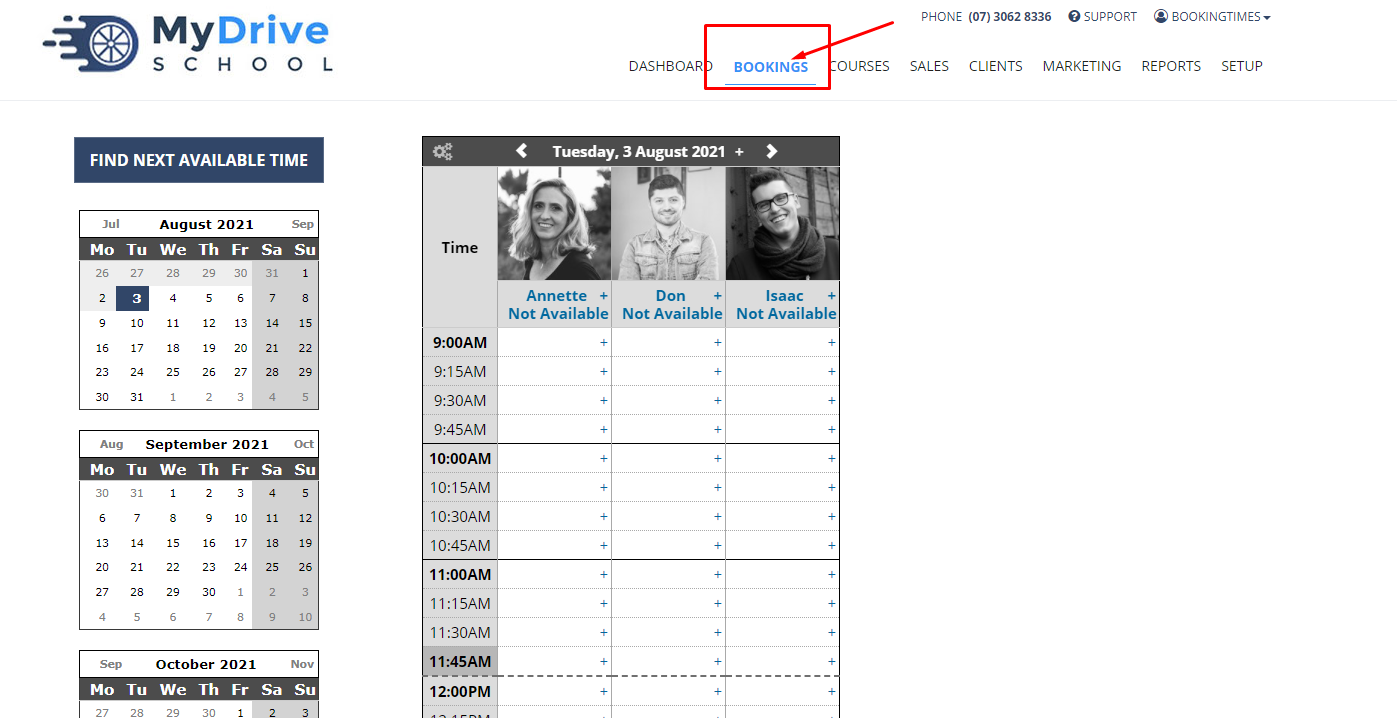
Navigate to the Bookings menu
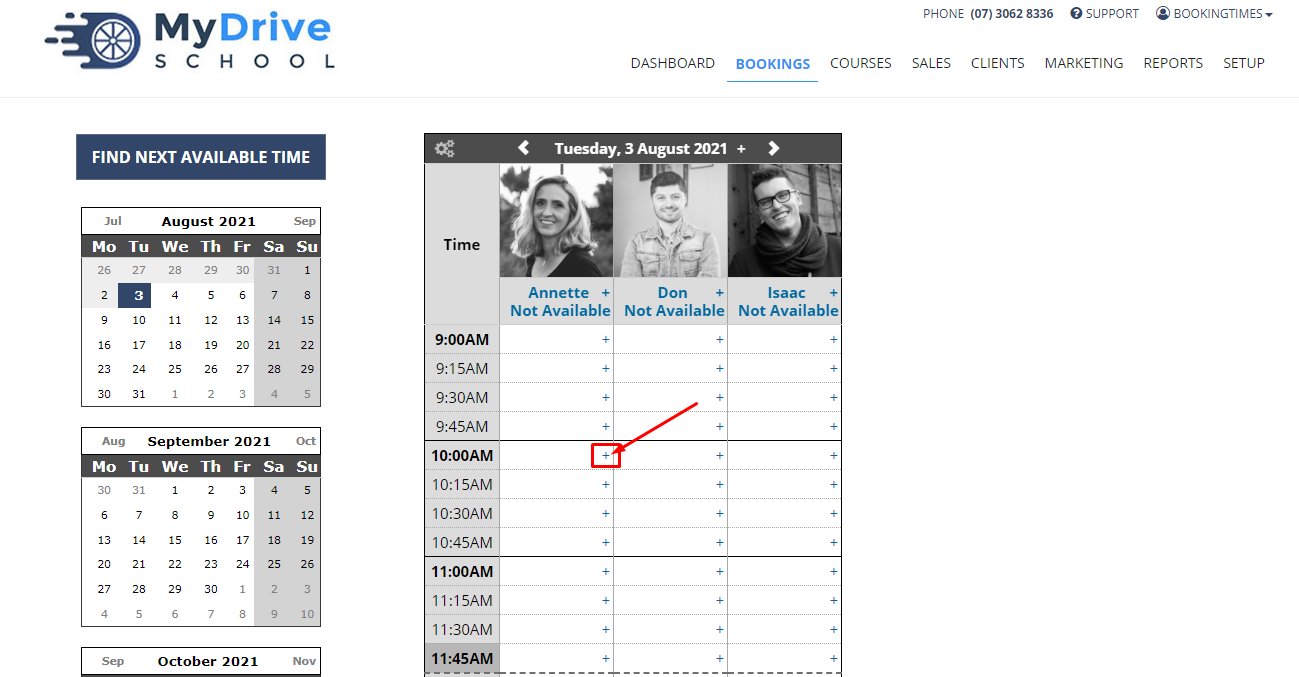
Select the plus "+" icon on the time slot you wish the course to start on. Ensure the calendar is empty, and not marked as "Available"
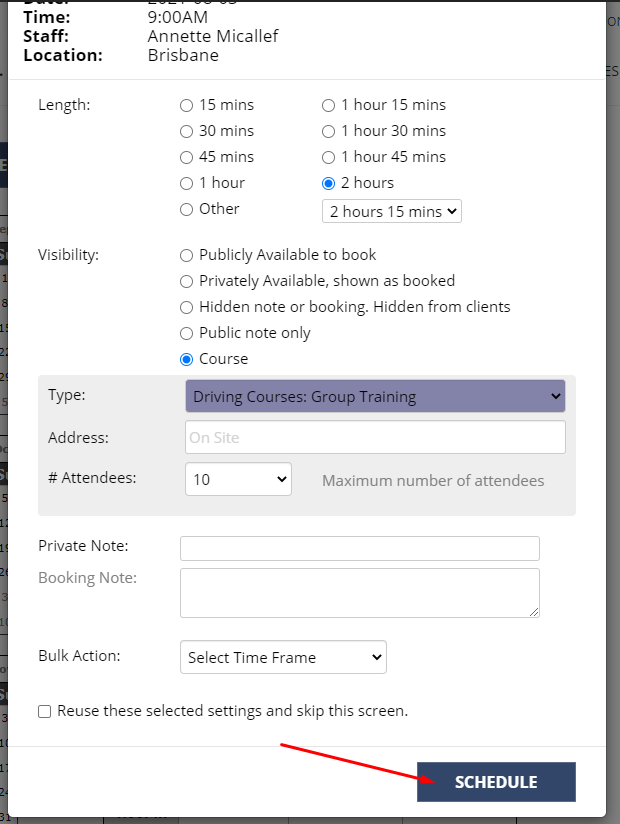
Under the Visibility section, select Course. Additional options will now appear
Type: select which Course you'd like to schedule from the dropdown
(Optional) Address : edit the course address if it will not be the default address. If you have different Localities/addresses set up, then select out of the available localities.
(Optional) # Attendees: select the attendee limit
(Optional) Private/Booking Note: add any notes you would like publicly or privately (staff only) displayed.
Click Schedule

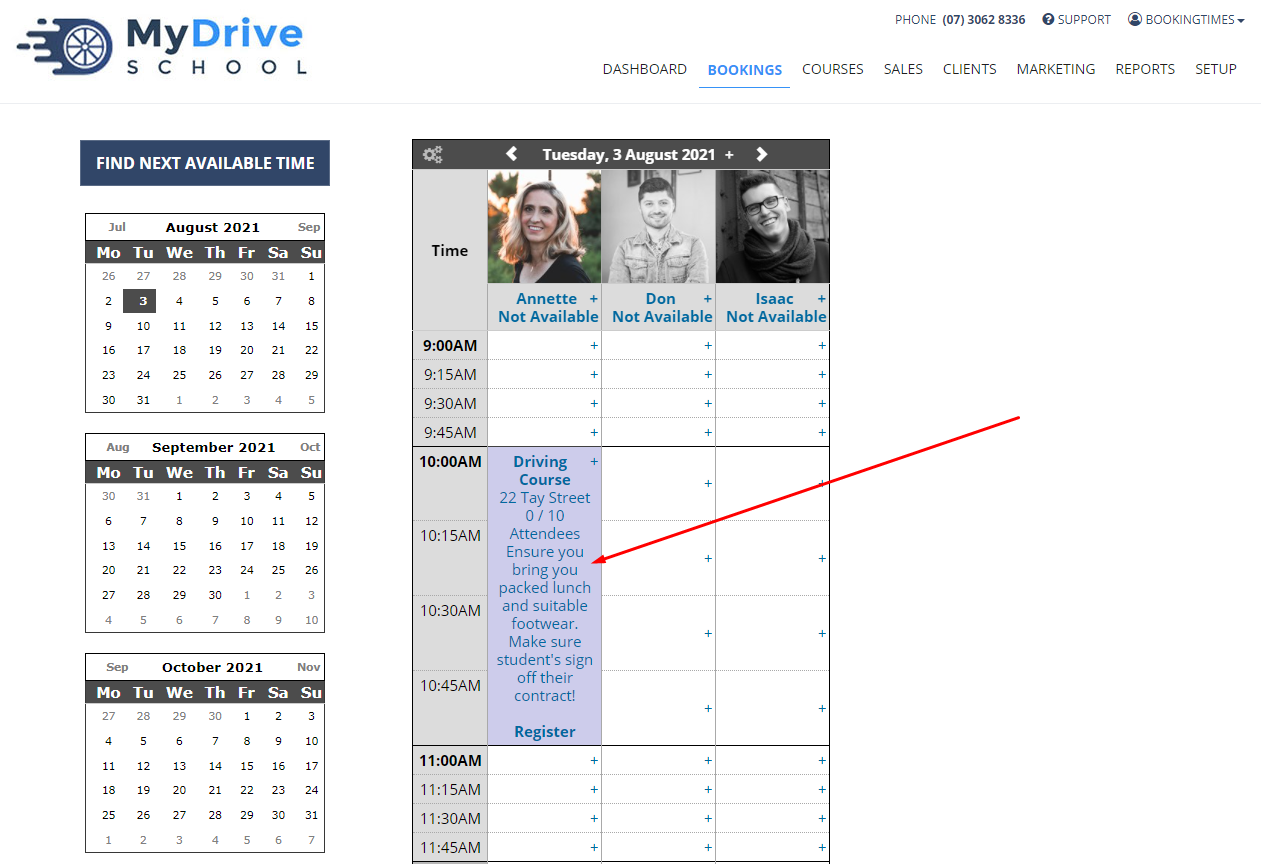
The course will now be visible on your calendar for the public to book
Scheduling multi-day courses
If a course has been set up as a multi-day course, when you schedule this course it will automatically prompt you to select the required days to run it on. The steps include how you manually schedule the days.
Note that this section repeats the same steps as above first in scheduling in a single day course, then shows you how to schedule any additional days.
Navigate to the Bookings menu
Select the plus "+" icon on the time slot you wish the course to start on. Ensure the calendar is empty, and not marked as "Available"
Under the Visibility section, select Course. Additional options will now appear
Type: select which Course you'd like to schedule from the dropdown
(Optional) Address : edit the course address if it will not be the default address. If you have different Localities/addresses set up, then select out of the available localities.
(Optional) # Attendees: select the attendee limit
(Optional) Private/Booking Note: add any notes you would like publicly or privately (staff only) displayed.
Click Schedule
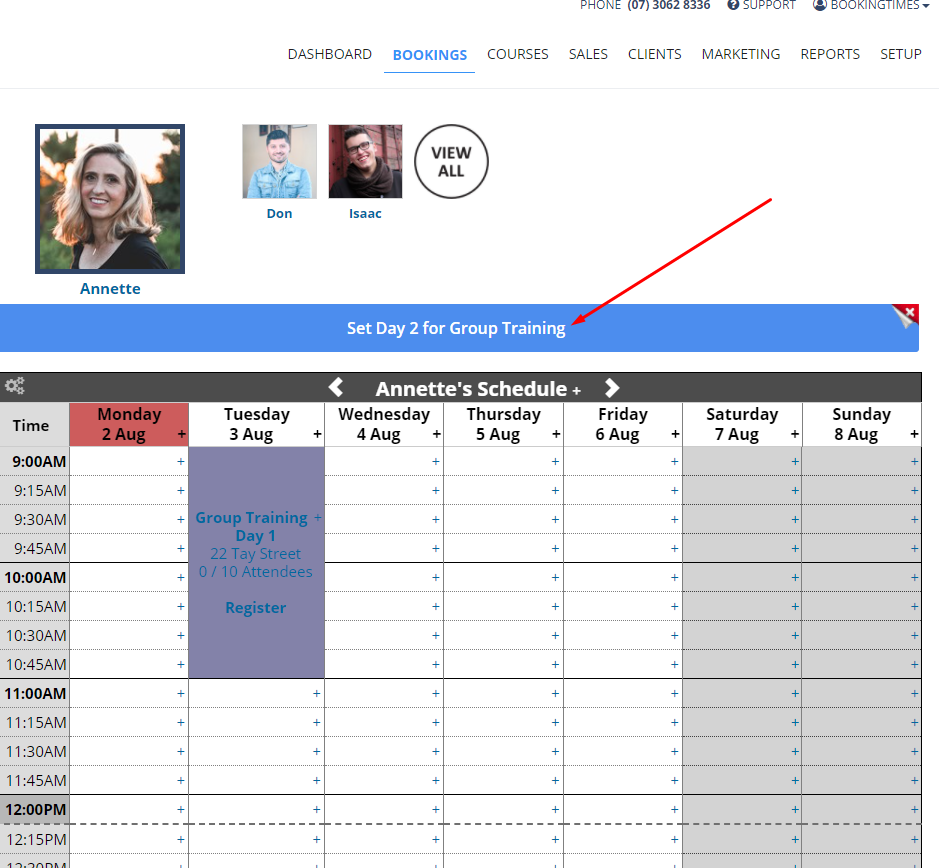
Day one will be scheduled, you will now be prompted to schedule the remaining days
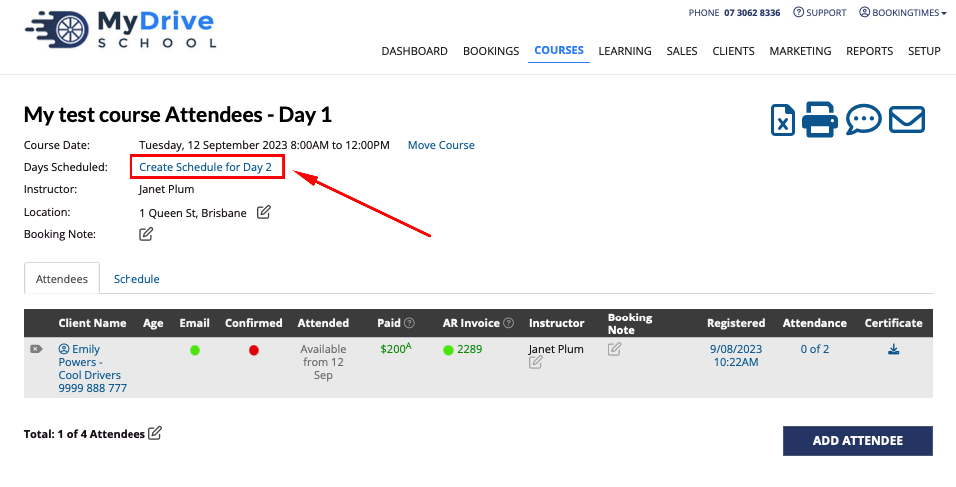
If you only schedule 1 day or there is no prompt (in case you're copying a course as it only copies the first day), just click on the course booking slot in the calendar and select the Create Schedule for Day xx link, or go to the Schedule tab, and you can then schedule any remaining days.
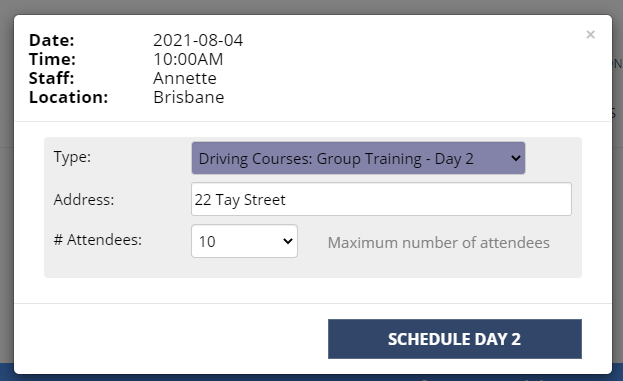
Click the plus "+" icon on your calendar at the desired date/times, click schedule and repeat the process for the remaining days
Click Schedule day <day> to confirm each timeslot
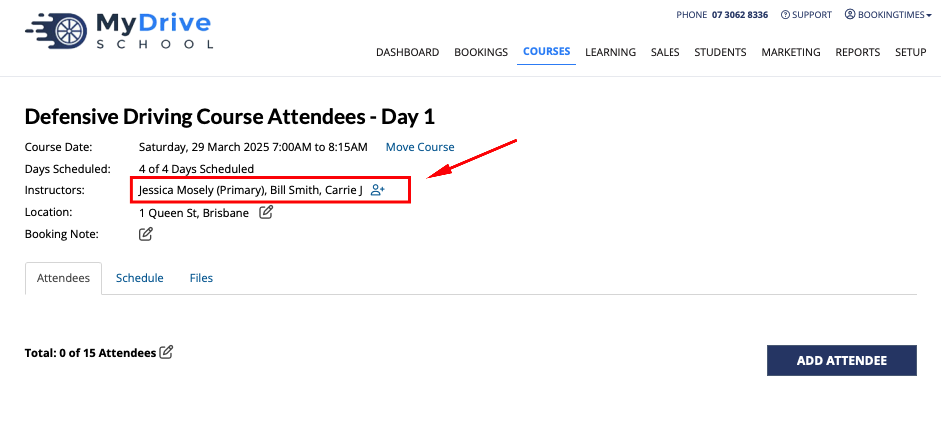
Adding supporting staff members to a course
Additional supporting staff members can also be added in addition to the main staff member that is delivering a course. This won't put the course on the supporting staff member’s calendar, but they'll receive information about the course on their runsheet and can view the course attendees.
Steps
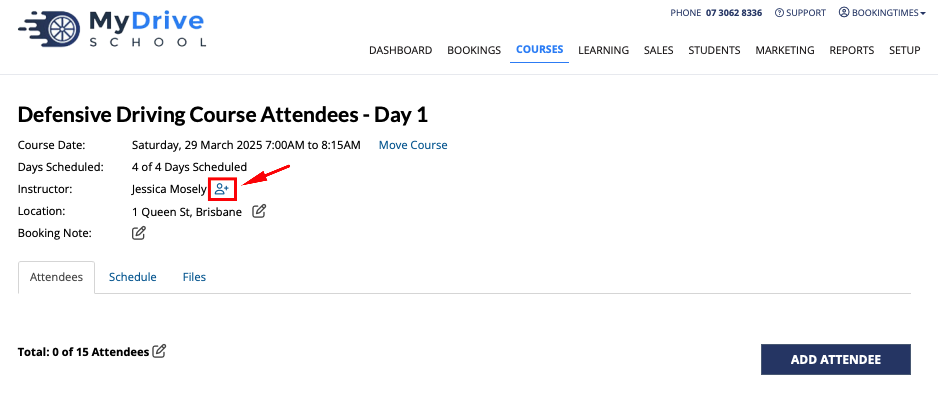
Navigate to the scheduled course (via calendar or Courses menu option)
Click on the + person icon
Select the supporting staff members and click Save
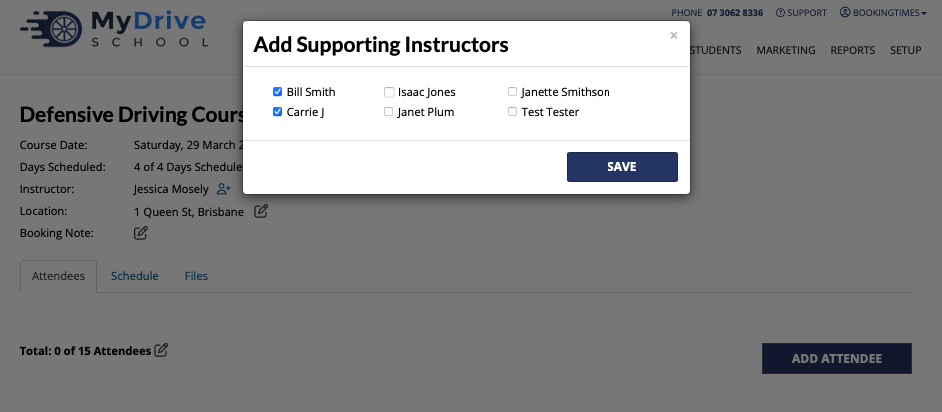
The supporting staff members are now listed.