Creating course content
The first component of creating an online course is to set up the course definition.
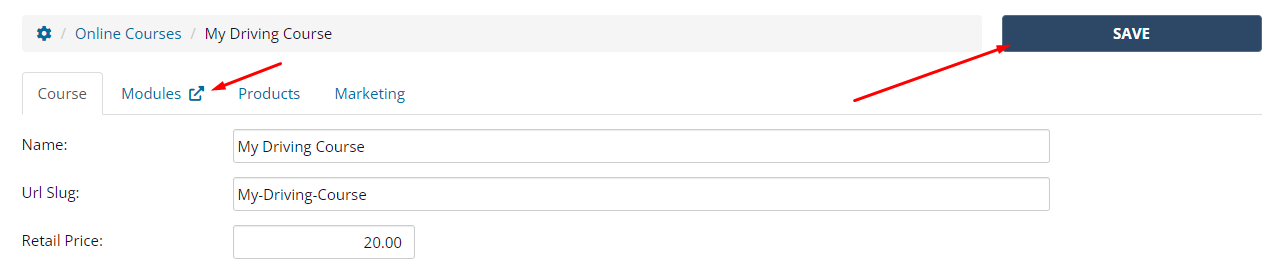
You can do this by navigating to Setup > Bookings > Online Courses, and then click the Add Course button.
Course field definitions
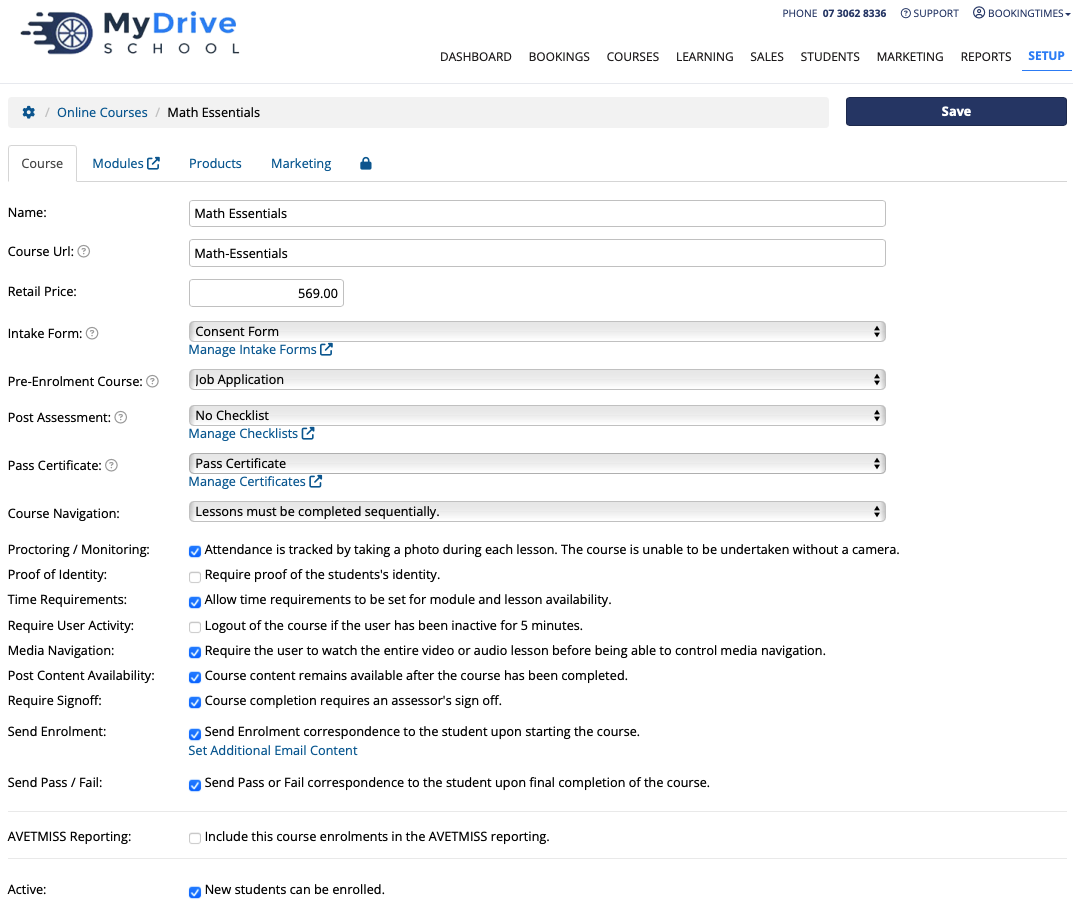
Name: Official name of the course.
Url Slug: The URL slug is the address your clients use when they start their course. It will look like: https://mydomain.com/Learning/UrlSlug
Retail Price: This is the default retail price used for pricing the course and displayed against a regular service and/or product. The Retail Price can be overridden by the associated product retail price.
Intake Form: This is an Intake Form given to the client during the checkout process for the course, or when they start the course. It allows you to collect custom data on the enrolment.
Pre-Enrolment Course: In some cases, you may wish for the client to complete a pre-enrolment course before they start the actual course. An example would be a Language, Literacy & Numeracy course. This is bundled into this course at no cost, and must be successfully completed before the actual course can be started.
^ Post Assessment: This is an assessment checklist for the assessor to fill out after the course has been completed. ^ Please note that adding a checklist is only available on the Nail & Scale plan.
Pass Certificate: A Completion Certificate can be downloaded or emailed on successful completion of the course. The course must be marked as passed for the client to be able to download the completion certificate.
Course Navigation: Select how the client can navigate this course.
Lessons must be completed sequentially (this will require the client to download the files before they can proceed)
Lessons can be completed in any order (this will allow the client proceed without downloading the files)
Proctoring/Monitoring: Requiring a photo for the course, means that the course cannot be undertaken without a web-camera. An initial profile picture is taken of the client when they start the course and their attendance is tracked by taking a photo of them during each lesson. This is especially useful when you need to evidence that the client was the actual person who undertook the course. Please see the Enabling the camera for online courses article for more details.
Proof of Identity: Turning this on will require the client to upload their Identity Documents (e.g. Driver's Licence, Passport etc) that must also be verified by a course assessor before the course can be completed. The Identity Document types can be customized as needed.
Note: you need to enable this via a system configuration option first before this is available on the online course. Please refer to the Identity Documents article.
Time Requirements: This allows you to delay specific lessons from being started until a specified amount of course time has been logged.
Required User Activity: Require user activity to remain logged in the course.
Media Navigation: Require user to watch the entire video or audio lesson before being able to control media navigation.
Post Content Availability: Course content remains available after the course has been completed.
Require Signoff: Selecting this option requires an assessor's final sign off that the course is completed. Leaving this option off, will automatically complete the course once the client has finished.
Send Enrolment: Send enrolment correspondence to the student upon starting the course. See next section for more information.
Send Pass / Fail: Send Pass or Fail correspondence to the client upon final completion of the course.
AVETMISS Reporting: You can enable AVETMISS reporting for this online course if you’re an RTO.
Active: Turning this on makes the course active and allows new clients to be enrolled.
Printing/downloading course content
The online course content can be downloaded by clicking the Download Course Content link at the bottom of the online course definition.
Marketing field definitions
Marketing sequences and membership groups can also be allocated upon certain triggers for an online course (e.g booking, pass/fail) on the Marketing tab. Please see the Marketing sequences, and Creating membership groups articles for more details.
Send online course enrolment reminder
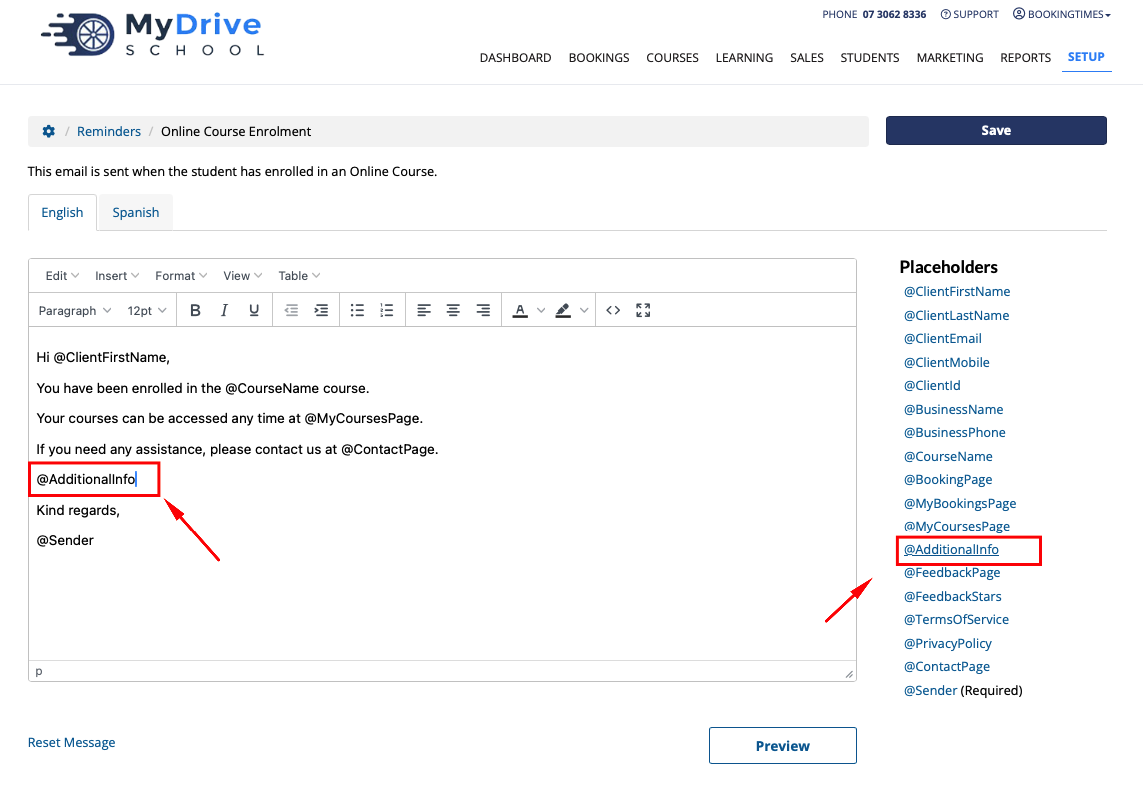
If the Send Enrolment option is turned on in the course setup, ensure you go into Setup > Reminders > Email Reminders and enable the Online Course - Enrolment reminder.
This reminder is sent to the client when they have enrolled in an online course. This can either be triggered by admin staff manually enrolling the client, or if client who purchased an Online Course product voucher, goes to start the online course.

You can click on the chat bubble to customise the text. If Additional Email Content was defined in the course setup, ensure you then add the @AdditionalInfo placeholder so that additional text is pulled into the reminder.
Editing course content
Once your course definition has been saved, you can click on the Modules tab which is where you can add and edit the course content. Please refer to the Online course content editor article to get started.