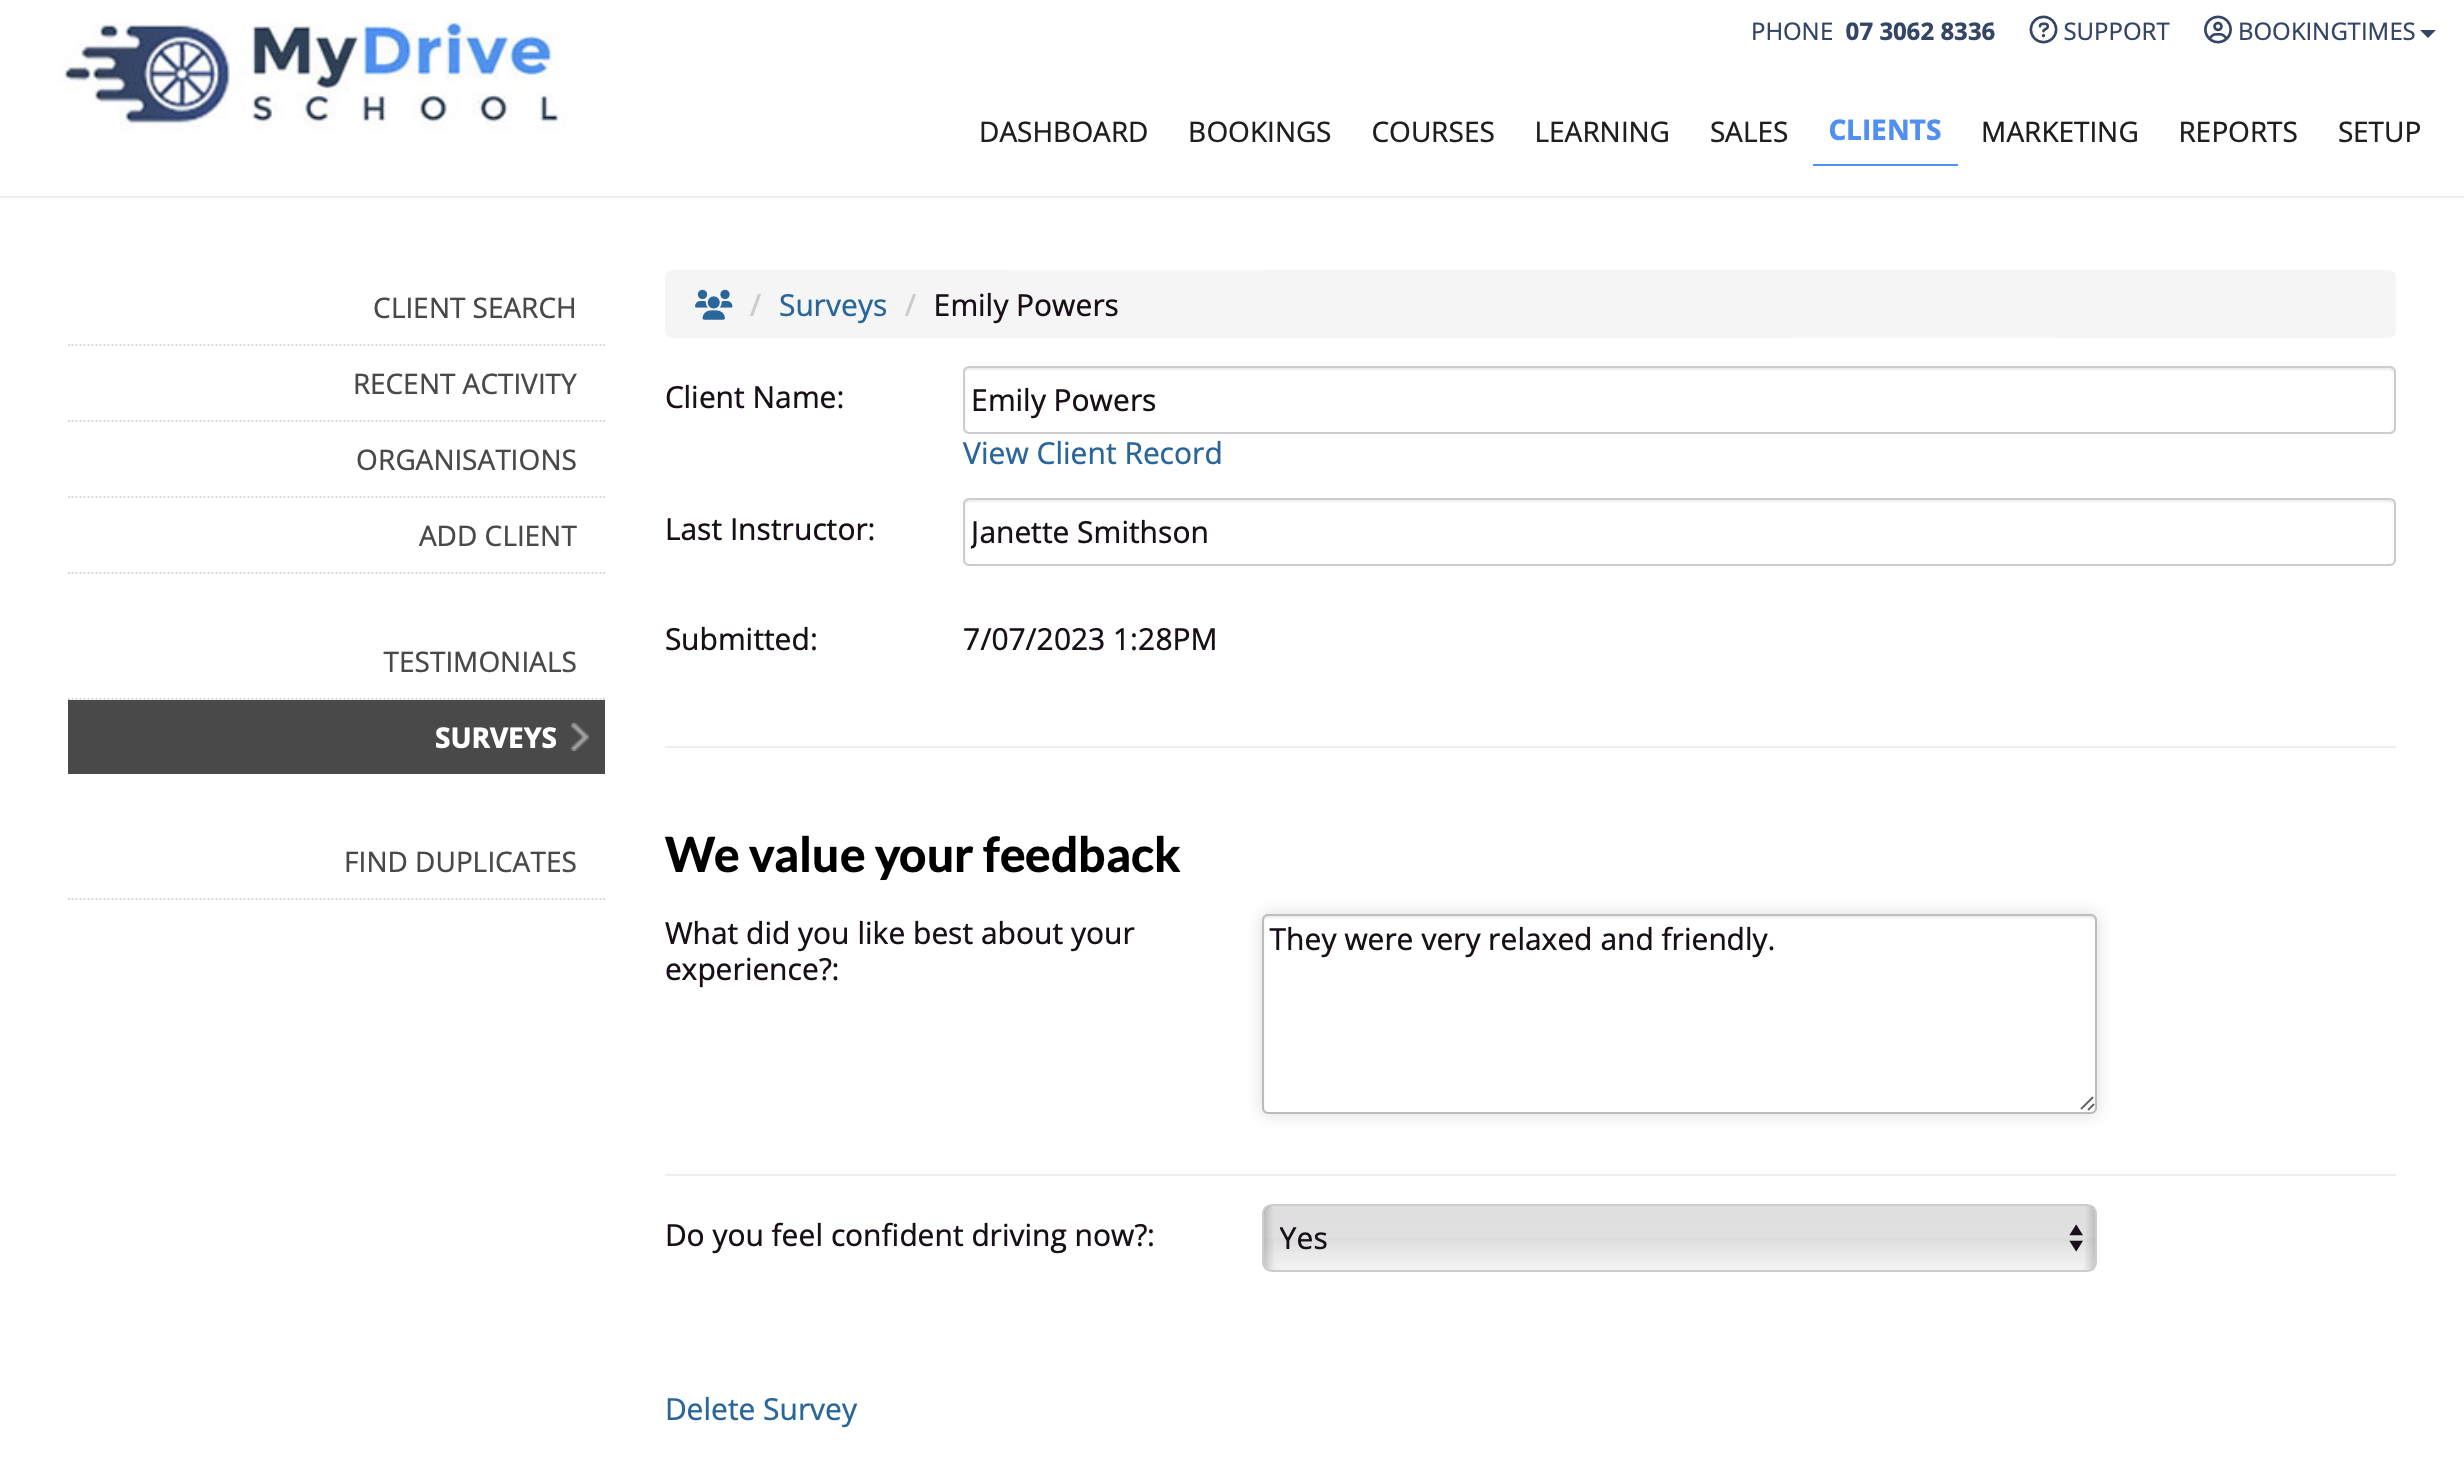
This article will cover how to create a survey form that can be completed by your clients, how they can be accessed, how they can be sent via a newsletter, and how to view the list of completed surveys.
Creating a survey
Steps
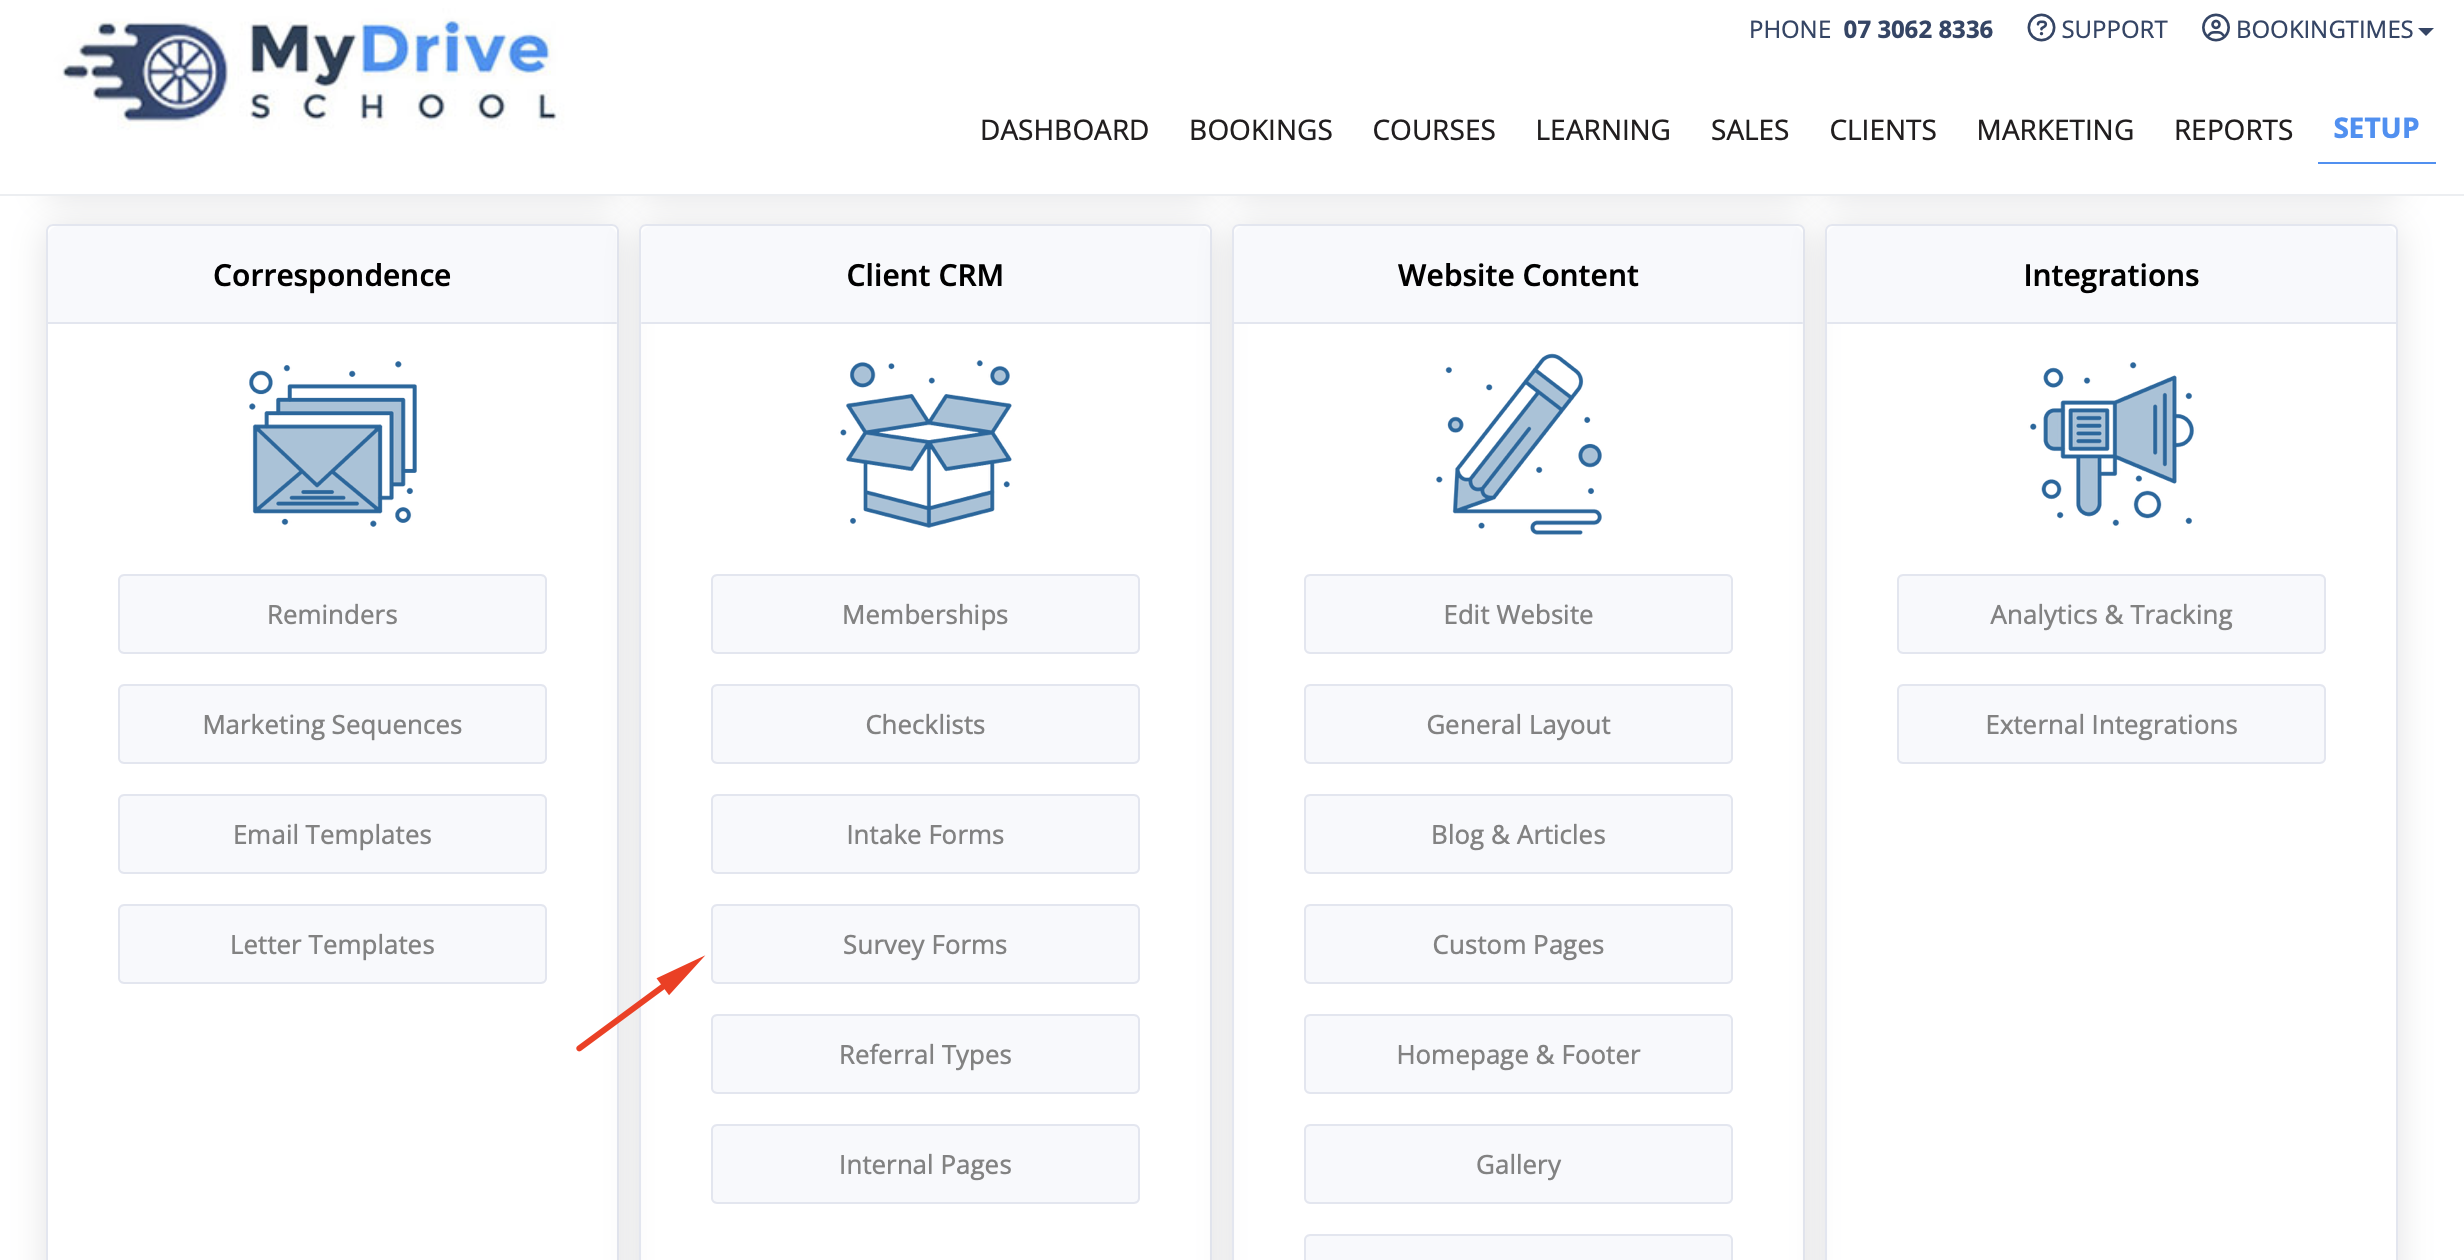
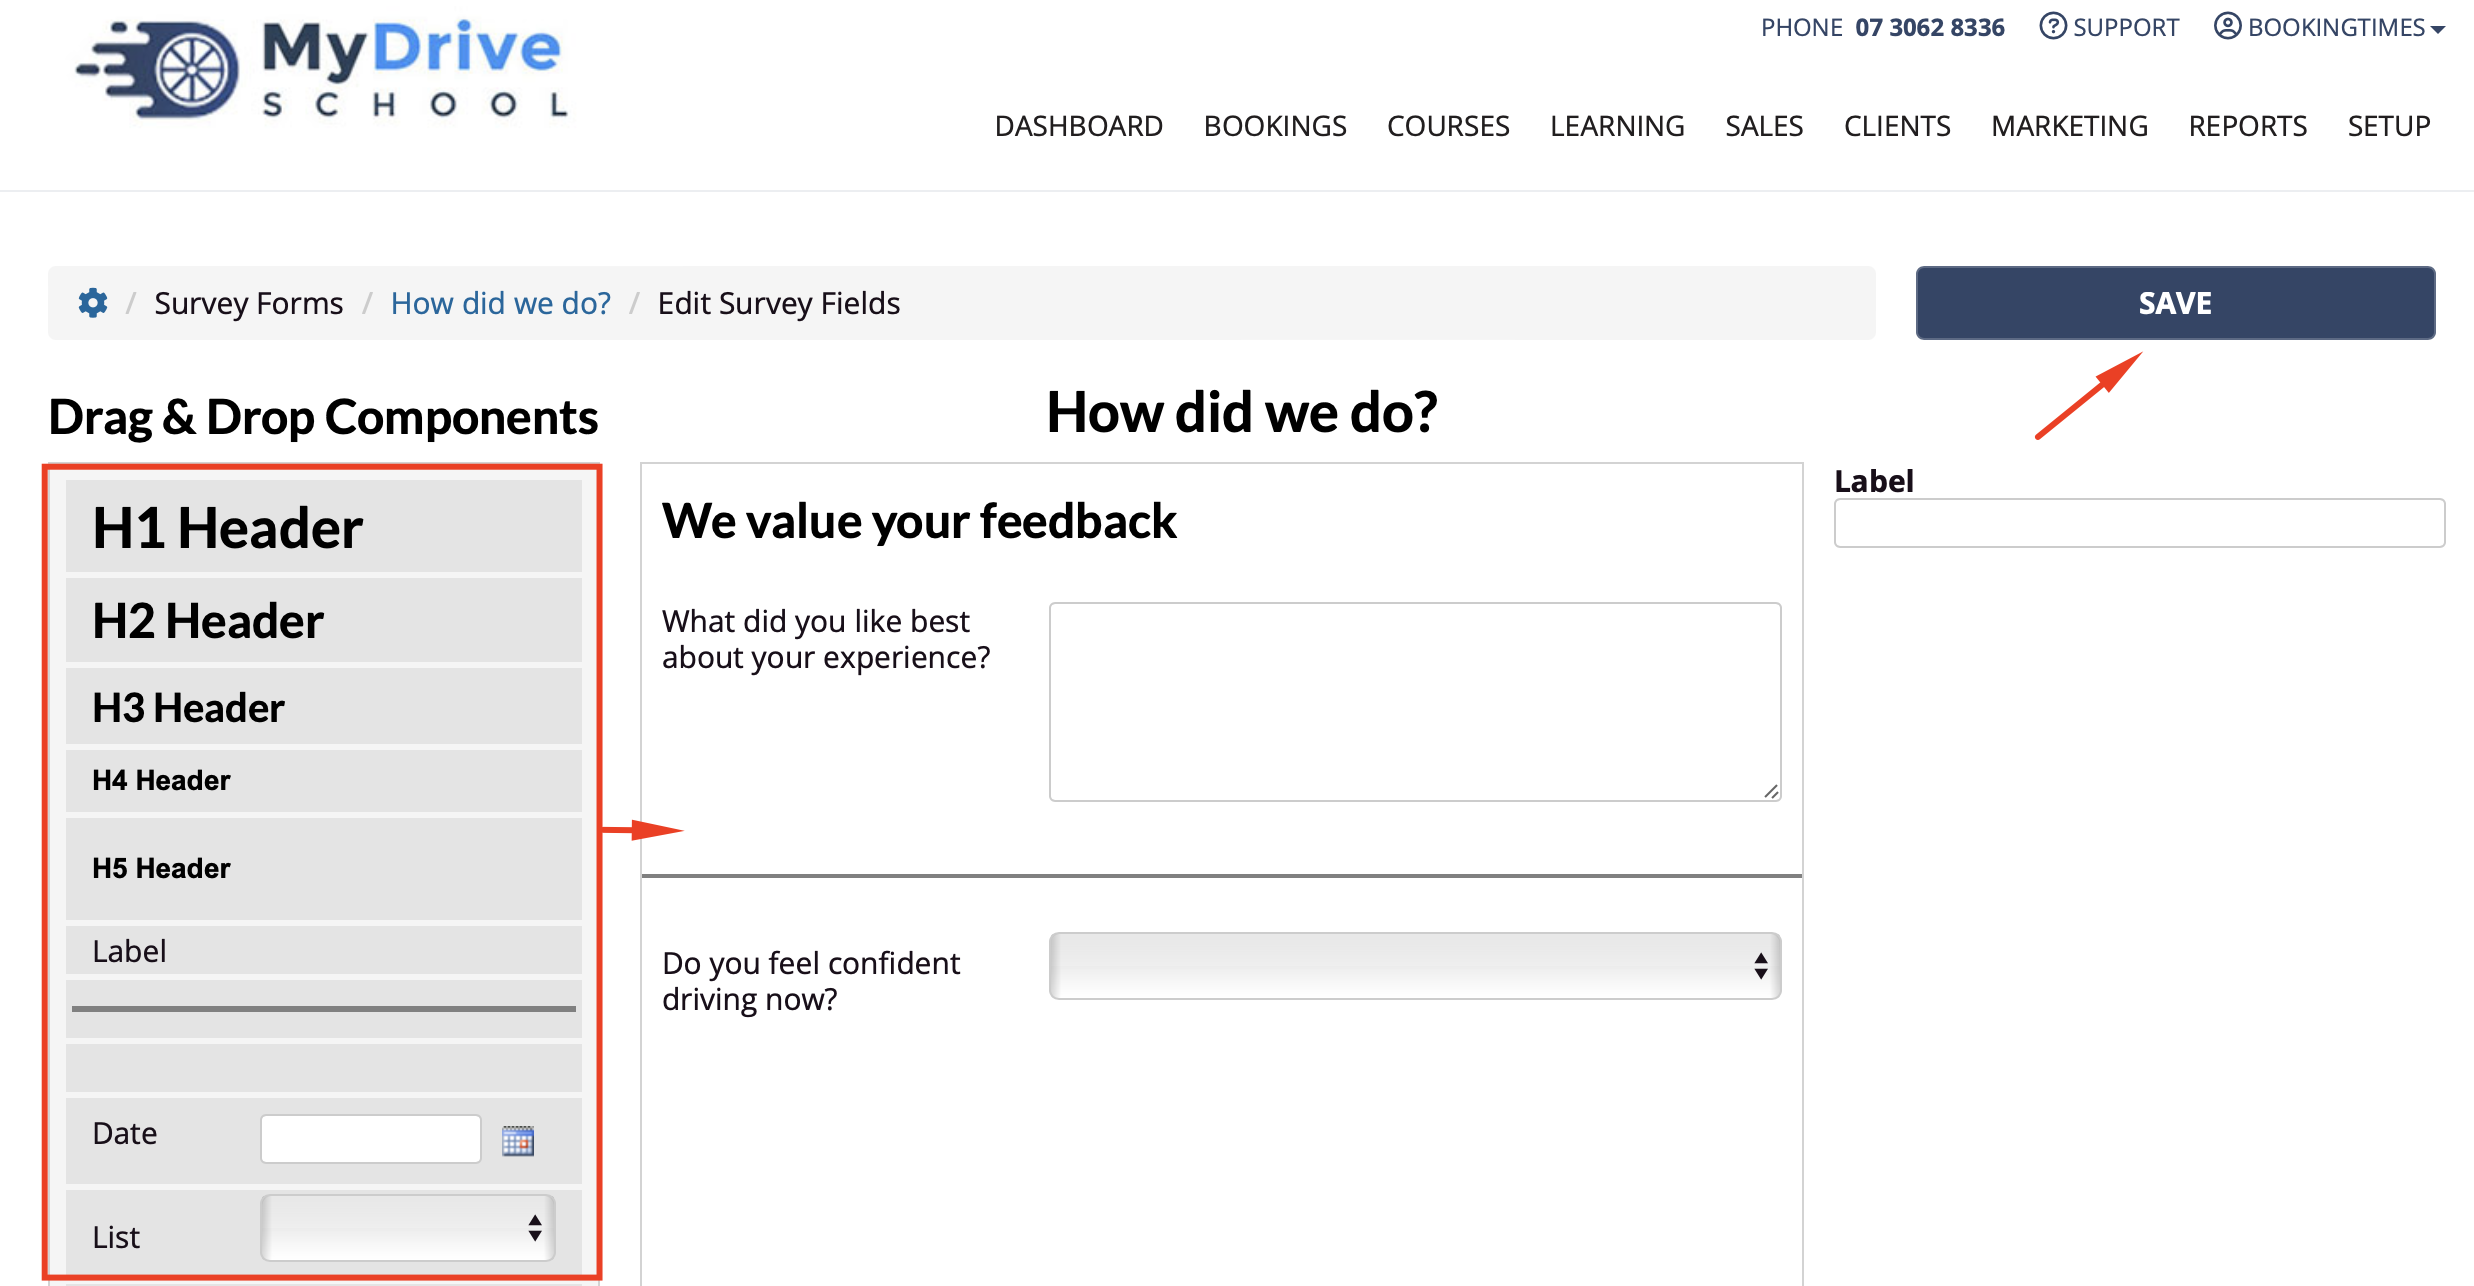
Navigate to Setting > Client CRM > Survey Forms
Enter the survey name in Form Name
Add a short description in the Description text area
If you're creating this as a new survey form, click Save, and then the Edit Form link will appear to click. If you're editing an existing survey form then click the Edit form link.

Drag and drop fields from the left panel onto the central panel to add them:
Enter field details on the right
Drag fields off the form to remove them
Click Save
Client access to survey
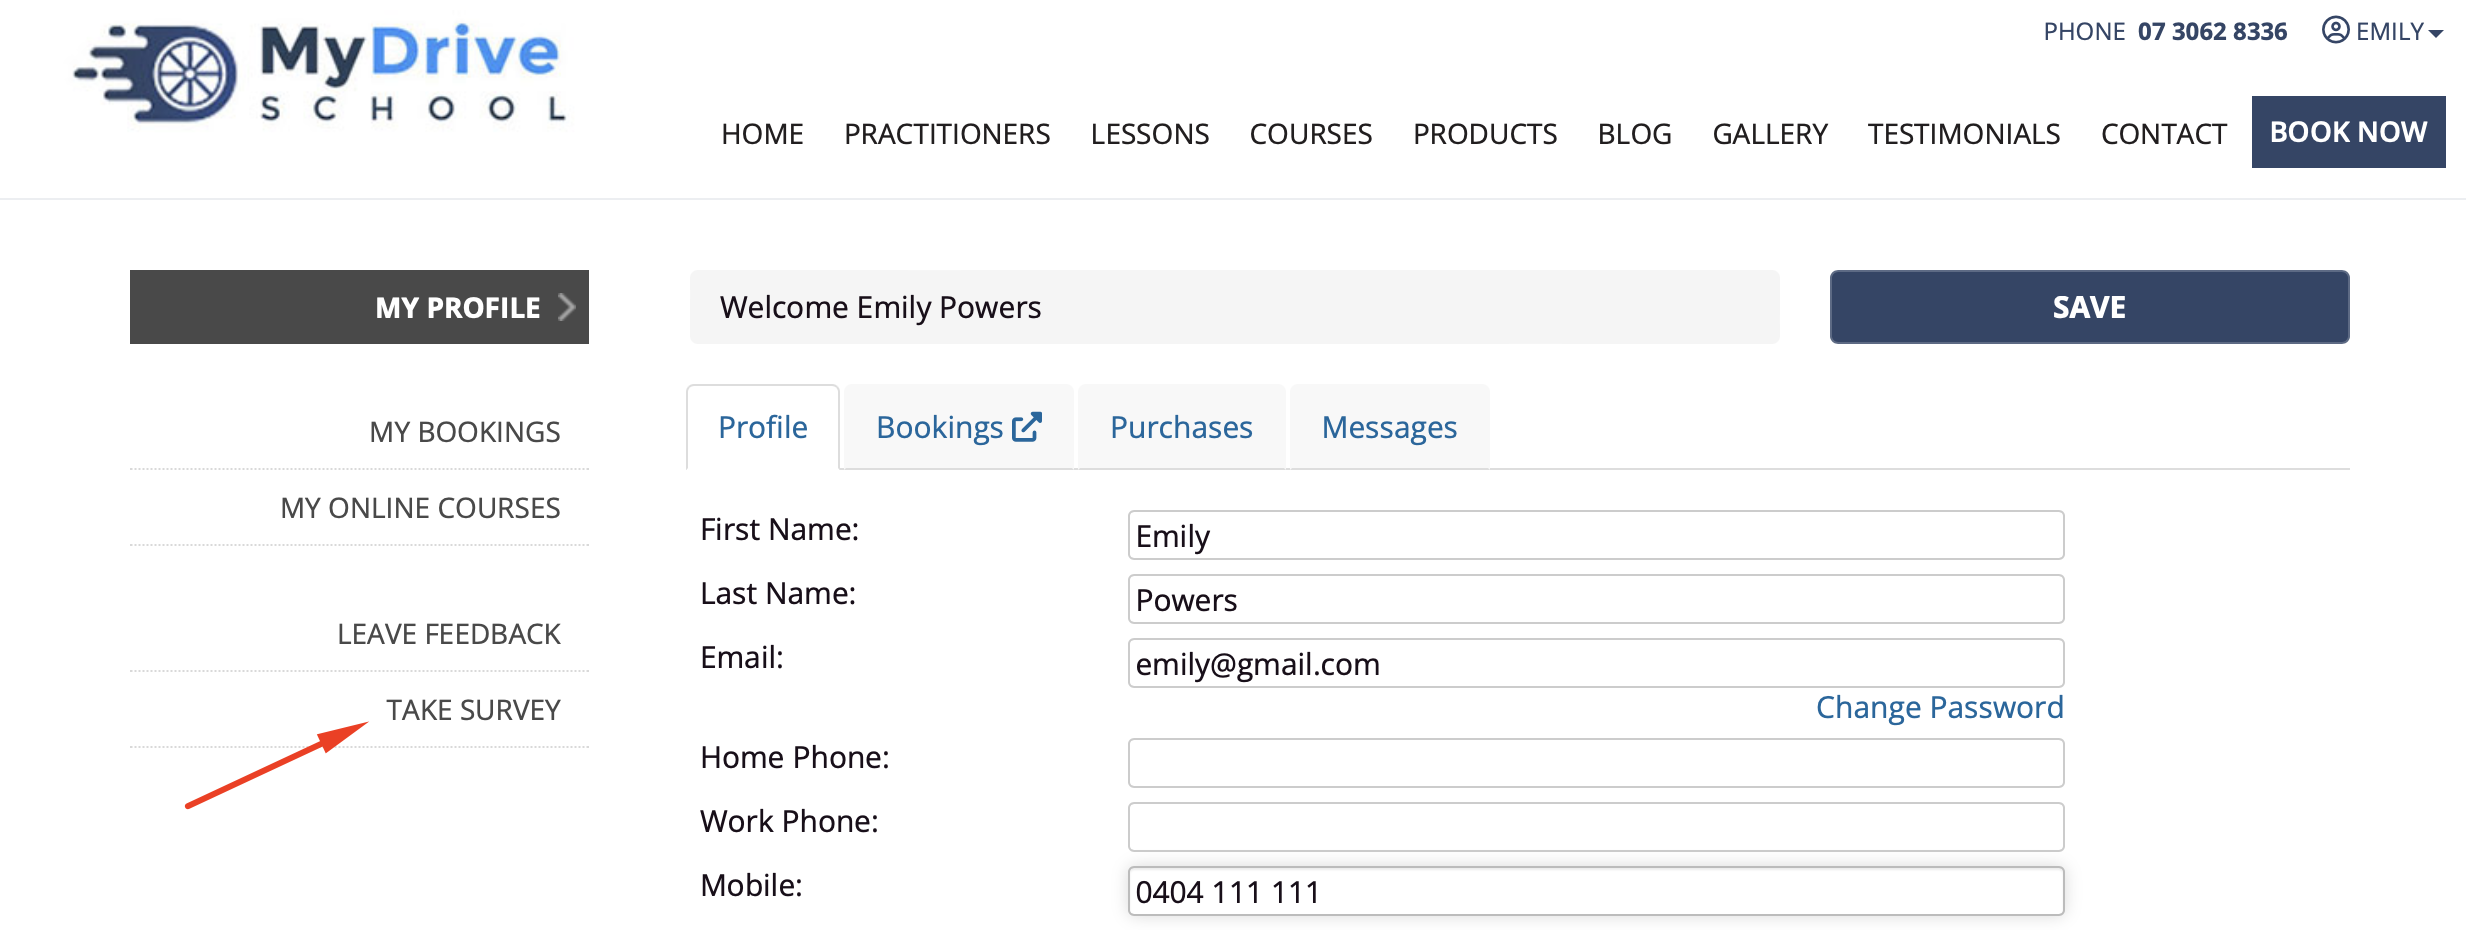
The survey form can be accessed by the client directly from their client details page.
Client logs into website and is on their the My Profile page
In the left hand menu, client clicks Take Survey
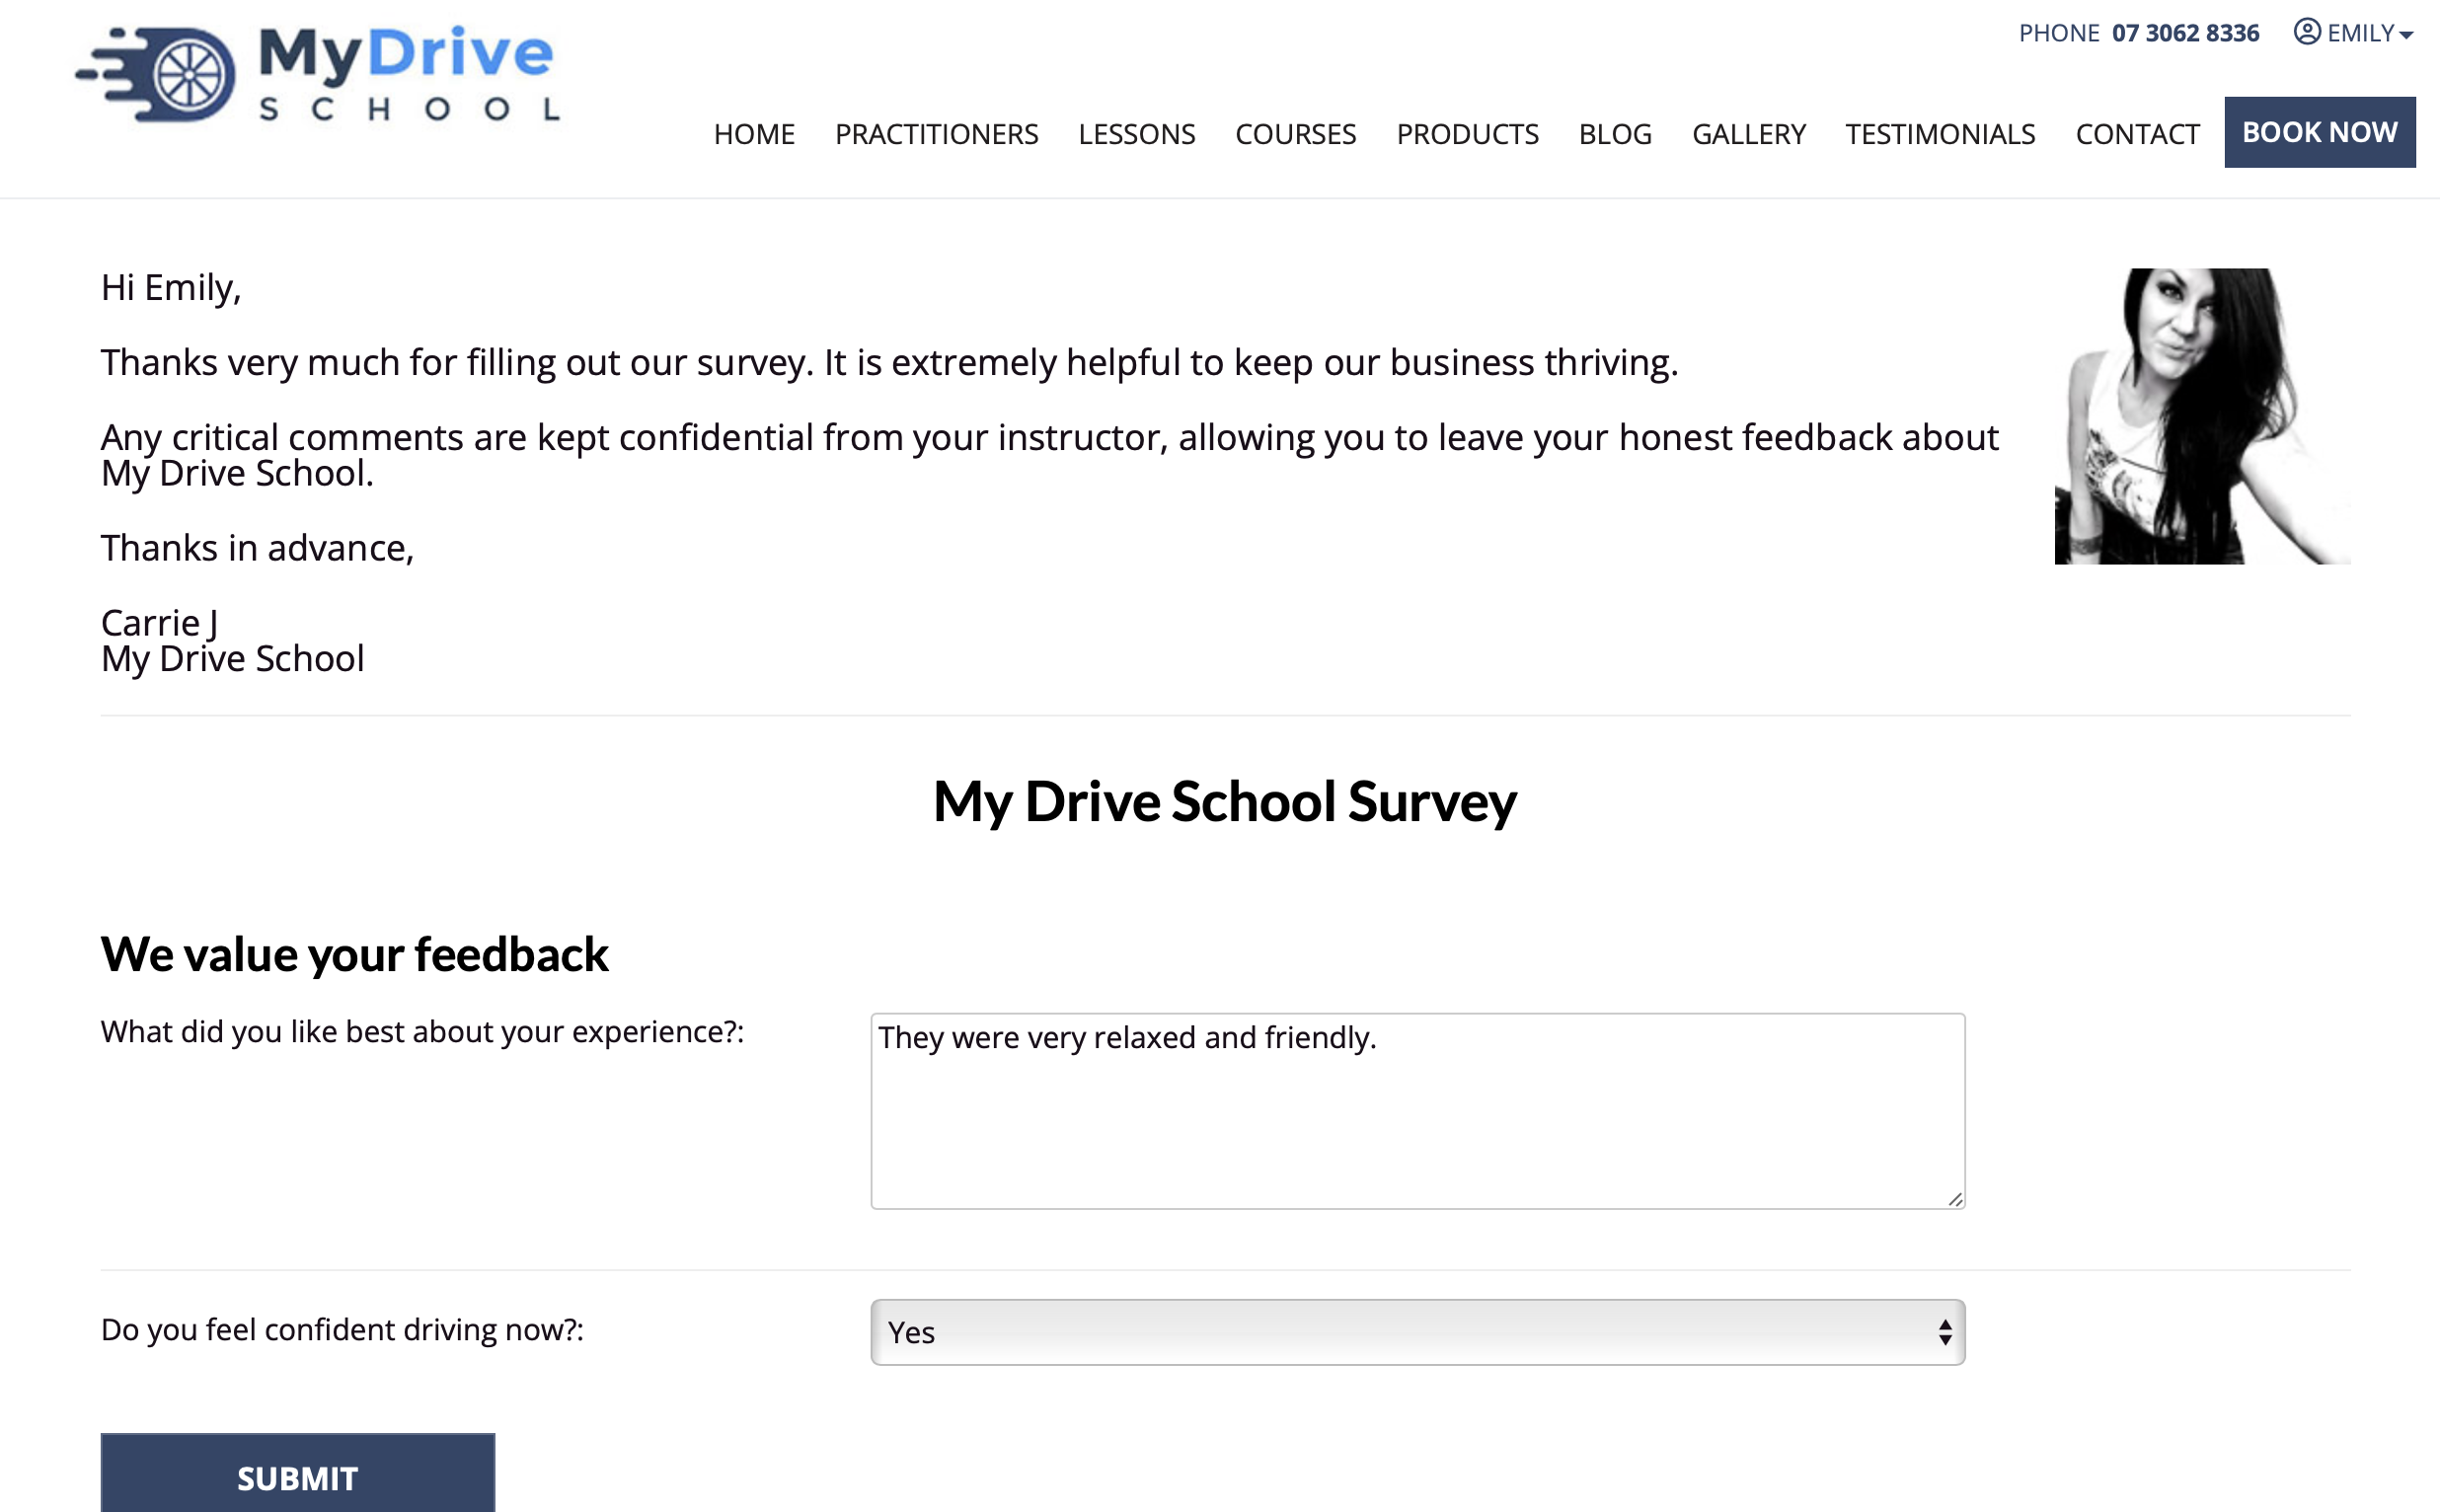
Client sees the following message and completes survey, and clicks Submit
Adding survey to a newsletter
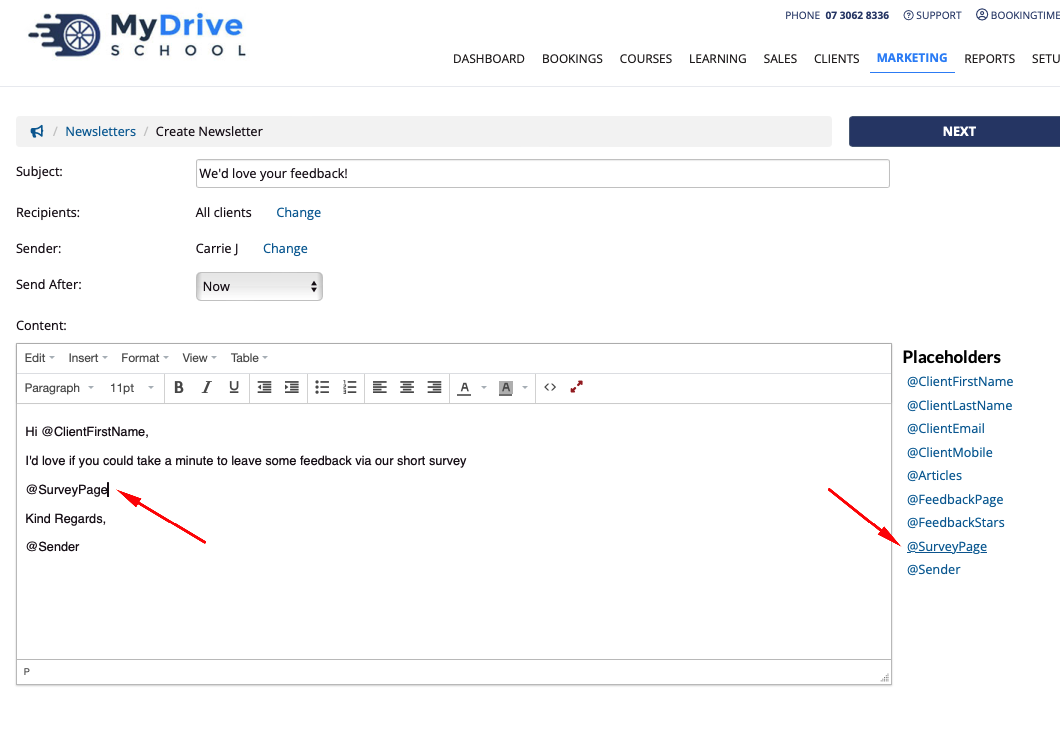
The link to the survey can be added to a newsletter. To create and send a newsletter please see the Newsletters article for more details, then following the next steps to edit the content.
Navigate to the newsletter you wish to add the survey link to.
Click in the text box to edit newsletter content
Click the @SurveyPage placeholder from the right to insert it into your message. This will automatically create a link for the user which takes them to the survey form.
Viewing completed surveys
Steps
Navigate to the Clients menu
Click the Surveys link in the left hand menu
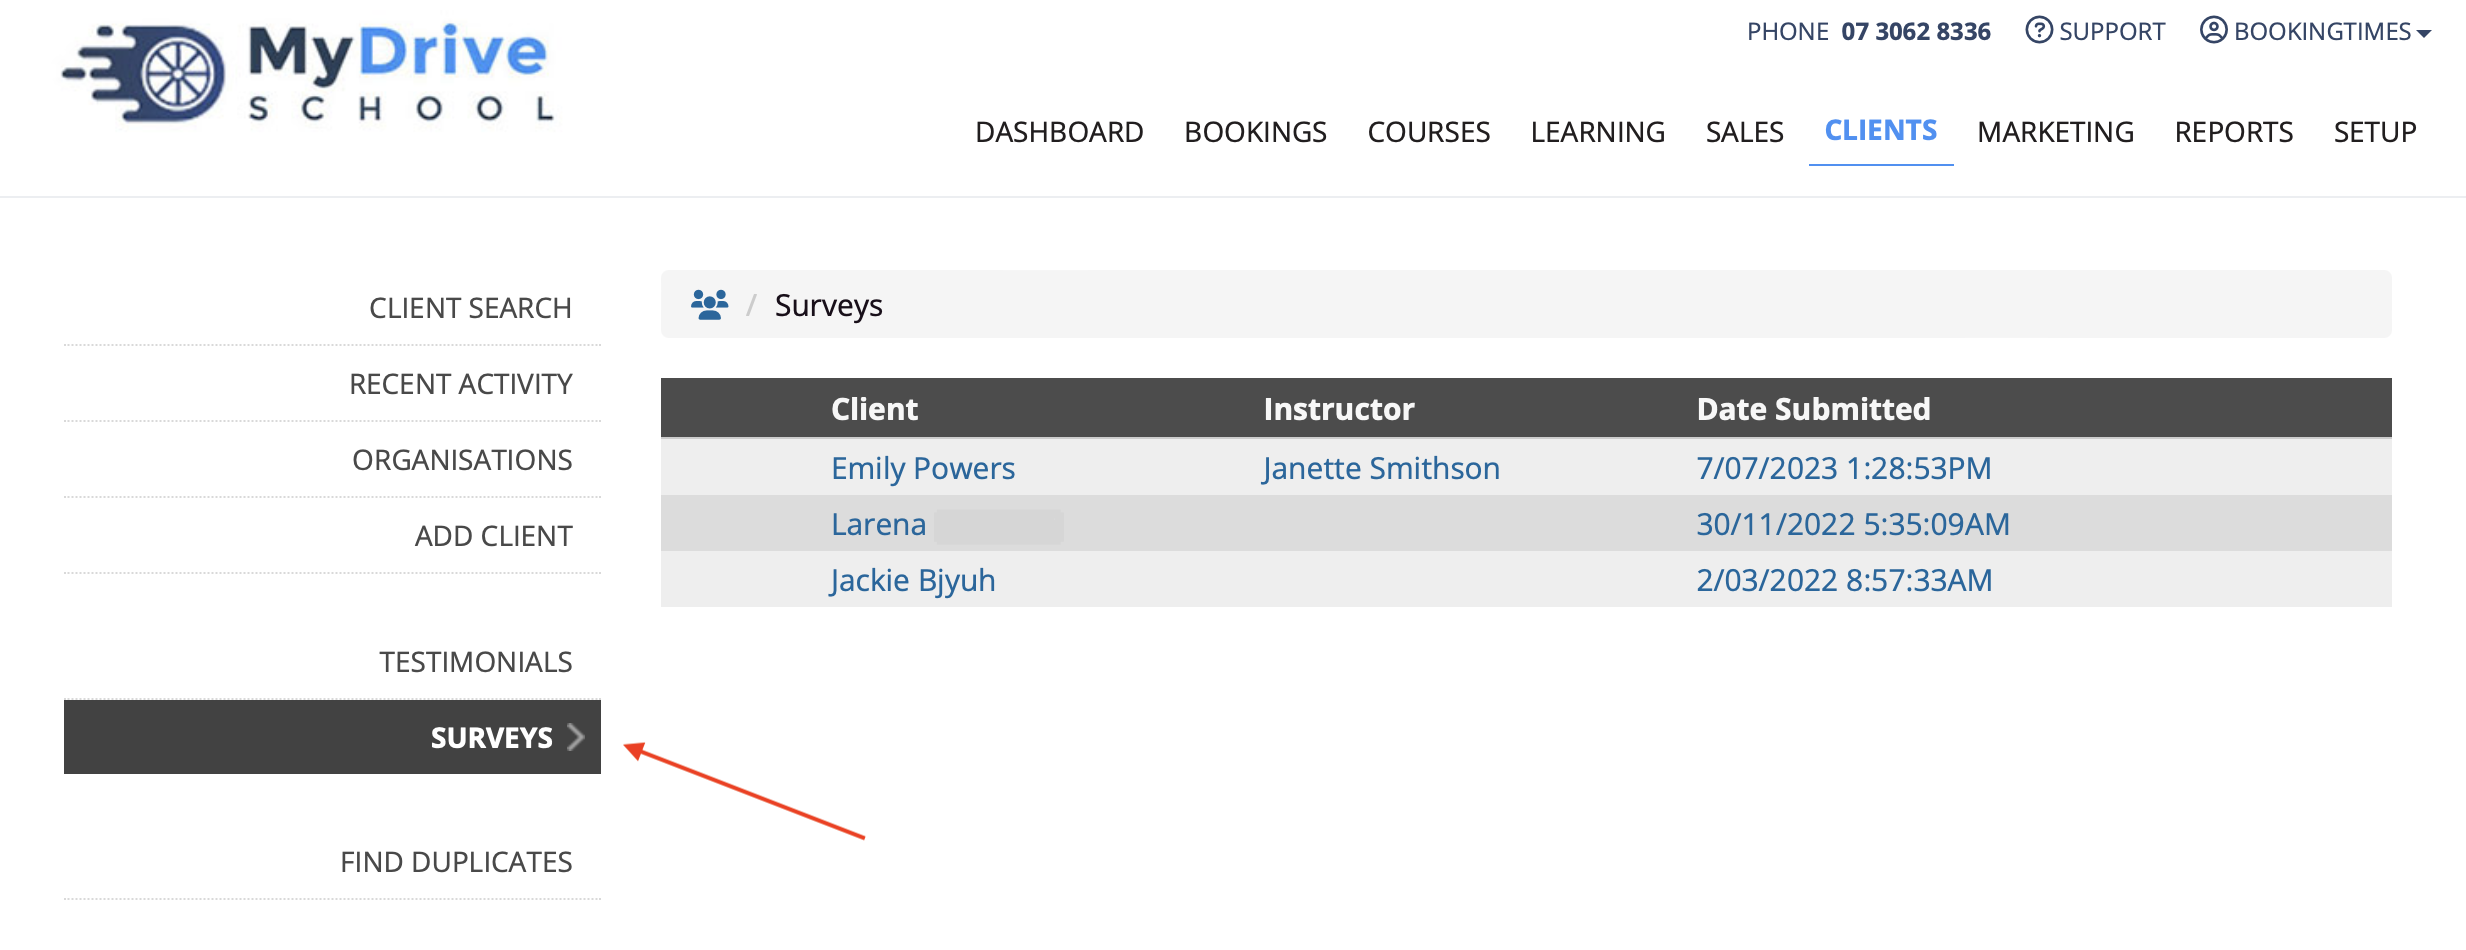
Select any of the links on a row to view the details of the survey
