When coding a website, you should make sure it will work with the BookingTime's website editor. This means users will be able to edit the website later with ease. Users should be able to:
- Reorder the sections or "snippets" on the webpage using the website editor
- Drag and drop new sections or "snippets" above and below each section using the website editor
- Click on and edit all text using the website editor
- Click on and update images where appropriate using the website editor
- Click on and update background images where appropriate using the website editor
- Click on and update links and buttons using the website editor
- Change some of the colors of the website using the Theme Colors tool under General Layout Page
- Change some font settings of the website under the General Layout Page
This guide will details how to code and test your website to ensure it meets the standard for website templates.
You may see examples of templates which are working correctly on the website templates page: https://bookingtimes.com/website-templates
Creating page sections/"snippets"
Every section on a website should be made into a snippet. The means breaking your webpage down into distinct sections, such as a Banner Section, About Section, Pricing Section. When using the website editor, you should be able to reorder the snippets, delete snippets, and add snippets from the snippets menu.
 Moving Snippets
 Deleting Snippet
 Adding Snippets
Coding Structure of a snippet
Every snippet should be a direct child div of the html document, for example:
<!--Banner Section--> <div class="banner-section full-width"> <div class="container"> <div class="row"> <div class="col-md-12"> <p>Lorem ipsum dolor</p> </div> </div> </div> </div> <!--/Banner Section--> <!--About Section--> <div class="about-section full-width"> <div class="container"> <div class="row"> <div class="col-md-12"> <p>Lorem ipsum dolor</p> </div> </div> </div> </div> <!--/About Section-->
Do not wrap the entire page in one div/element, as this will prevent the sections/snippets from working in the website editor.
Snippets Checklist
- Every website must have snippets created following this guide: Creating Drag n Drop Snippets
- You must be able to reorder your snippets in the website editor
- You must be able to delete your snippets in the website editor
- You must be able to drag and drop snippets from the snippets using the website editor
Editing text in the website editor
Any text elements on the webpage must be able to be clicked on and edited using the website editor. This includes buttons and links. Ensure all text elements on the page can be clicked on and edited.
 Editing Text
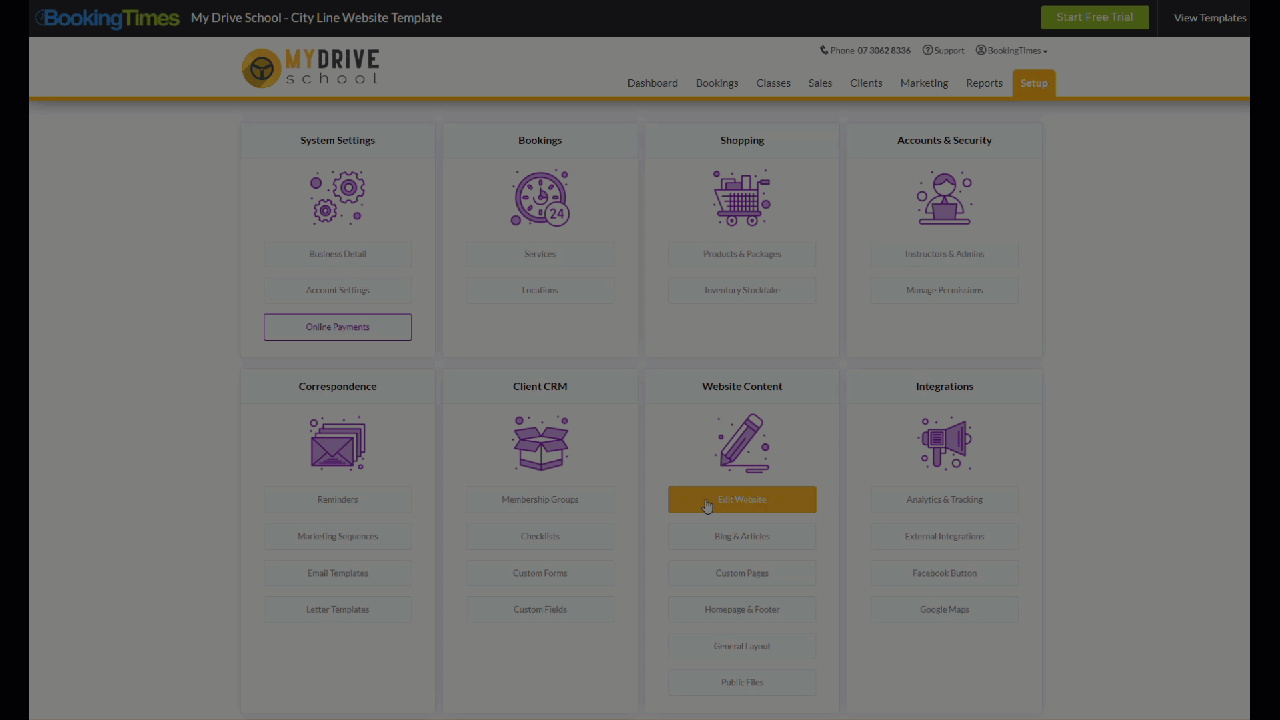
Editing images (except background images) using the website editor
The website editor will allow users to click on any images in <img/ > tags and replace them. You should ensure all images can be selected and replaced in the website editor. This does not need to include decorative images or patterns, but should include any of the main photographic images on the site, as well as significant icons.
Images checklist
- All main photographic images, illustrations and significant icons can be clicked on and replaced
- If a user uploads an image which has different dimensions to the default image i.e. is larger, smaller, or a different shape, the img element should have CSS properties which keep the styling of an image consistent, such as max-width, max-height, border-radius, clip-path etc.
For images embedded using the background image CSS property, see the following section.
 Editing Images
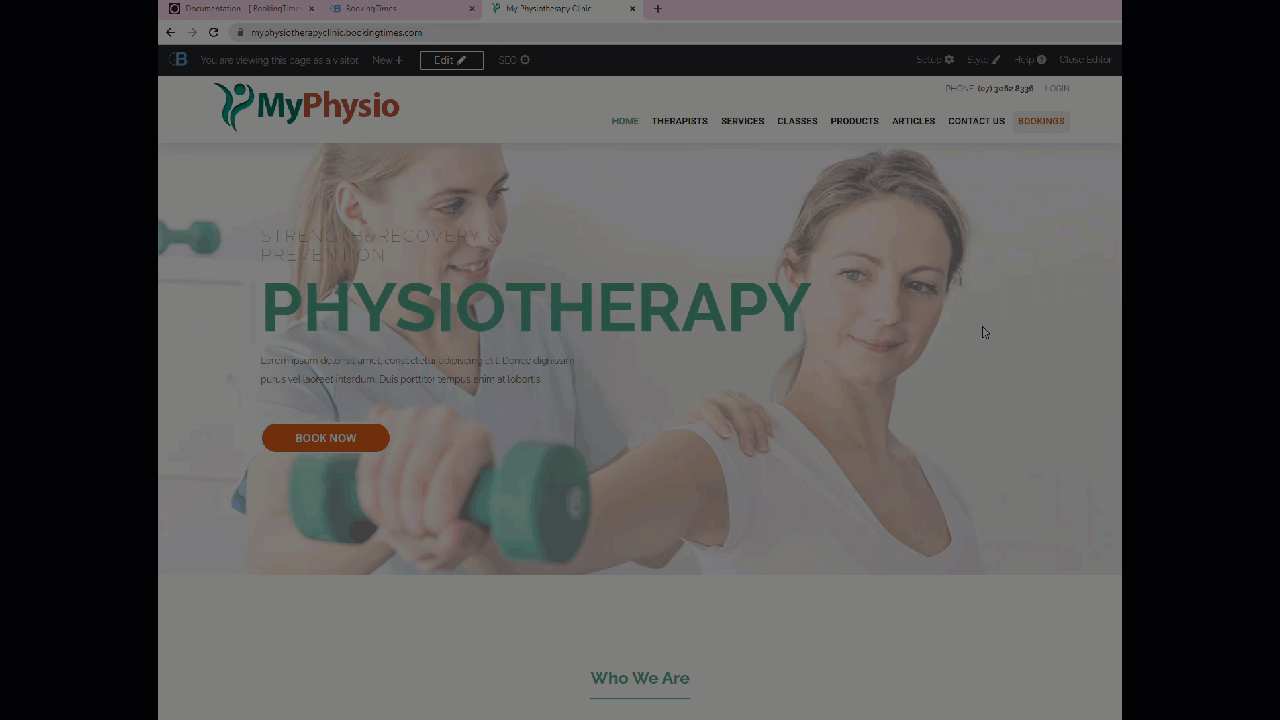
Editing background images using the website editor
The website editor will allow users to click on elements and change the background image if the is a background-image CSS property specified Any elements which have the background-image CSS property should be able to be clicked on and have the background image changed.
 Editing Background Images
Editing links using the website editor
The website allows any links to be clicked on and the URL updated using the website editor. This includes text links, as well as elements which are wrapped in a link.
Ensure all linked elements can be clicked on and the URL can be updated.
 Editing Links
Changing colors using the website editor
Users should be able to change most of the site colors using the Theme color changer. Please see the guide Adding and changing website colors for more information
The key points are:
- Use only two or three main colors consistently throughout the site. Ensure the same HEX code is used consistently and any required adjustments to the brightness or saturation of the color is done with CSS Opacity and filter properties instead of adjusting the HEX Code.
- Icons should not be images with a fixed color, they should either be created using the Font Awesome Icon Library, SVG's with a fill color, or images with transparent sections that show a background-color underneath. You can inspect the icons on this website for an example of using partially transparent images and a background-color. https://mychiropracticclinic.bookingtimes.com/
 Changing Theme Colors
Changing fonts using the website editor
You should be able to change most of the site fonts using the the site colors under the General layout page on the website. Please see this guide Adding and changing fonts for more information
 Changing Website Fonts