You can edit your website home page and supporting pages (including your services, products, email templates etc) easily yourself using the BookingTimes website editor. This drag and drop editor allows you to quickly setup and edit pages, products, services, page SEO (refer to the Edit page SEO article) and more. It also allows you to change the look of your website quickly via the use of existing snippets.
You also have the ability to view the full HTML source code of the page, or view the HTML of each particular section should you prefer to edit that instead.
There is also a version history available on all published pages, allowing you to roll-back to any previous versions if desired.
Opening the website editor
Steps
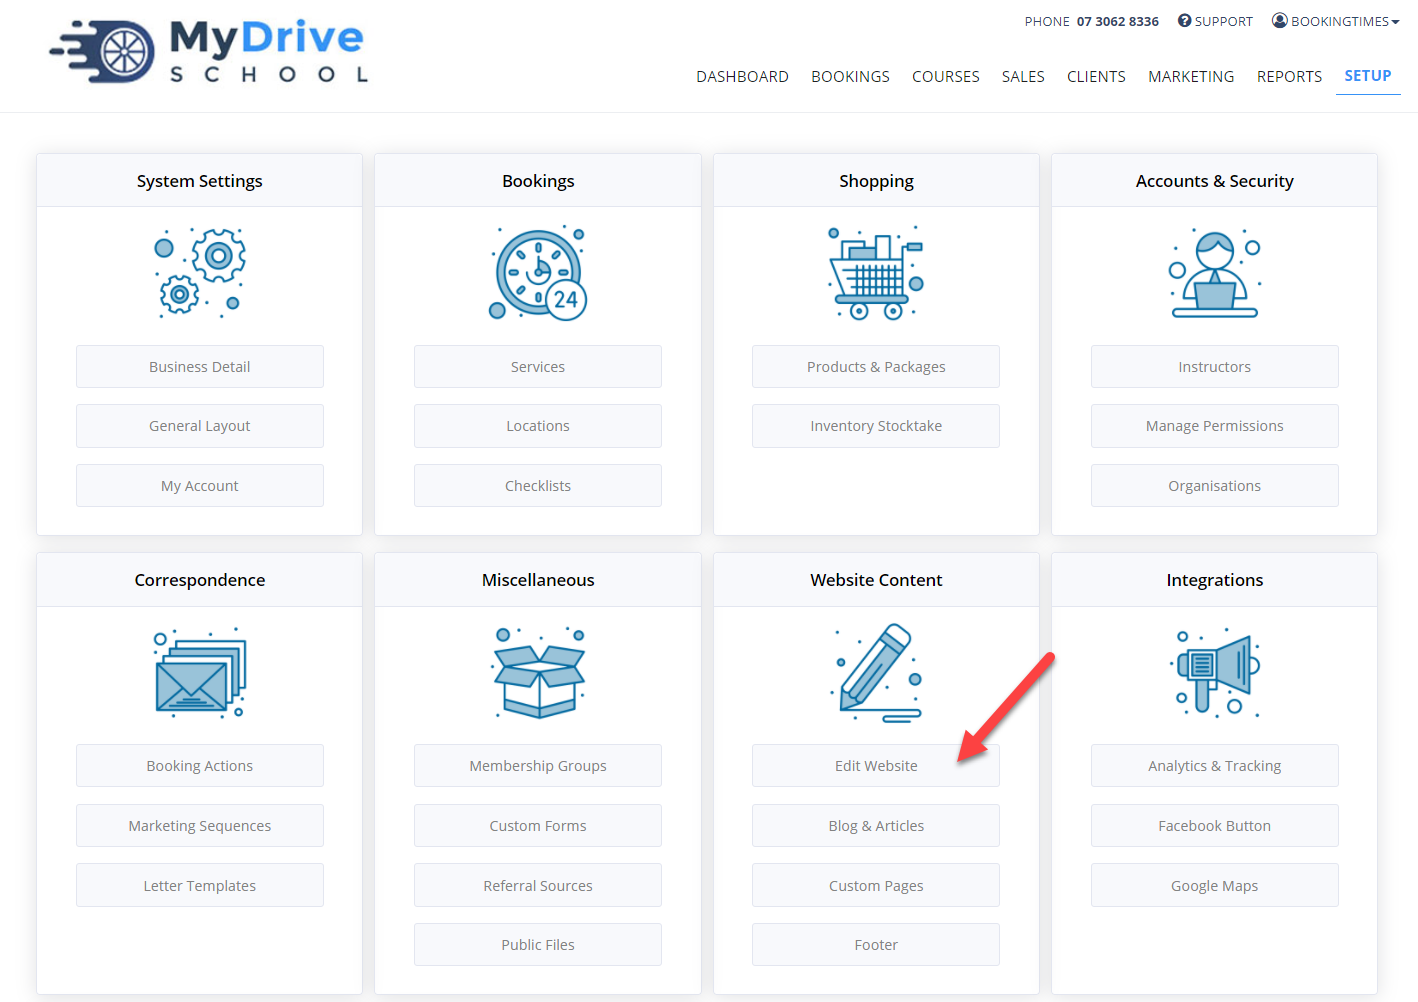
Navigate to Setup > Website Content > Edit Website
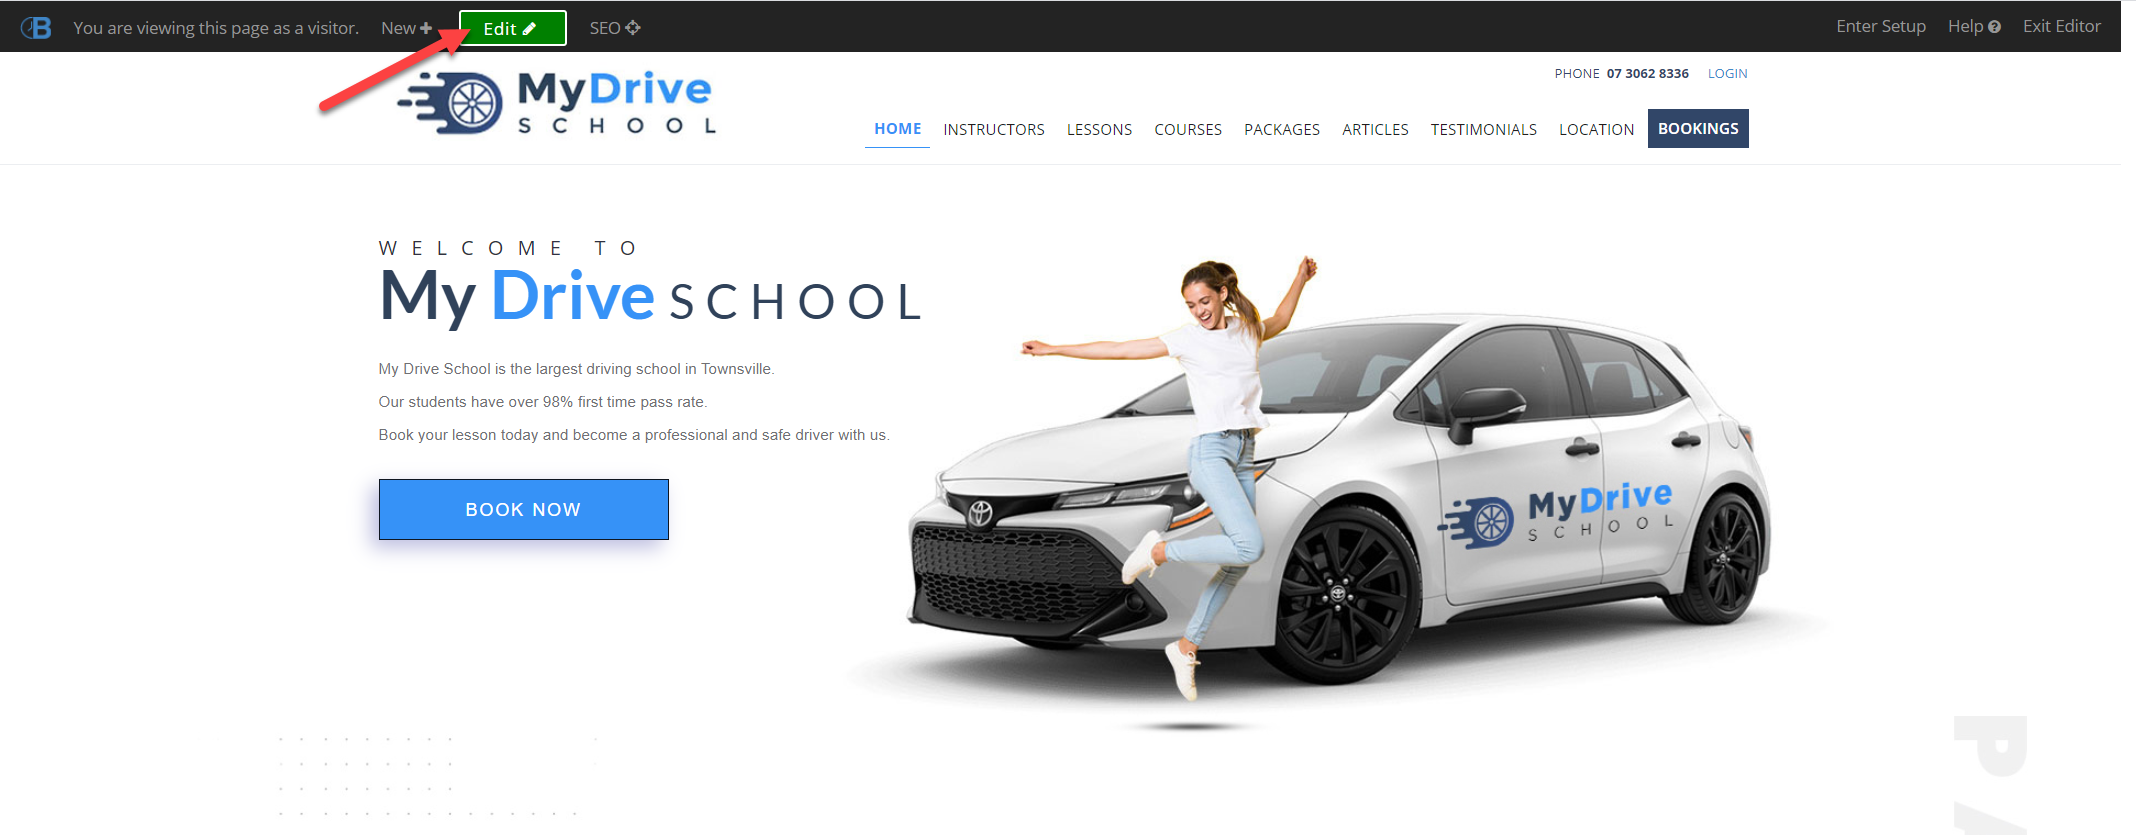
Navigate to the page you want to edit using the menu

Click Edit to enter Edit Mode
To access the HTML directly, please refer to the Accessing the page or section HTML section within this article.
Adding a new section
You can select a "Snippet" from the side menu and drag it onto the page to create a new section. You can edit the text and images in the snippet to suit your brand - the formatting is already done for you.
Custom snippets
You can also create your own custom snippets. Please see the Creating a snippet article for more details.
Steps
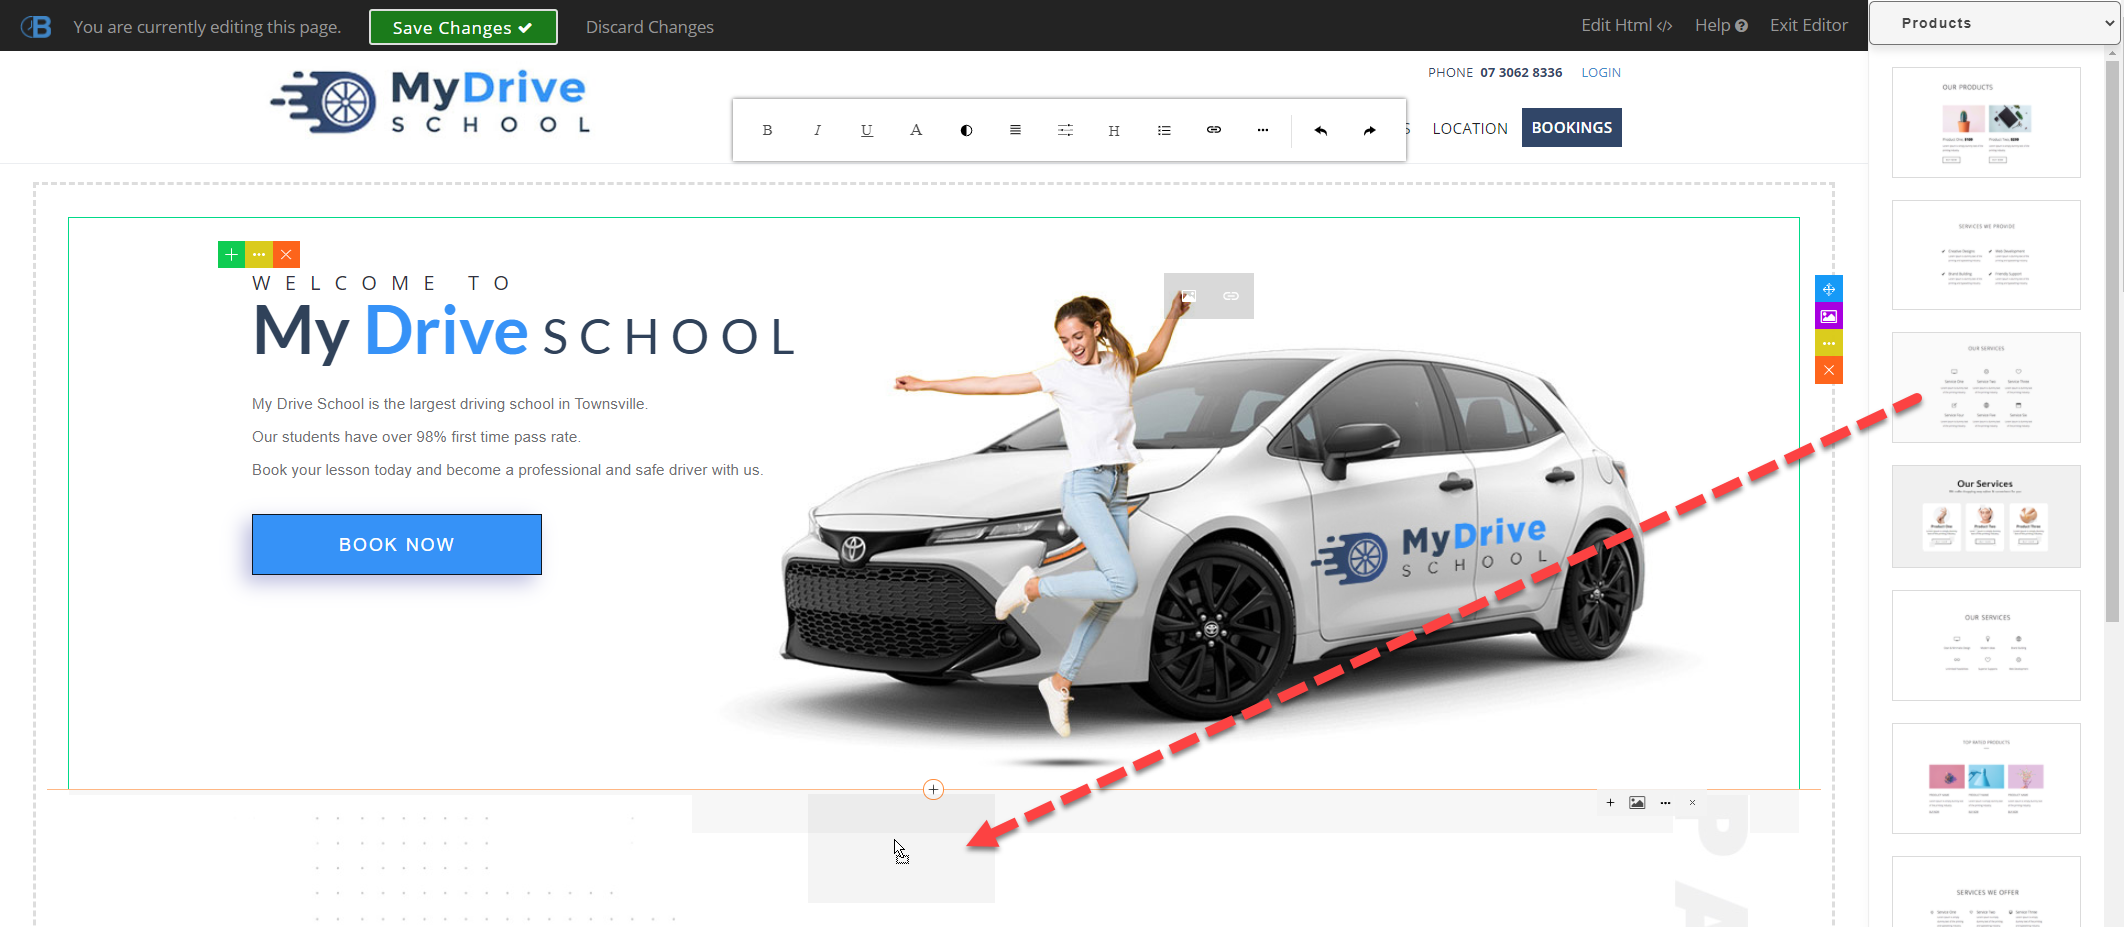
Browse the Snippet Categories to view available snippets
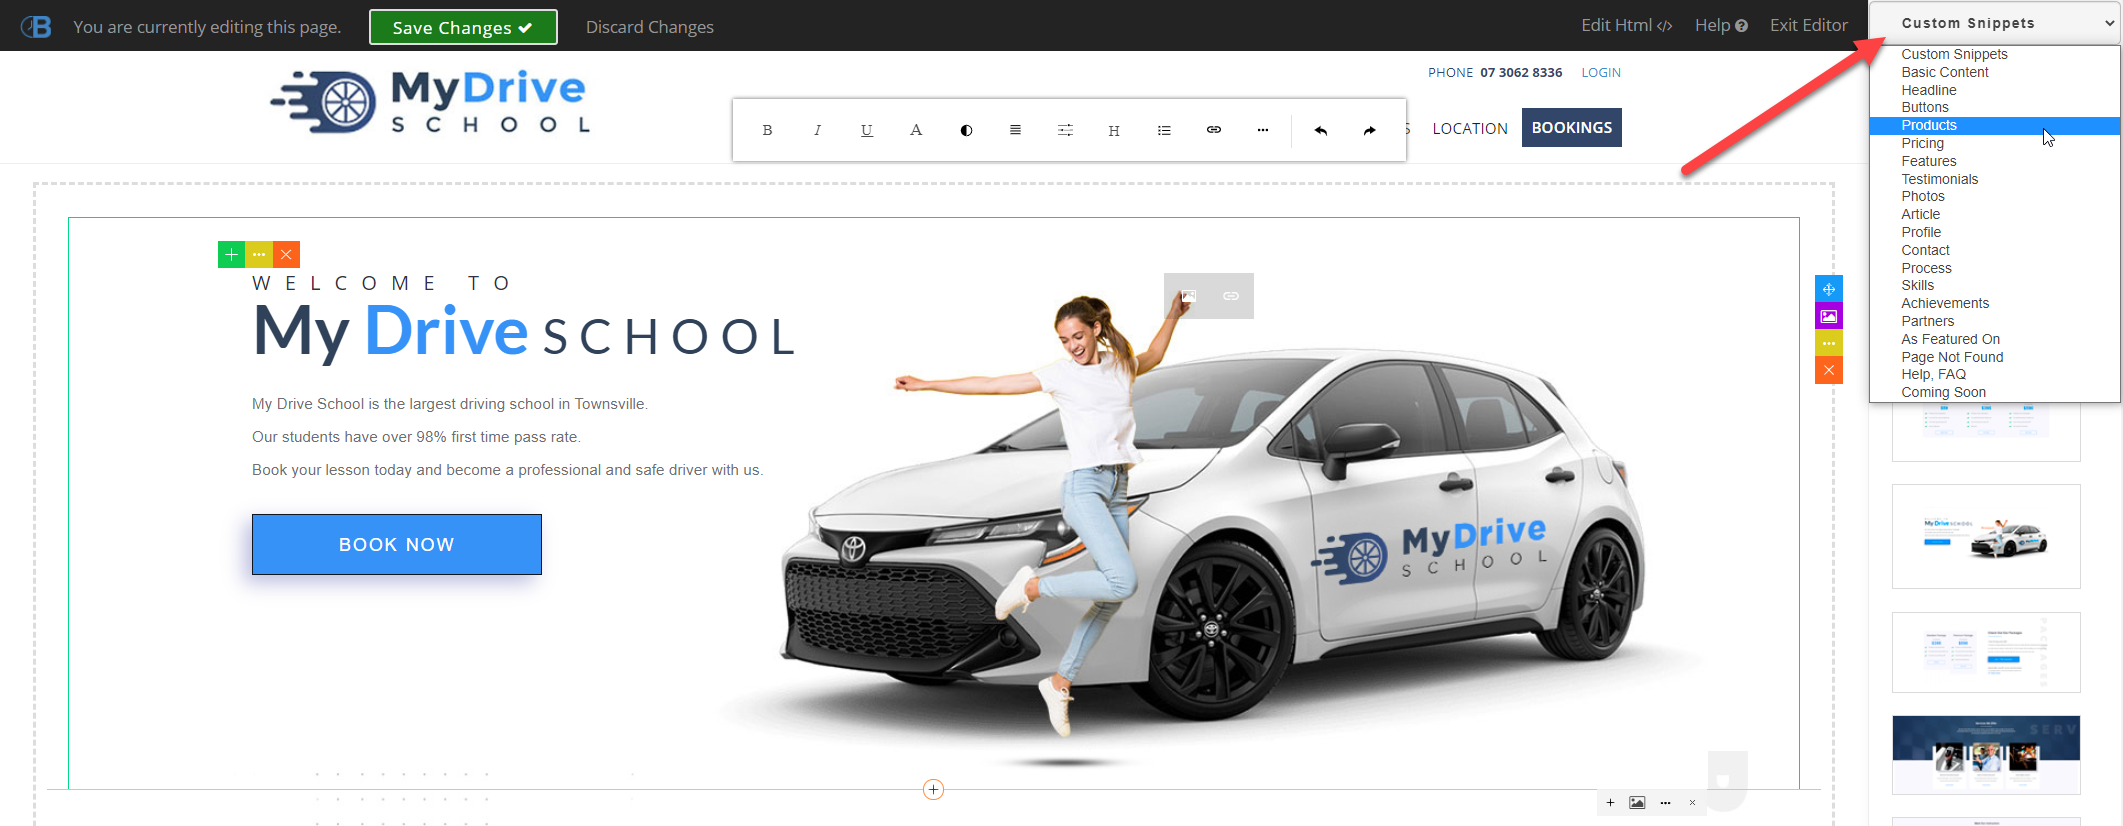
Click the desired snippet
Drag the snippet onto the page where you would like it positioned
If the snippet is not positioned correctly, you can move it up or down by clicking on the section and clicking the yellow dot menu
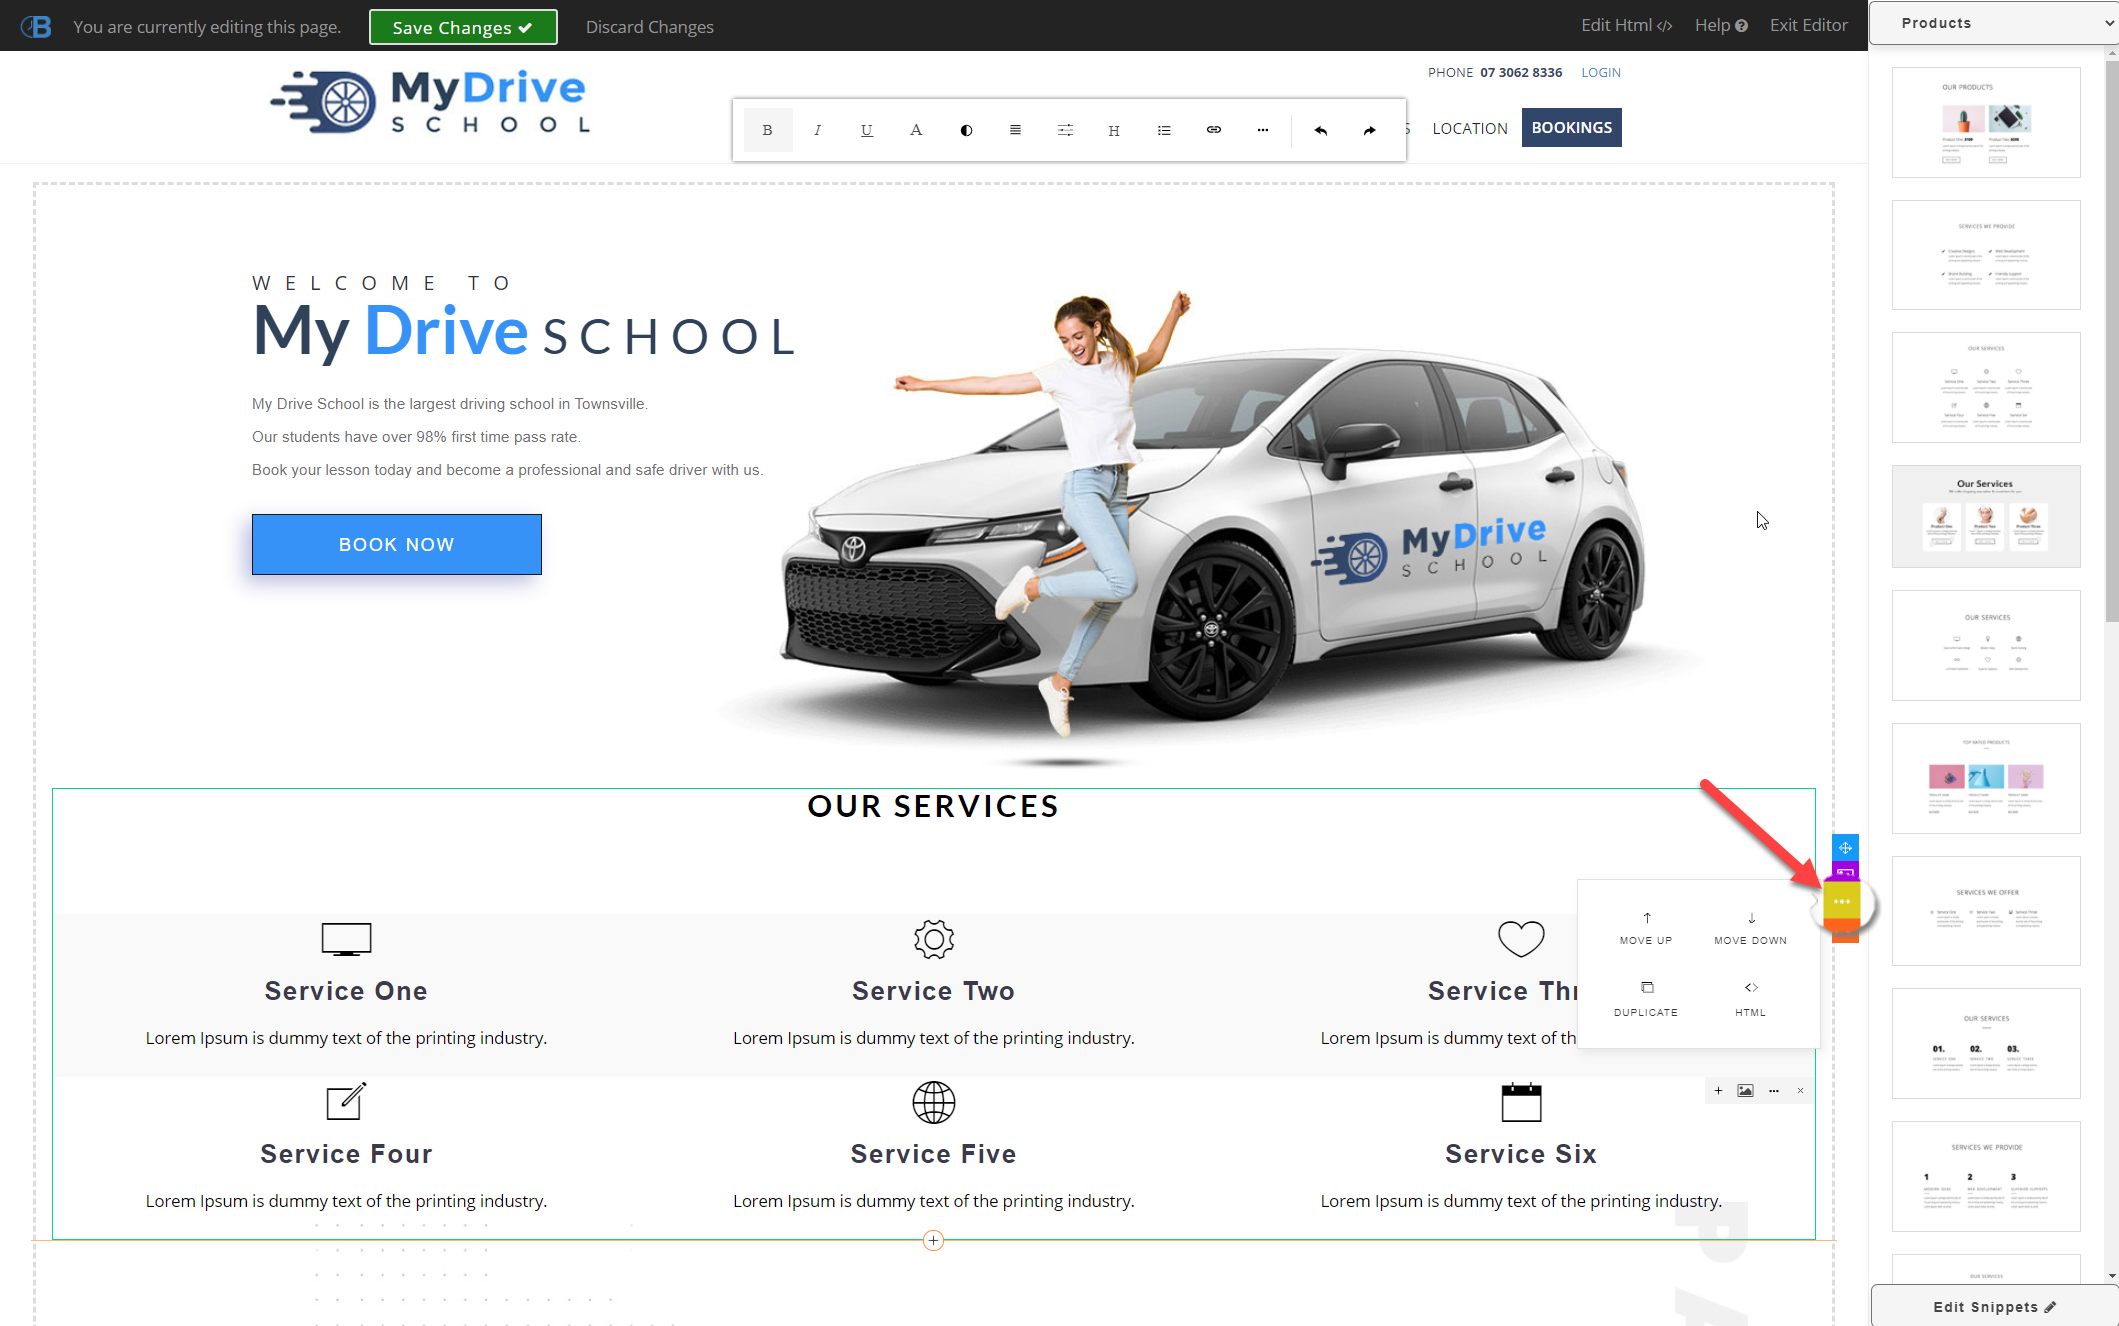
Click Move Up or Move Down
Removing a section
Steps
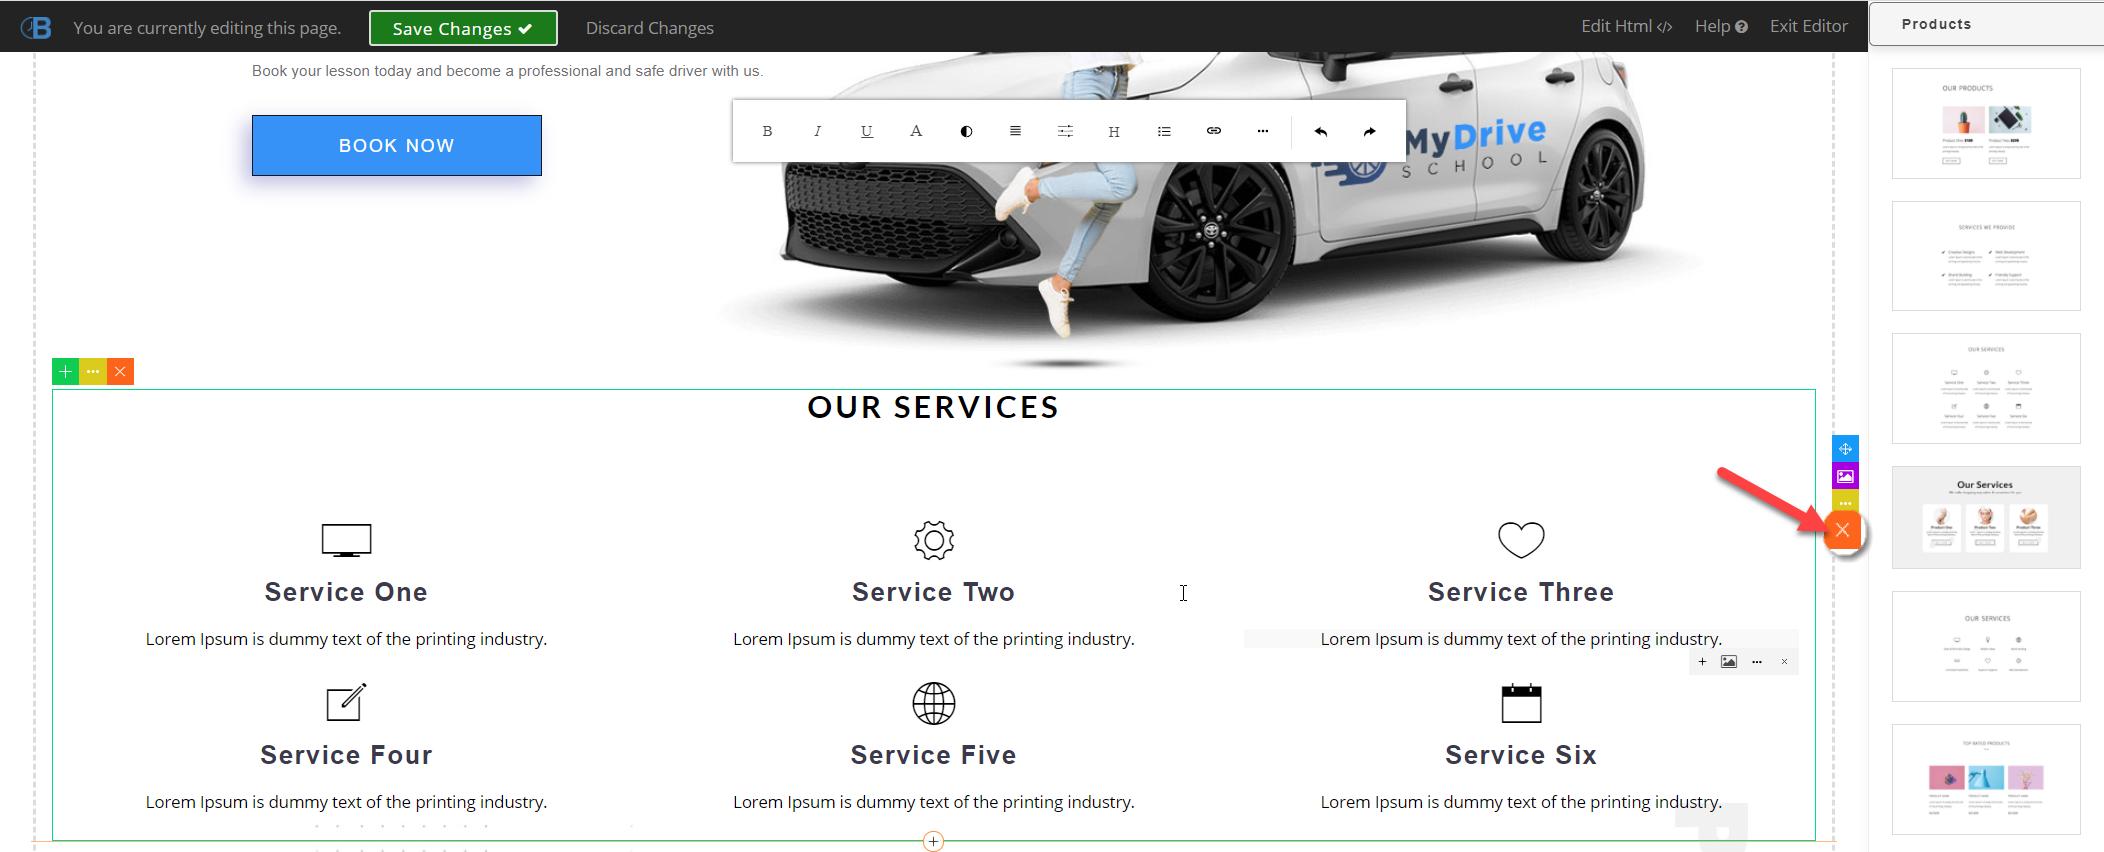
Click on the section
Click the orange "X" icon to delete the section
Editing text
Steps
Click on the text you want to edit
Type or backspace to change the text
Use the toolbar to format the style of the text

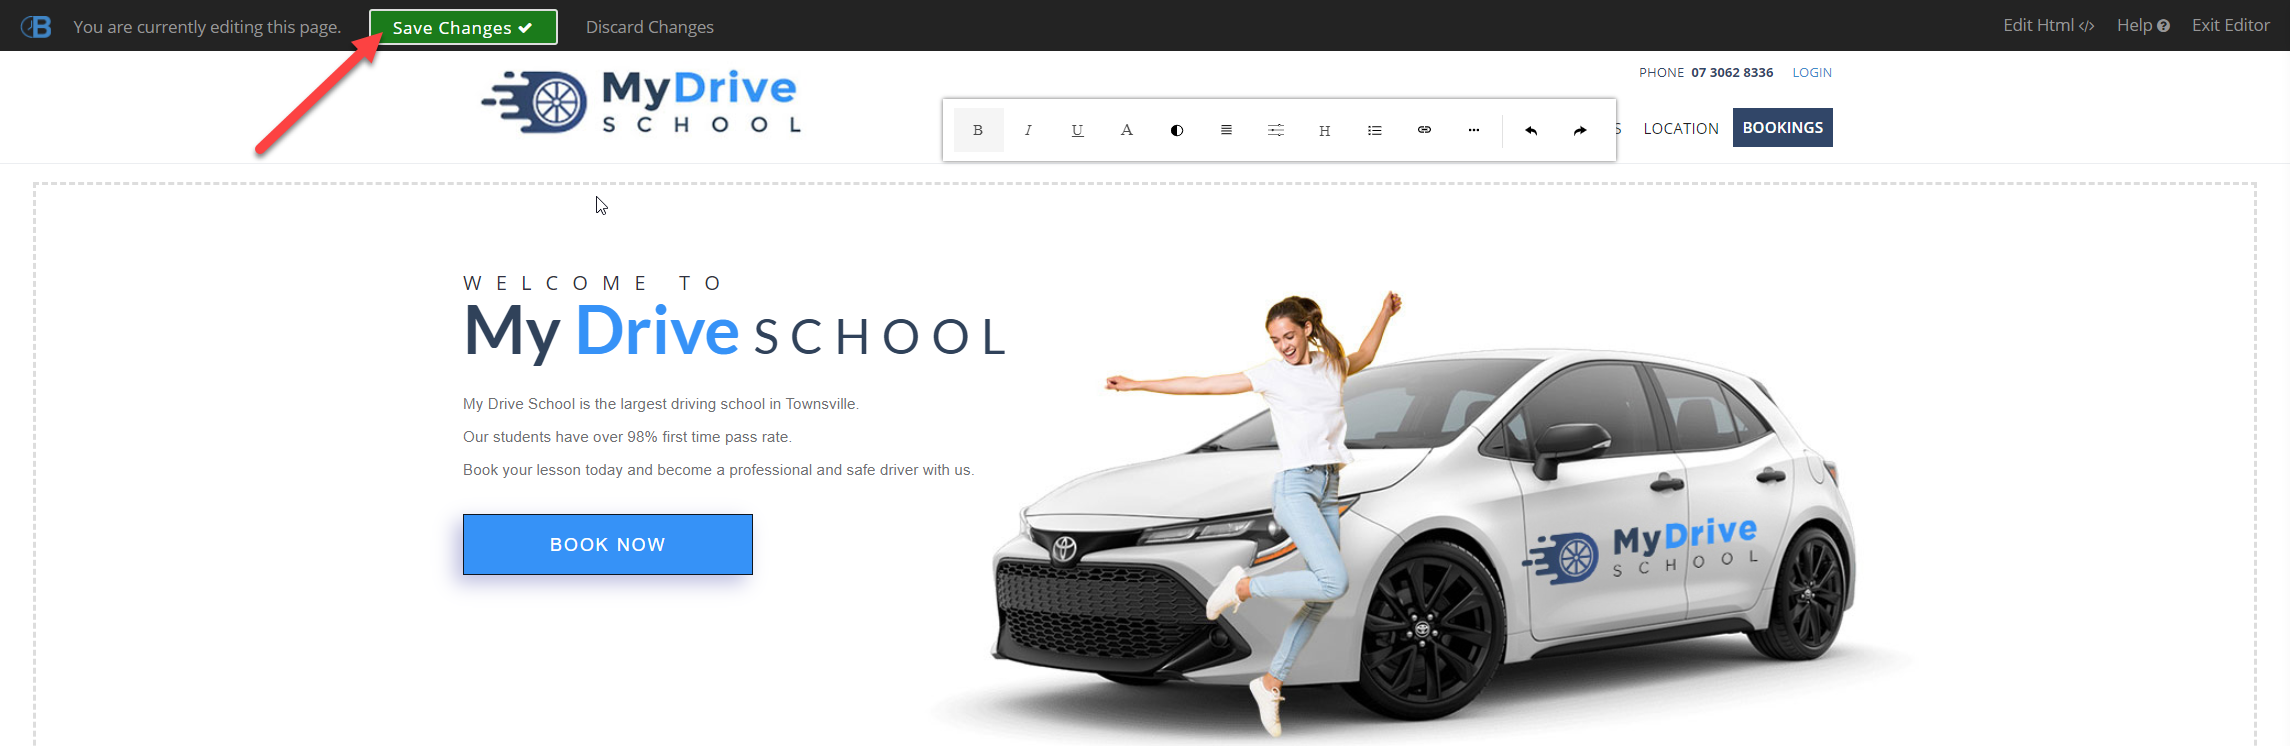
Click Save Changes once you are done editing

Changing images and image sizing
Steps
Click on the image you want to change
Click the image icon
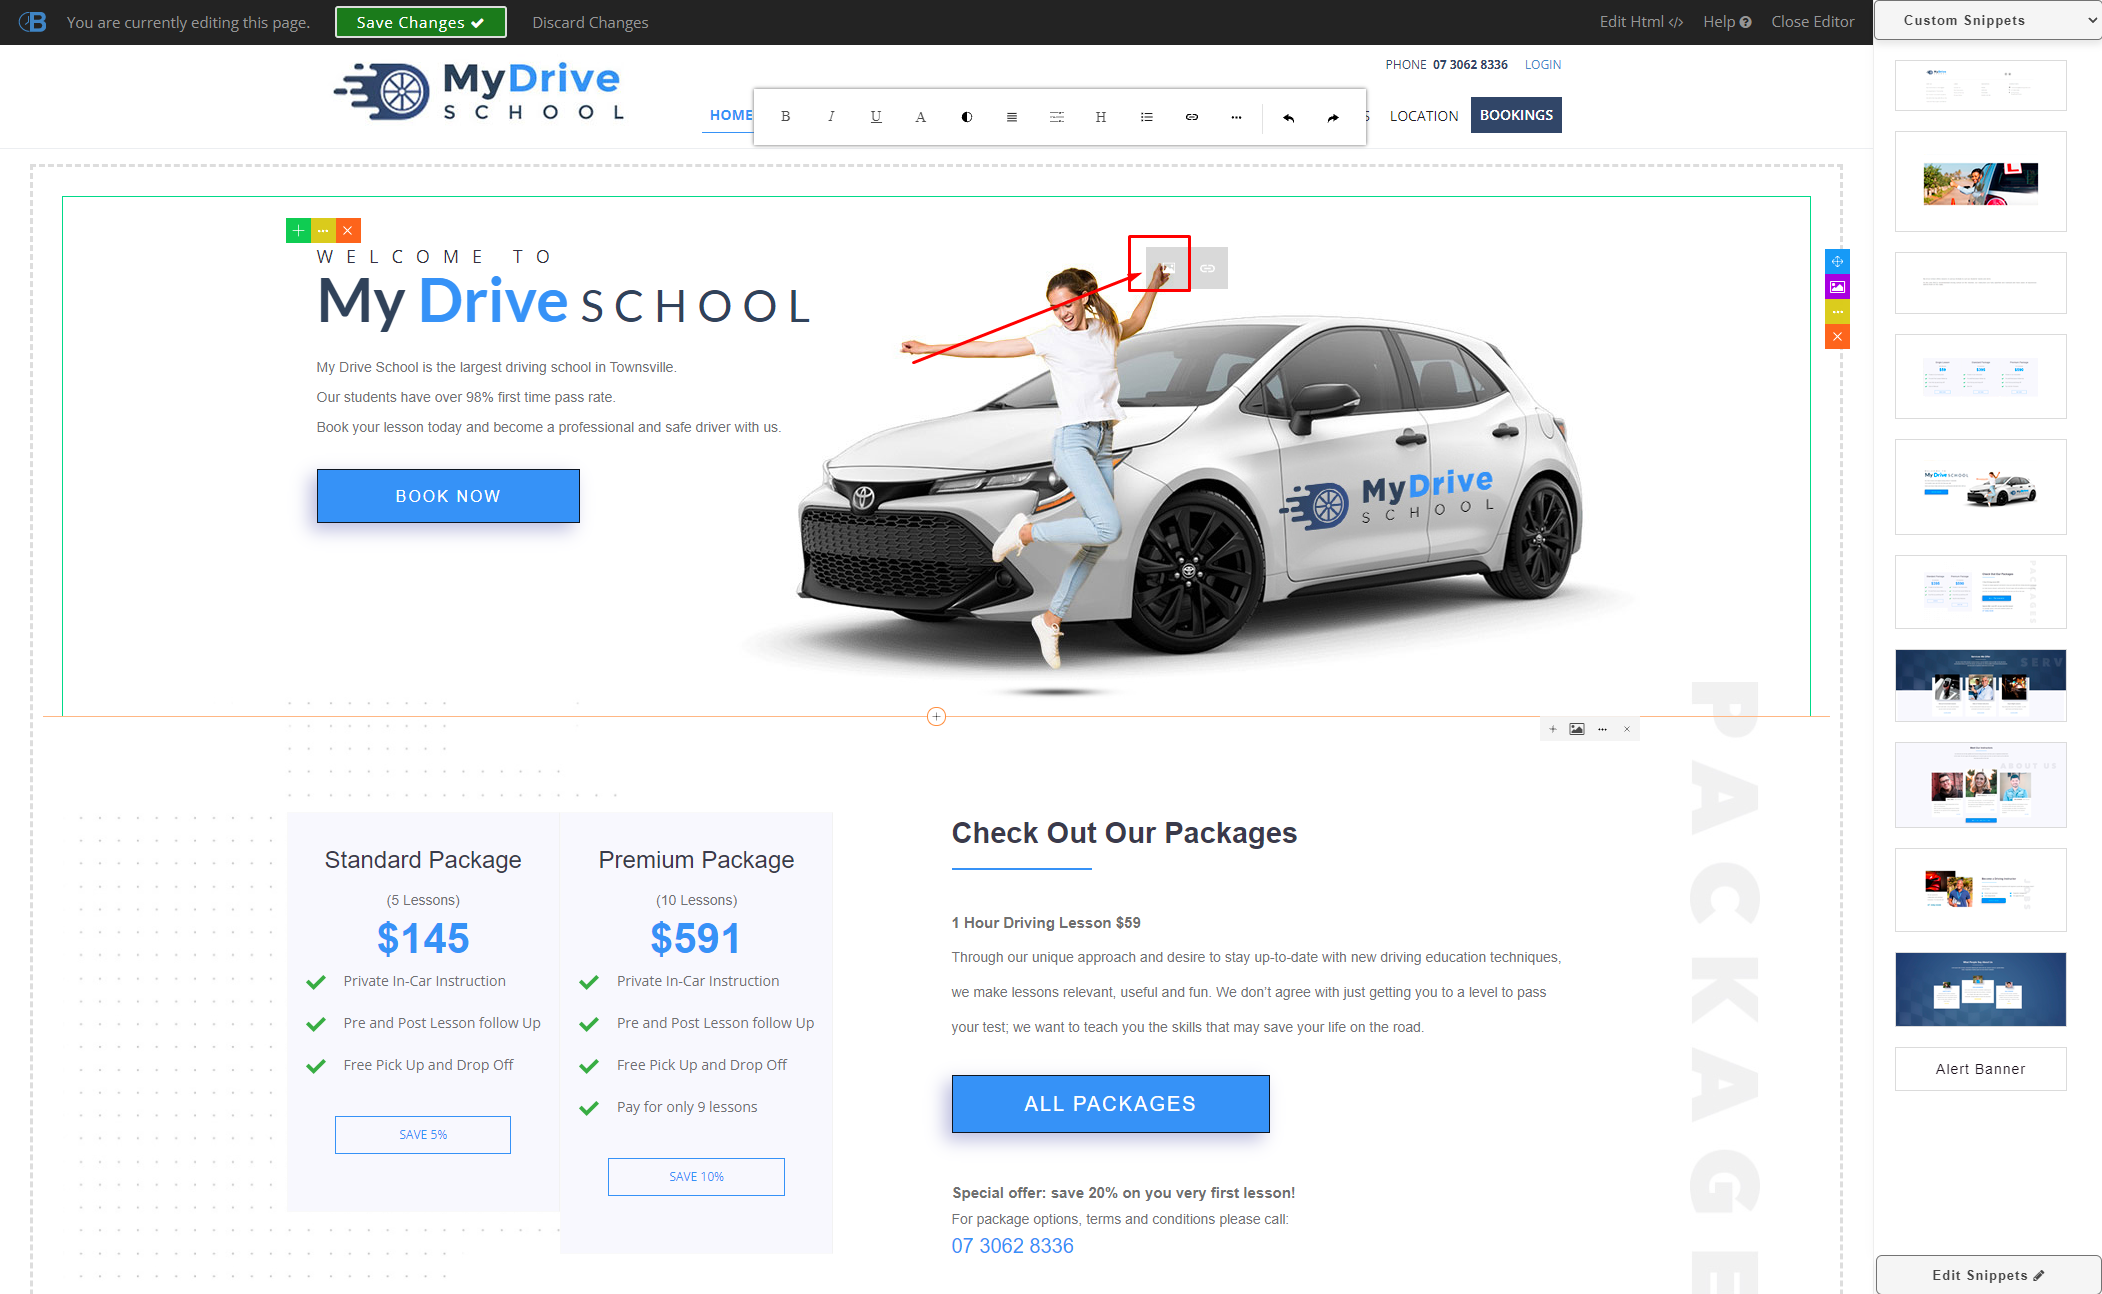
Click the image you want to insert, or click "Add Image" to upload a new image

If you want to change the image size, click on the image, then on the 3 dots icon, then on Settings
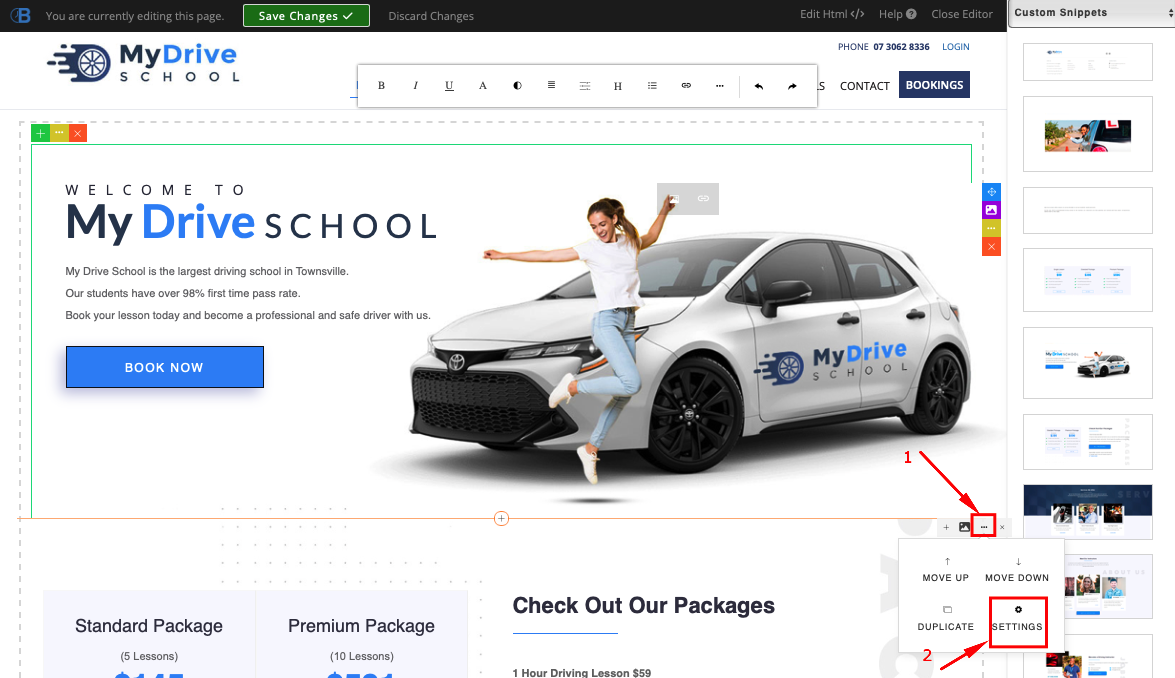
Edit the Dimension text boxes as desired
Tip: Setting the width to 100% (not px) is a good way to get the image to take up the available space
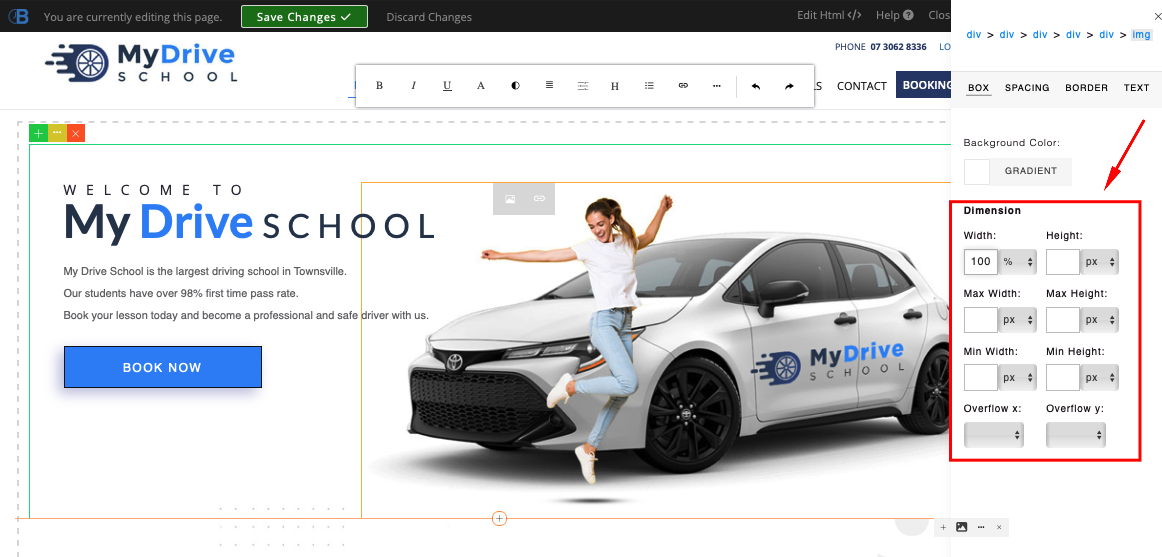
Click Save Changes once you are done editing

Changing background images
Steps
Click on the section you would like to apply a background image to
Click the purple image icon
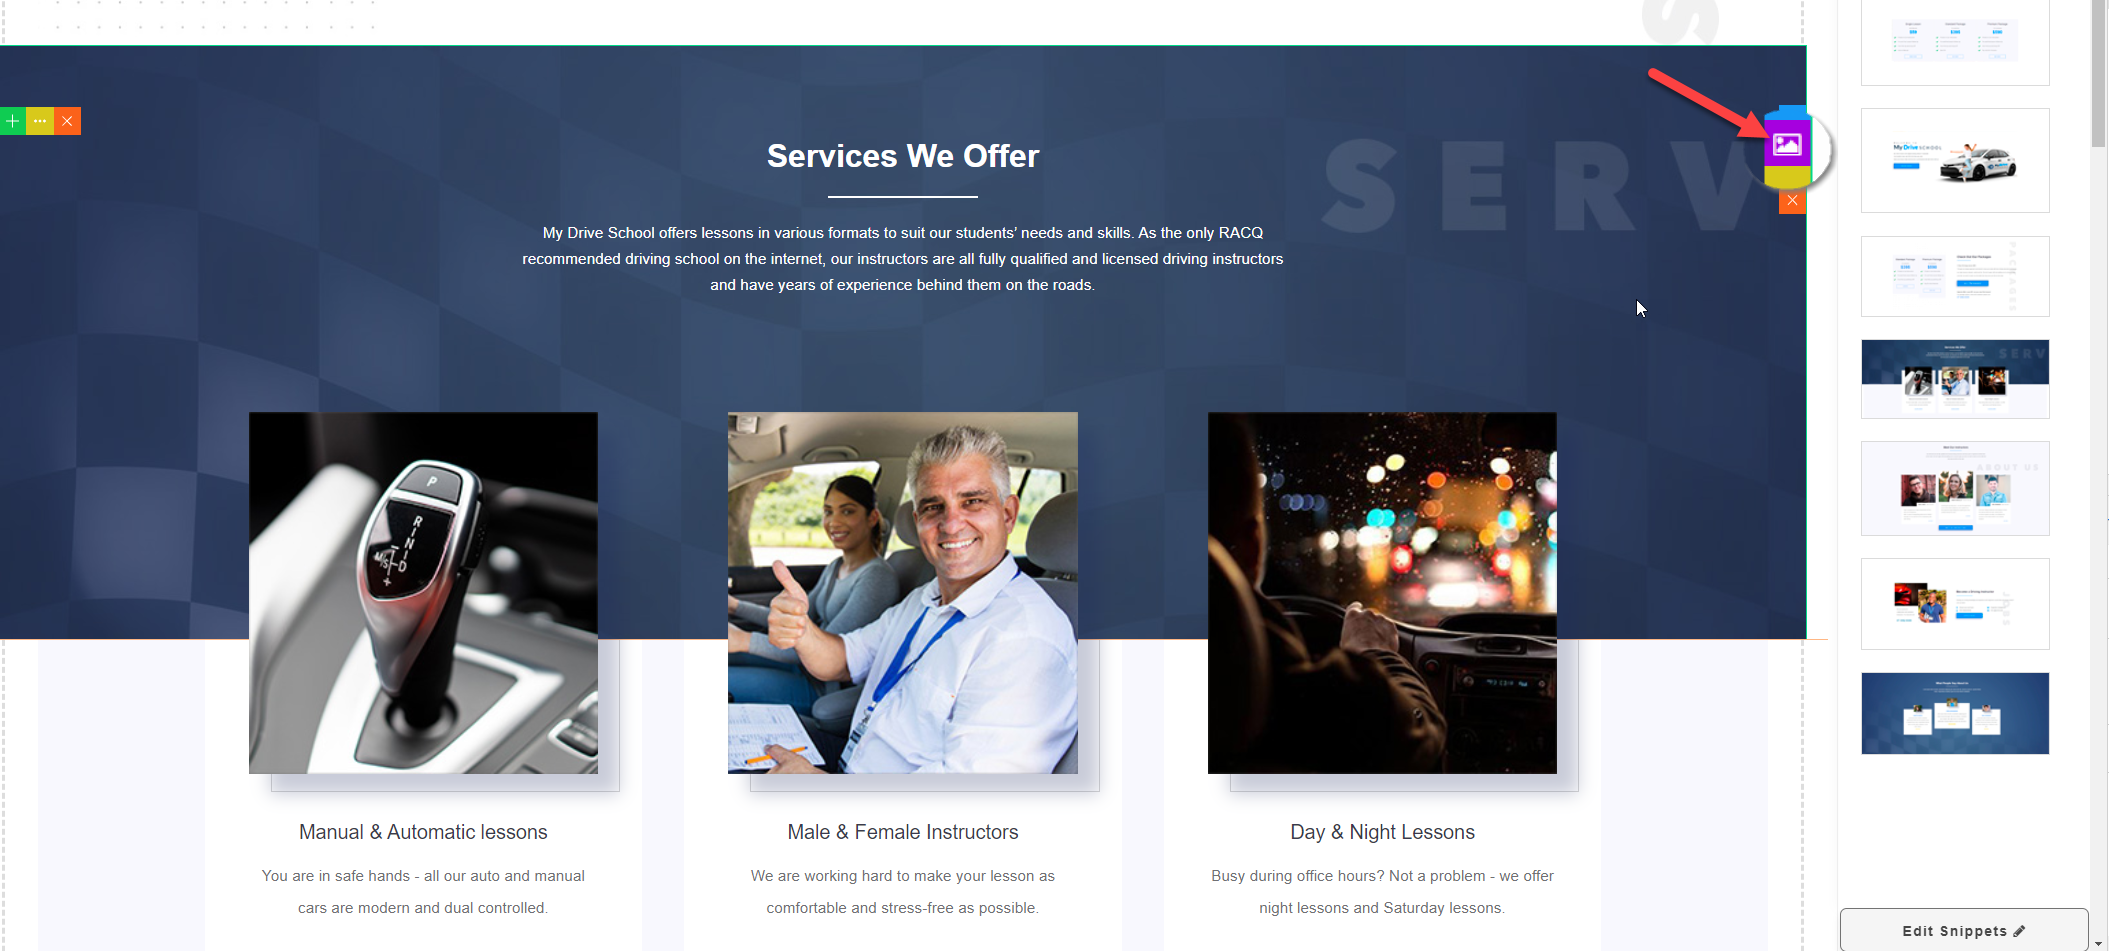
Click the image you want to insert, or click "Add Image" to upload a new image
Click Save Changes once you are done editing
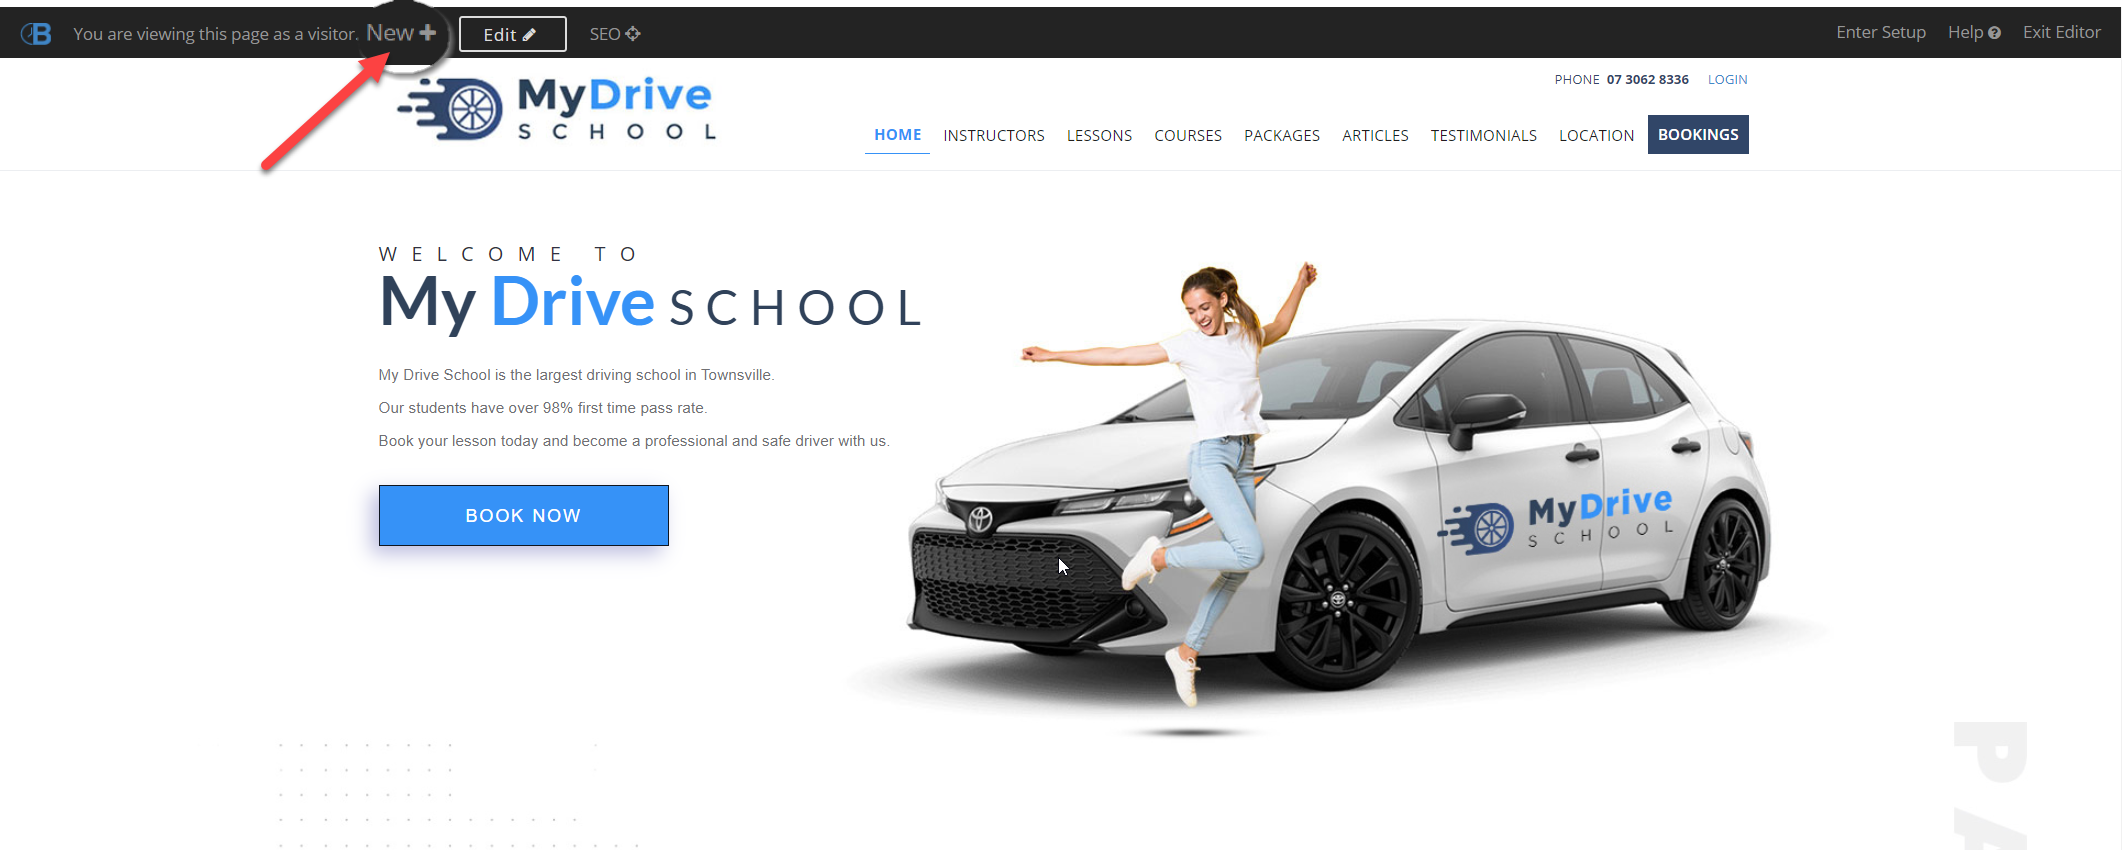
Creating a new page
You can also create a new staff member, service, product etc. by clicking an option via the website editor and selecting the entity you want to create. This will then take you to the appropriate page (that's usually accessible via the Setup menu) where you can create that entity.
Steps
Click New+
Select the entity you would like to create
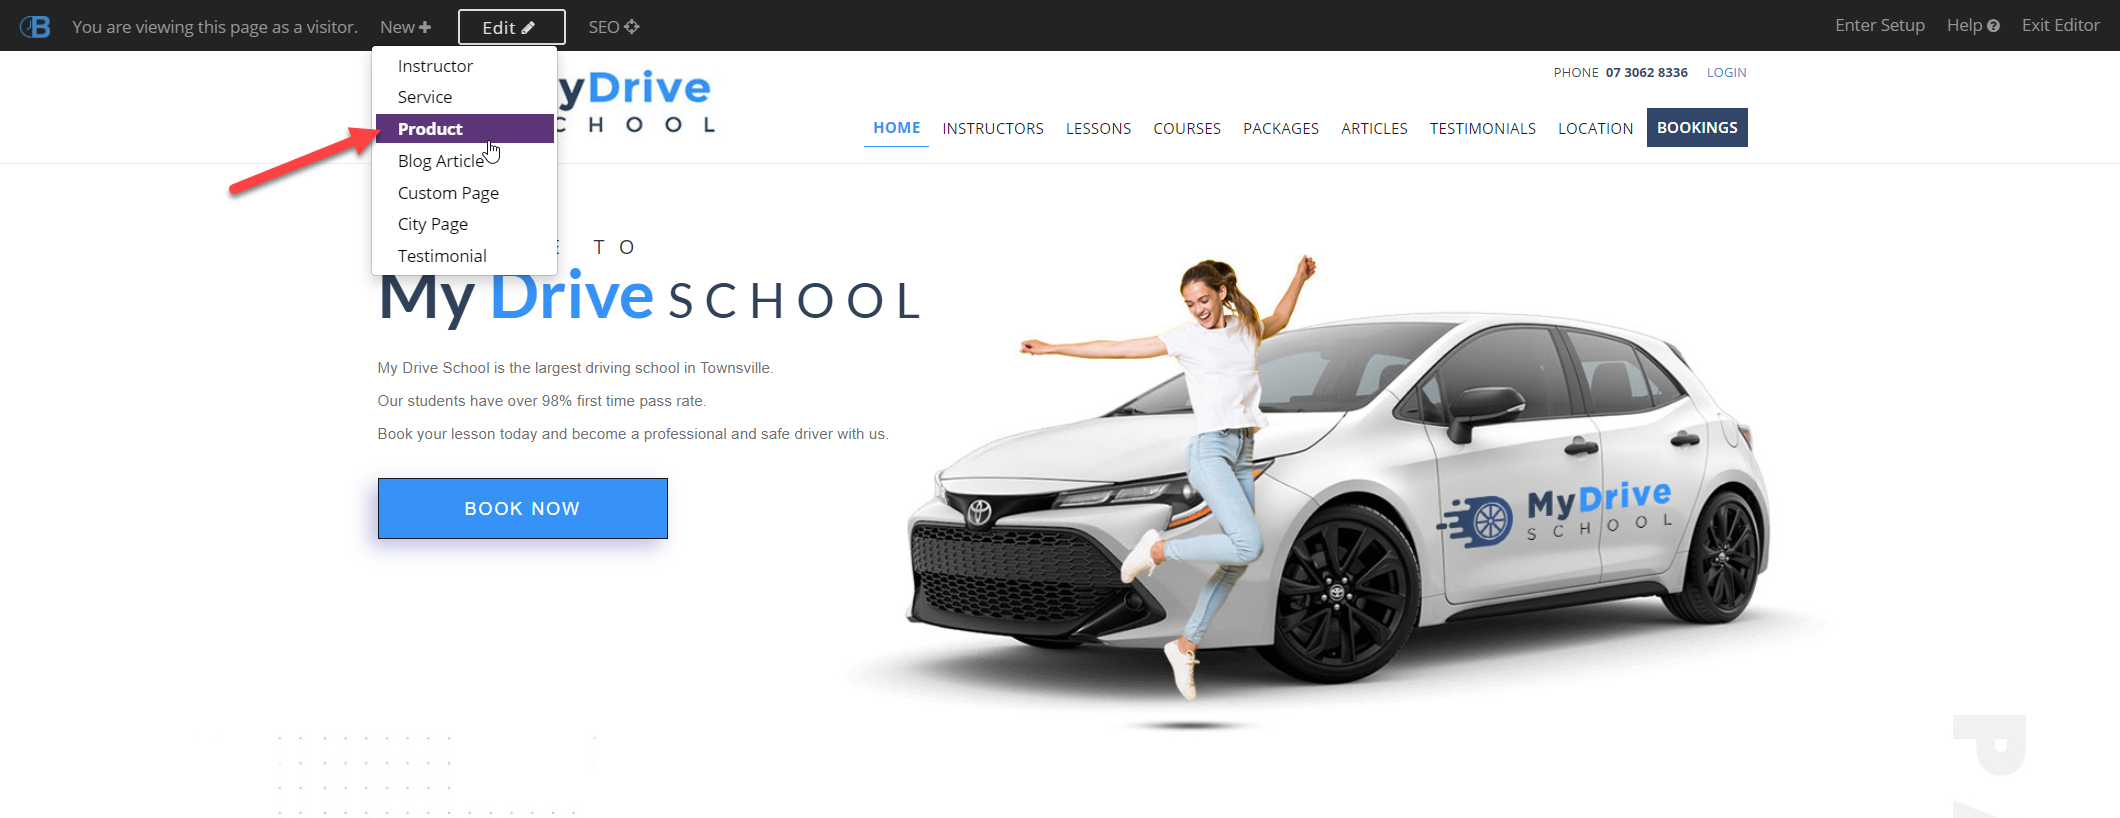
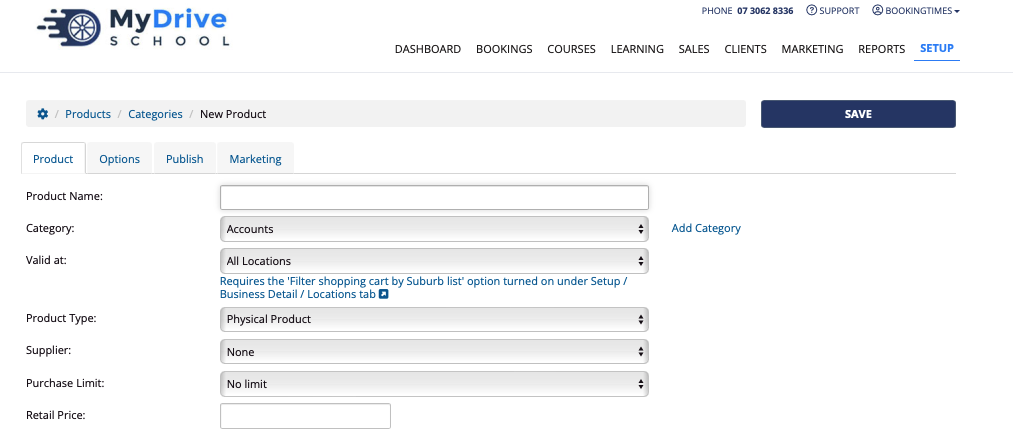
The relevant page based on your selection will open up. e.g. New Product page.
Enter all the relevant details. For this page to appear on your website ensure you enter details on the Publish tab and mark it to published.
Click Save
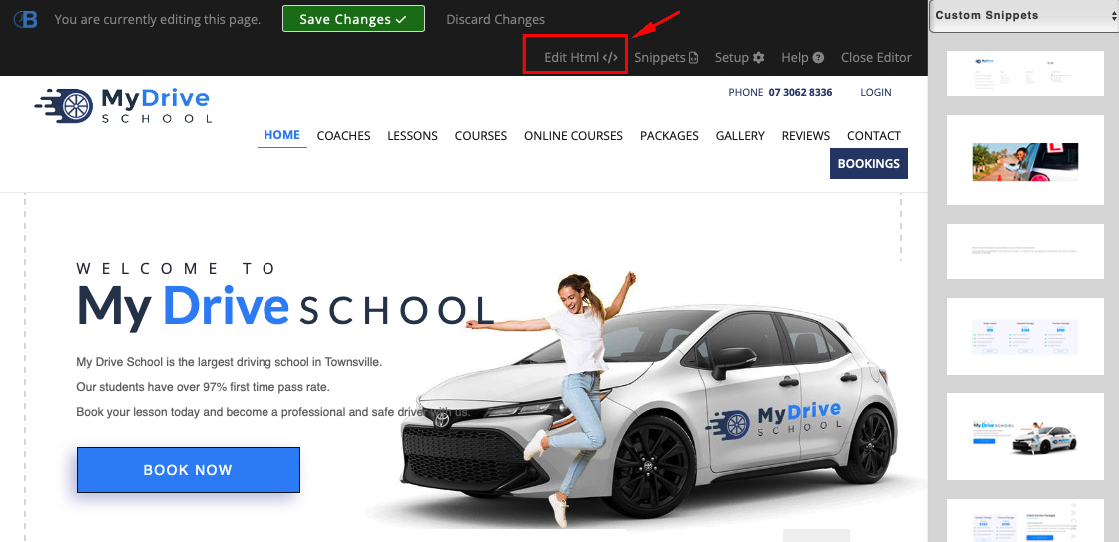
Accessing the page or section HTML
If you would like to access the full HTML source code for this page, please click on the Edit Html </> link in the top toolbar
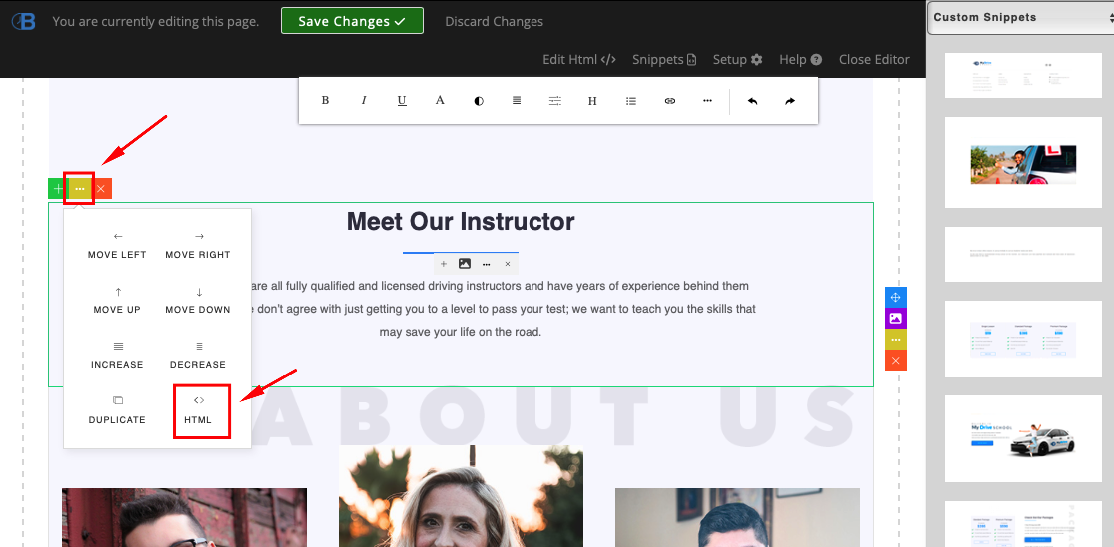
You can also access the HTML of each section separately. Simply click on the section, click the yellow … icon, and select HTML
Editing other supporting pages
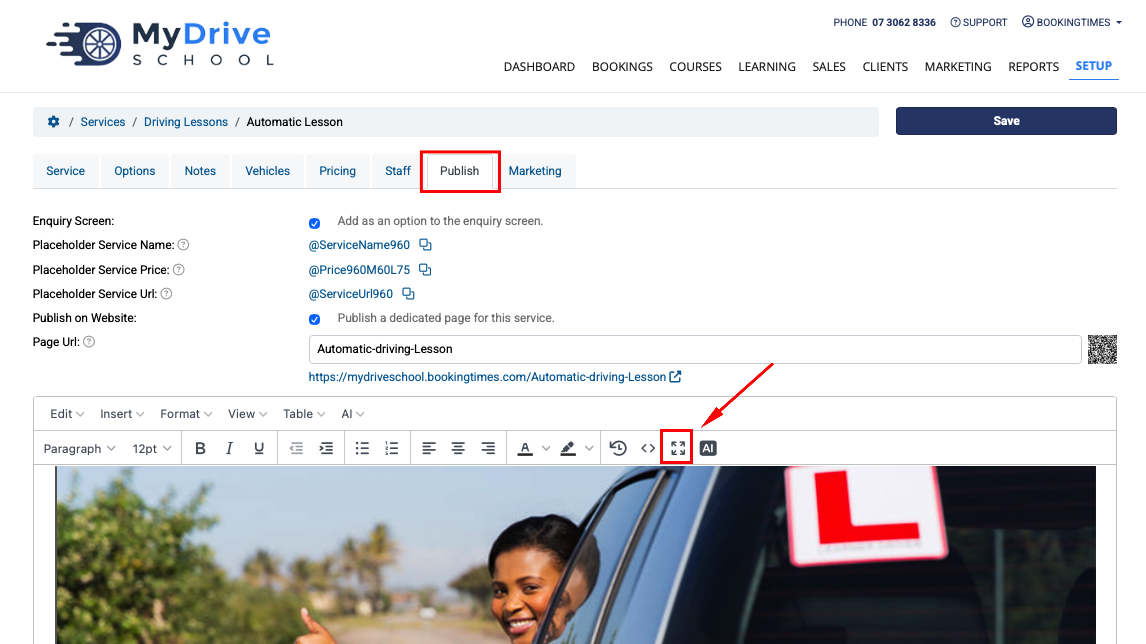
This editor is also available when you're publishing other information on your website via the admin Setup menus. For example, the editor can be accessed by clicking the diagonal red arrows icon on the following items:
Services > Publish tab
Products > Publish tab
Email and letter templates
Marketing sequences
Blogs and articles
Custom pages
Footer