CSS can be used across BookingTimes to style both custom HTML (such as the code used to build the homepage and supporting pages), or system generated elements (such as the menus).
This article will detail where to place your CSS on the website and best practice for using CSS on BookingTimes
CSS Placement
There are three keys areas where you can place CSS. It is important that you put your CSS in the right place.
Global CSS file
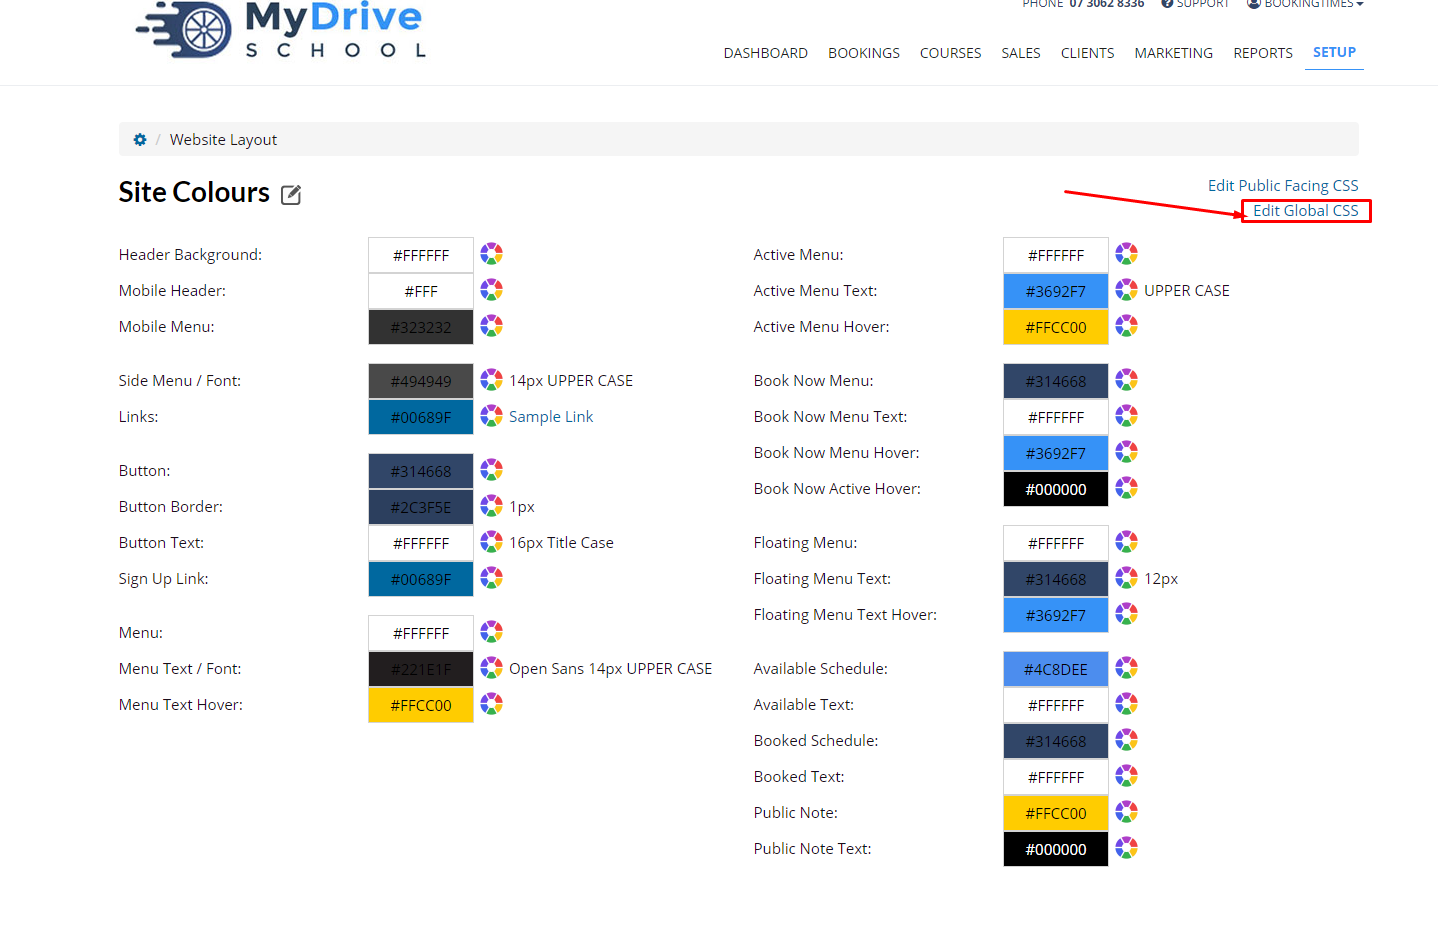
This is where you place CSS that will affect the whole website - both when you are logged out and logged in. You would use the global CSS for styling elements such as:
- The topmenu
- System buttons
- Adding fonts
The global CSS file is located under Setup > System Settings > General Layout. Simply place your CSS in this file and click save.

Public CSS file
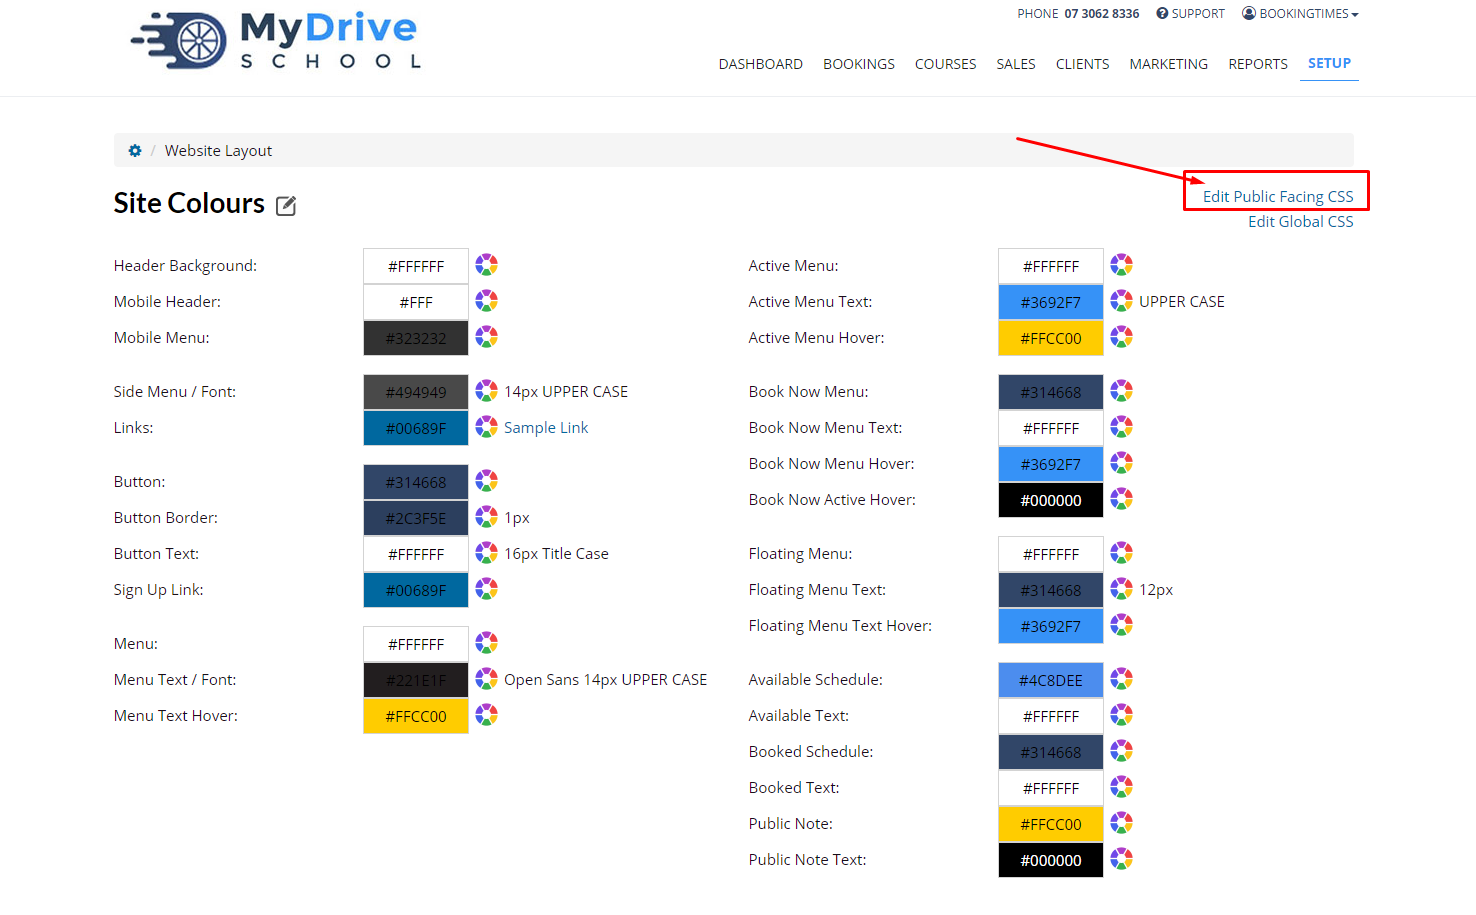
This is where you place CSS which only affects the style of public pages . Public pages are the pages which are displayed when you are logged out. You would use public CSS styling for:
- Homepage styling
- Footer Styling
- Supporting page styling i.e. Service Pages or Course Pages
- Anything you wanted to affect the public screens, but NOT the backend screens
The public CSS file is located under Setup > System Settings > General Layout

On page and in-line CSS
You should try and keep your CSS in the global and public CSS files, you can use on page and inline CSS on your HTML page. You would use this styling when:
- You only want to affect the apperance of elements on that specific page
- You need to overwrite the style of an element that is declared in the global or public css files for that page
Simply add the CSS on your page by wrapping it in a tag, or add it it inline with your HTML.
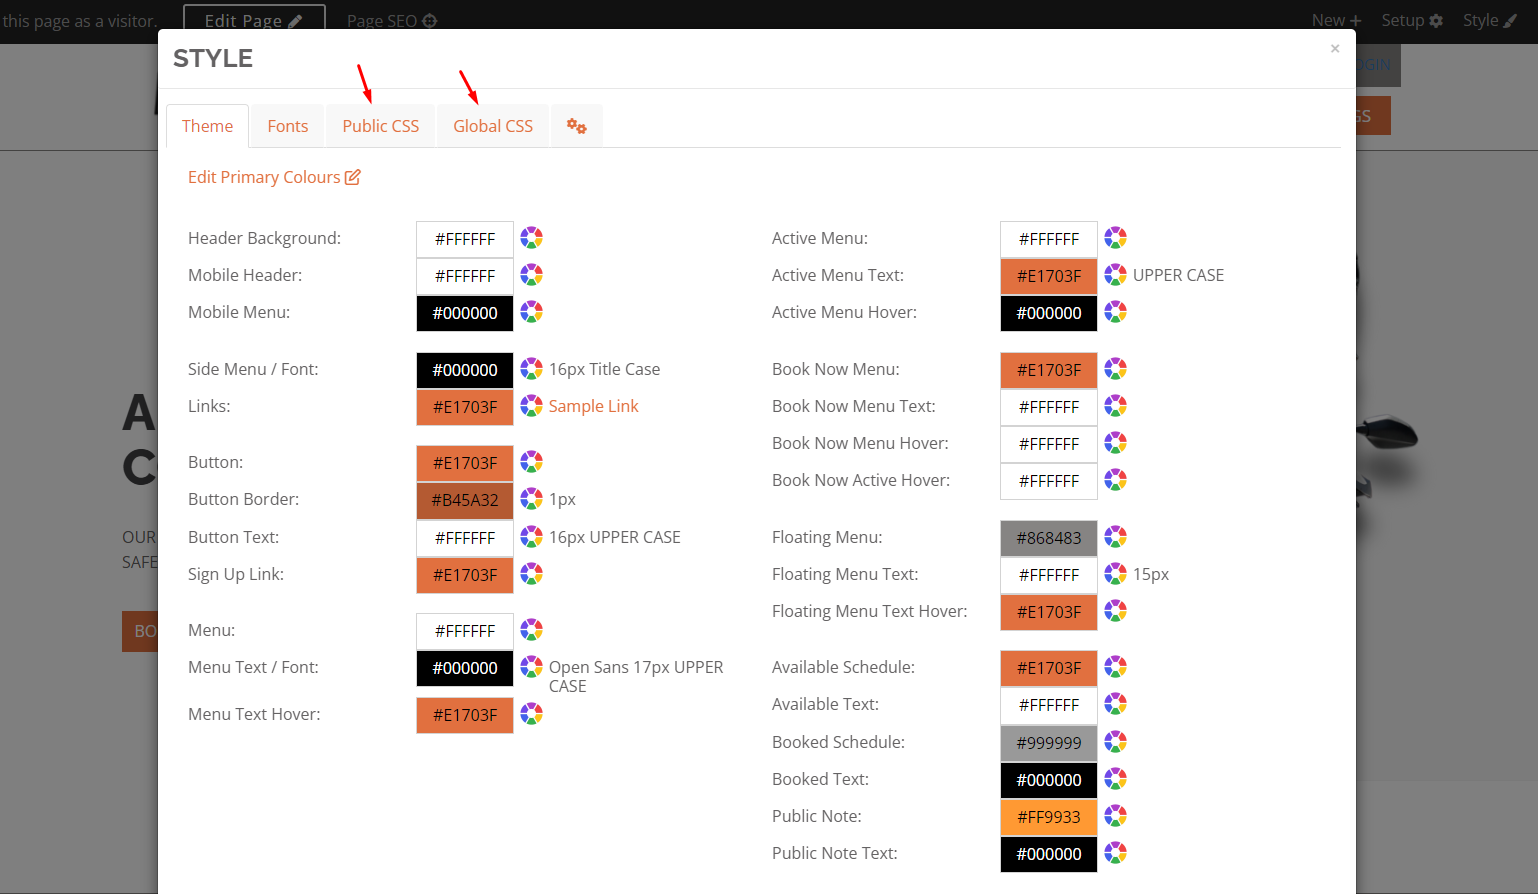
You can also add custom CSS code to pages by clicking Style in the website editor toolbar.

Select the relevant tab to make your edits. The 2 cog icons tab will open up the general layout page which can also be accessed via Setup > Website Content > General Layout.

CSS best practice
You should never style HTML elements without using a class or ID selector first. Elements such as P, H2, H6, Table, tr, modal, div, row, input etc. are used by the entire system and you can unexpectedly affect the look of the back end screens when you do this.
Always use a class selector first such as:
p.about-section {
font-size:30px;
} OR
.home-page p{
font-size: 30px;
}
NOT
p{
font-size: 30px;
}
Likewise, there are CSS classes that the backend system uses as well. An example is the .table-responsive class which is use on the booking calendar. If you use this class for tables for your custom pages i.e. a pricing table, you MUST apply another class in your CSS styling if you want to customize how .table-responsive looks.
For example:
.service-table.table-responsive {
padding:20px;
}
OR
.homepage .table-responsive{
20px;
}
NOT
.table-responsive{
padding:20px;
}
- Ensure you add CSS to make your page responsive at the standard screen sizes: 767px, 991px and 1200px
- See Testing checklist to make sure your website is high quality.
- Minify your CSS once you are sure the webpage is high quality using https://cssminifier.com/