This guide will detail how to perform an inventory stocktake which allows you to check that all your products are still accounted for. The general process for this is:
Create a stocktake (timeframe determined by you - 6 monthly/yearly etc)
Link your products and enter in the quantity you have on hand
Use the Received Shipment functionality to update your product quantities
Please refer to the Received shipment article
Creating a stocktake
Steps
Navigate to Setup > Shopping > Inventory Stocktake
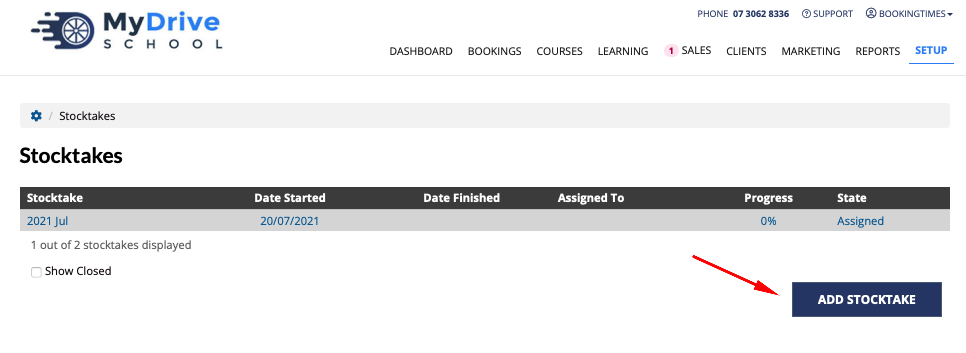
Click Add Stocktake
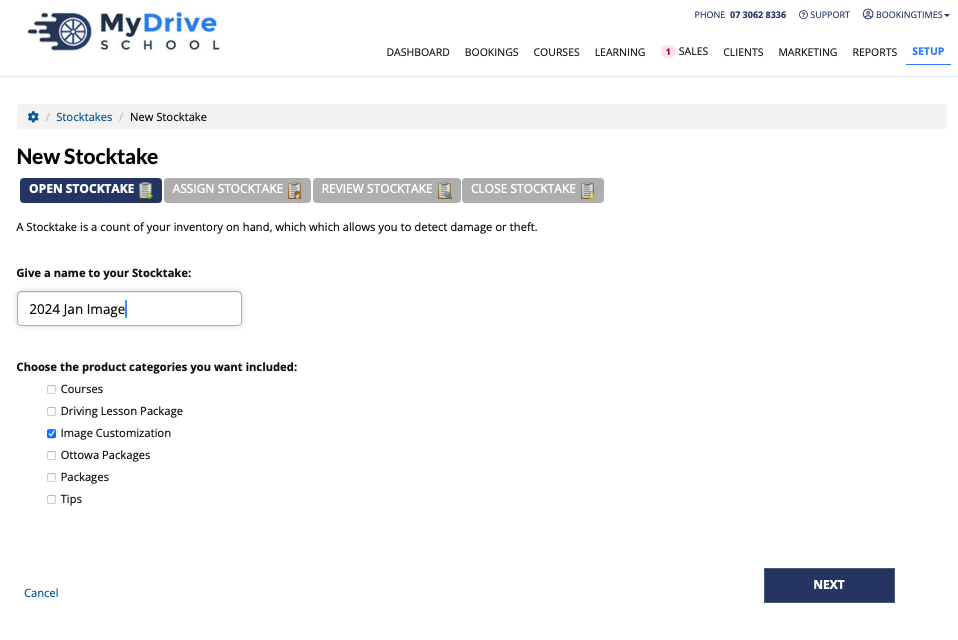
Open Stocktake - complete the stocktake details:
Give a name to your Stocktake: enter a name
Choose the product categories you want included: select applicable categories
Click Next
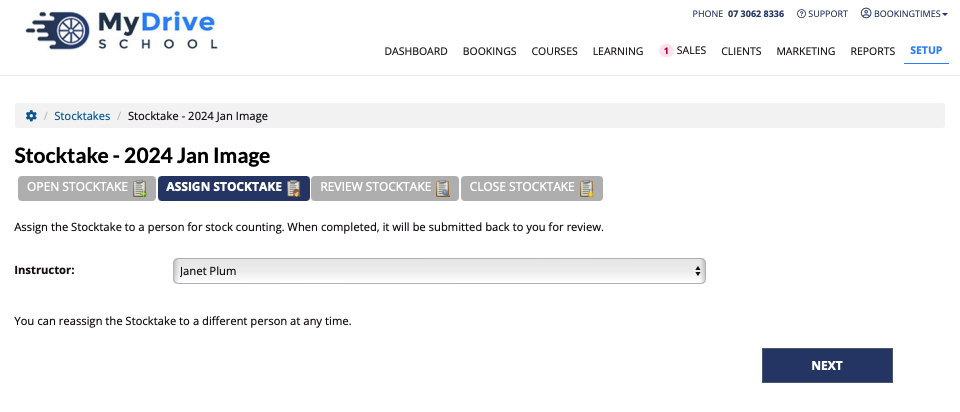
Assign Stocktake - complete the details:
Staff/Instructor: select the staff member you wish to assign the stocktake to. This can be reassigned at any time.
Click Next
Review Stocktake - go through each product and:
Click the + icon in the Comment column to add a comment only (if applicable)
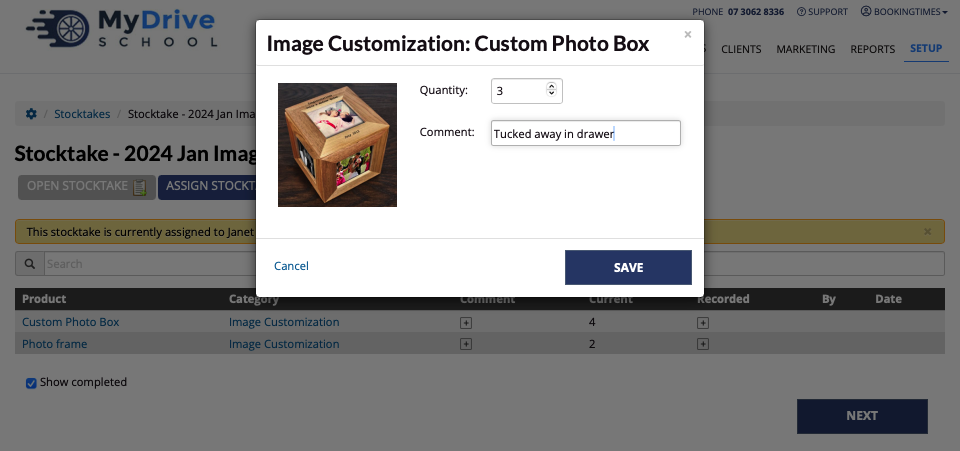
Click the + icon in the Recorded column to add the recorded quantity of stock and an optional comment (the comment will appear in the Comment column)
Click Save
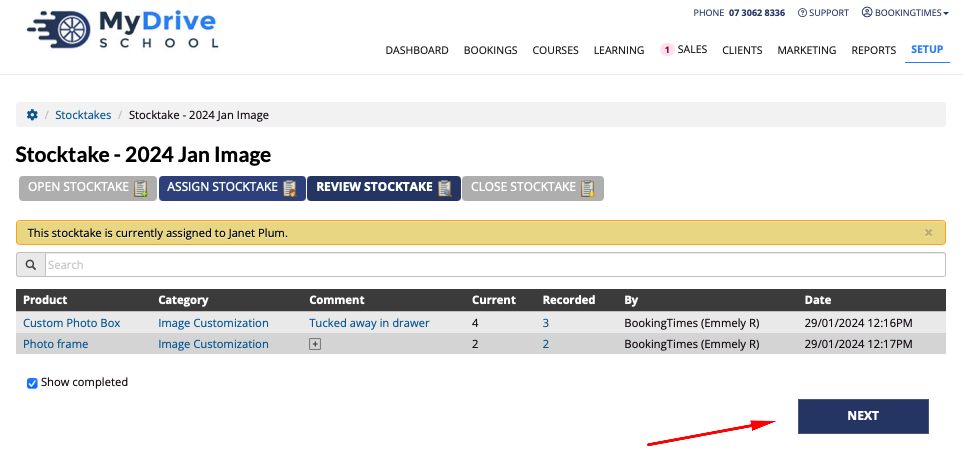
Once all stock has been reviewed click Next
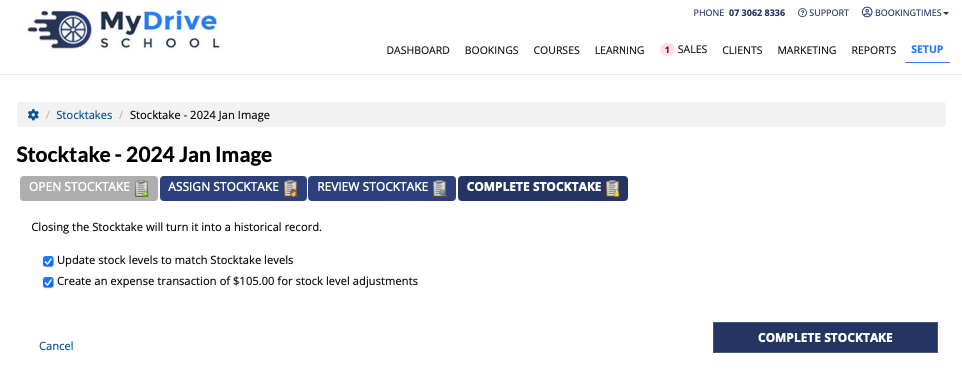
Complete Stocktake - closing the stocktake
Select Update stock levels to match Stocktake levels if you want the recorded quantities to be updated against the products.
Select Create an expense transaction of $xxx for stock level adjustment (if applicable): if you recorded less stock than what was meant to be there, the system can automatically create an expense record for the Cost price of that product. e.g. $105 is the cost price of the Custom Photo Box product as only 3 (out of 4) were recorded.
Click Complete Stocktake
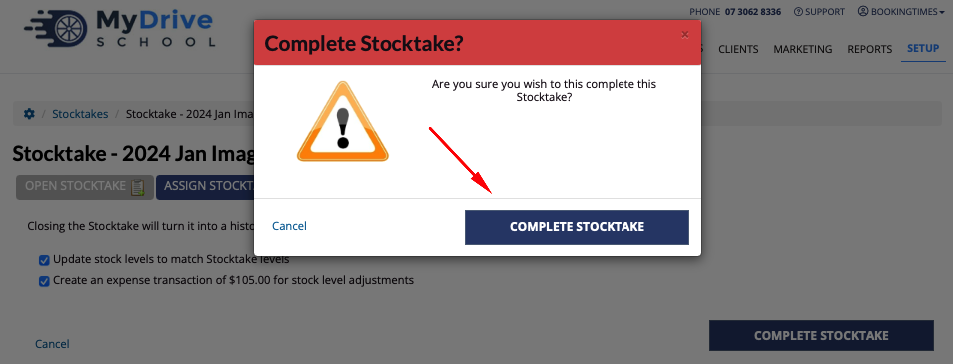
Click the Complete Stocktake button to confirm the closing of the stocktake
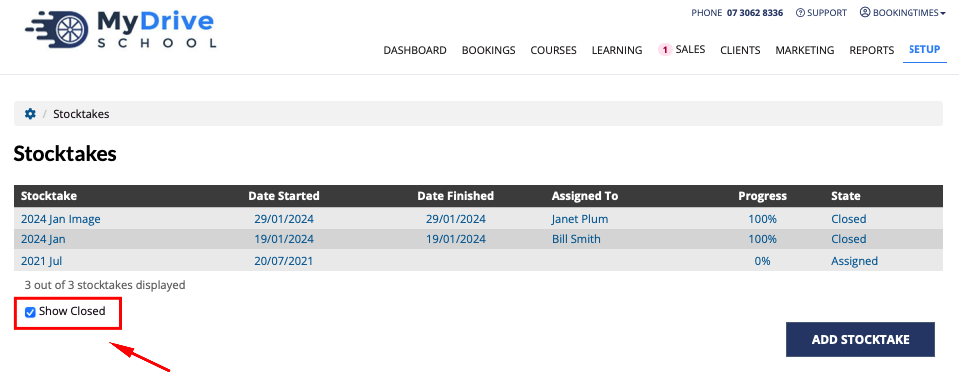
To view any previous stocktakes select the Show Closed checkbox.
