You may have a course selector on your site, which displays the dates and times for courses in different localities.
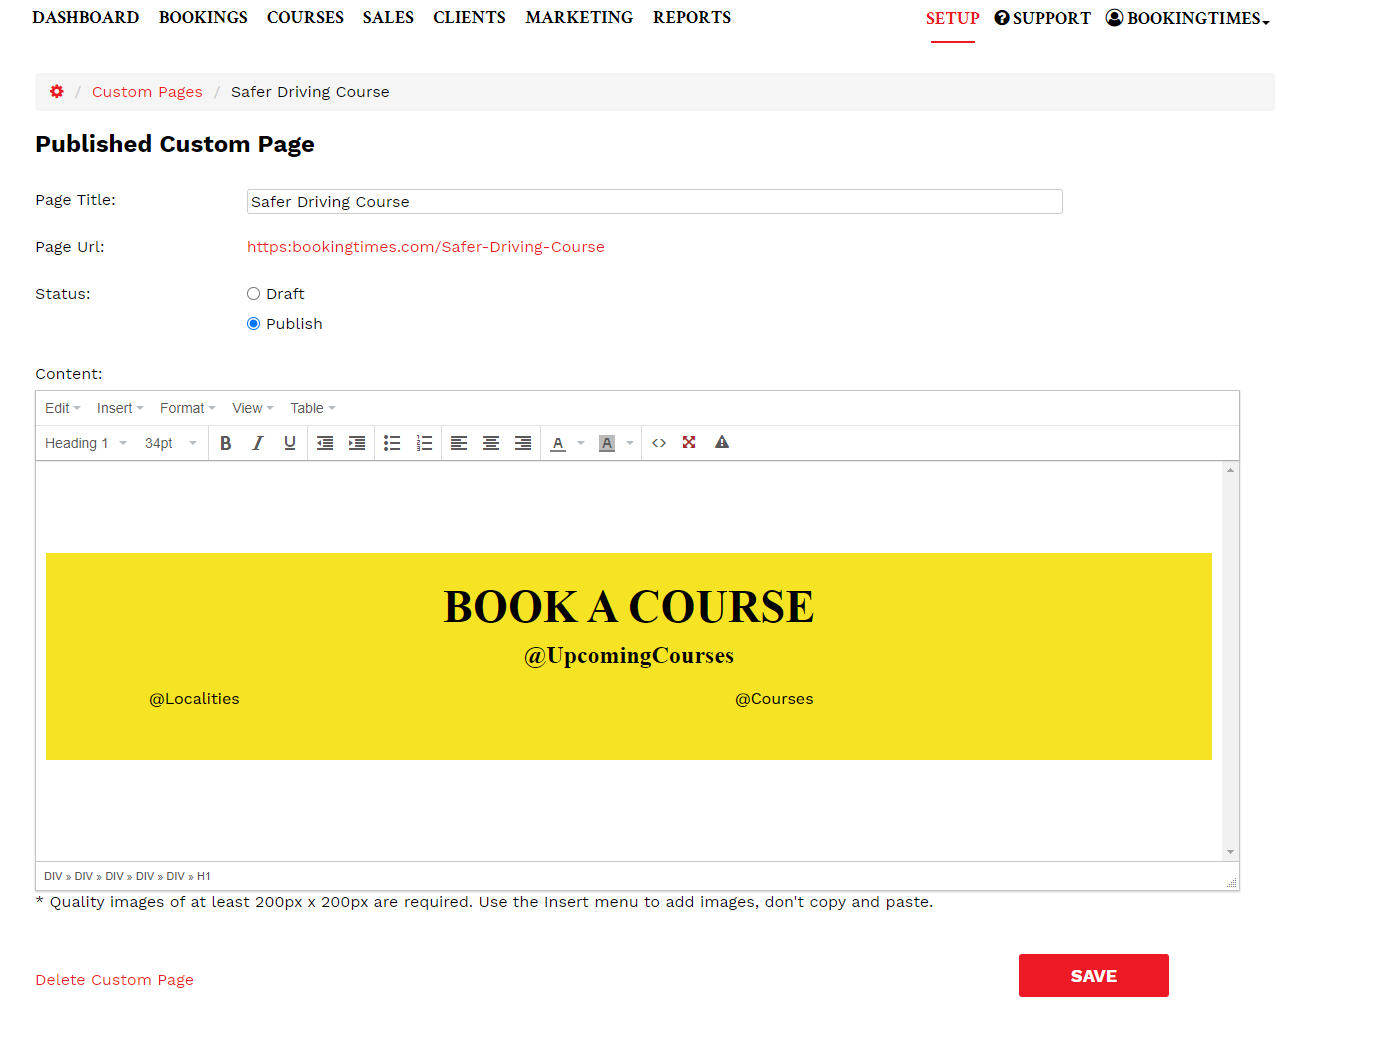
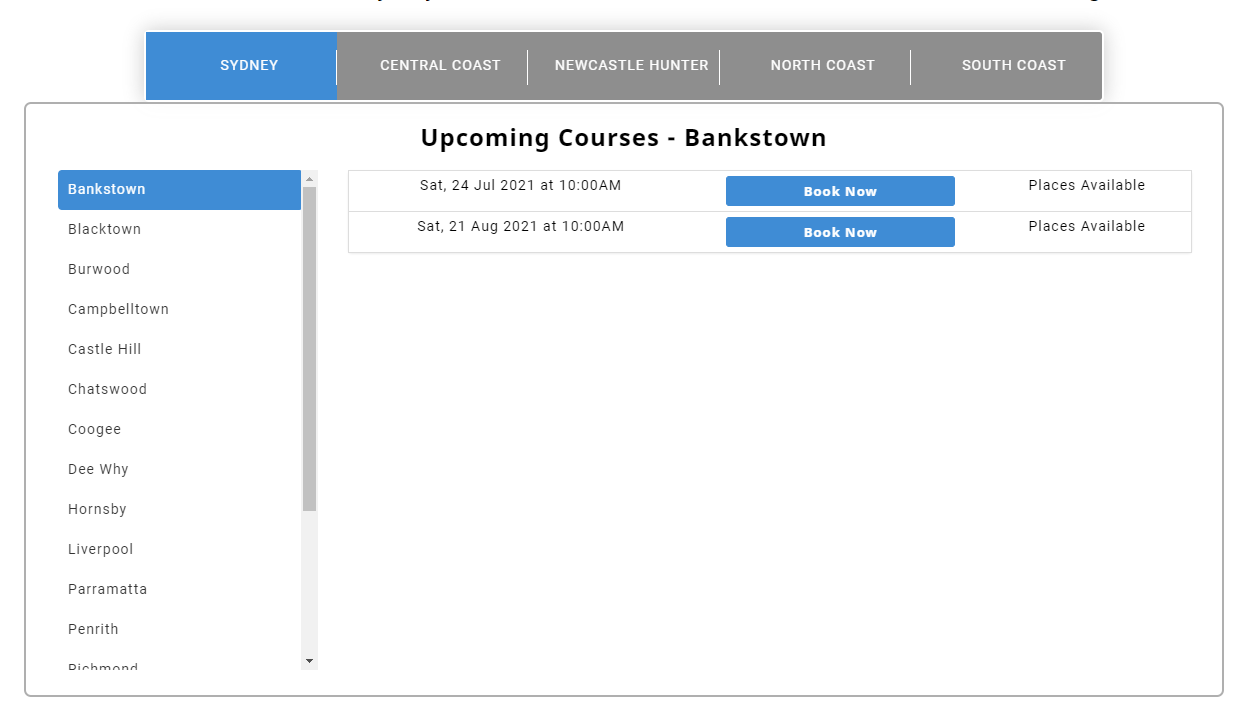 Example Course Selector. See Adding a Course Selectorfor more information about implementing course selectors.
By default it will display all courses in one selector. If you have more the one course, you can control which course is displayed in the course selector by adding a Course ID to the HTMl code.
This article will detail how to find the Course ID and add the Course ID to the HTML code.
You cannot currently have more than one course selector on the same page on your website
Finding a course ID
Steps
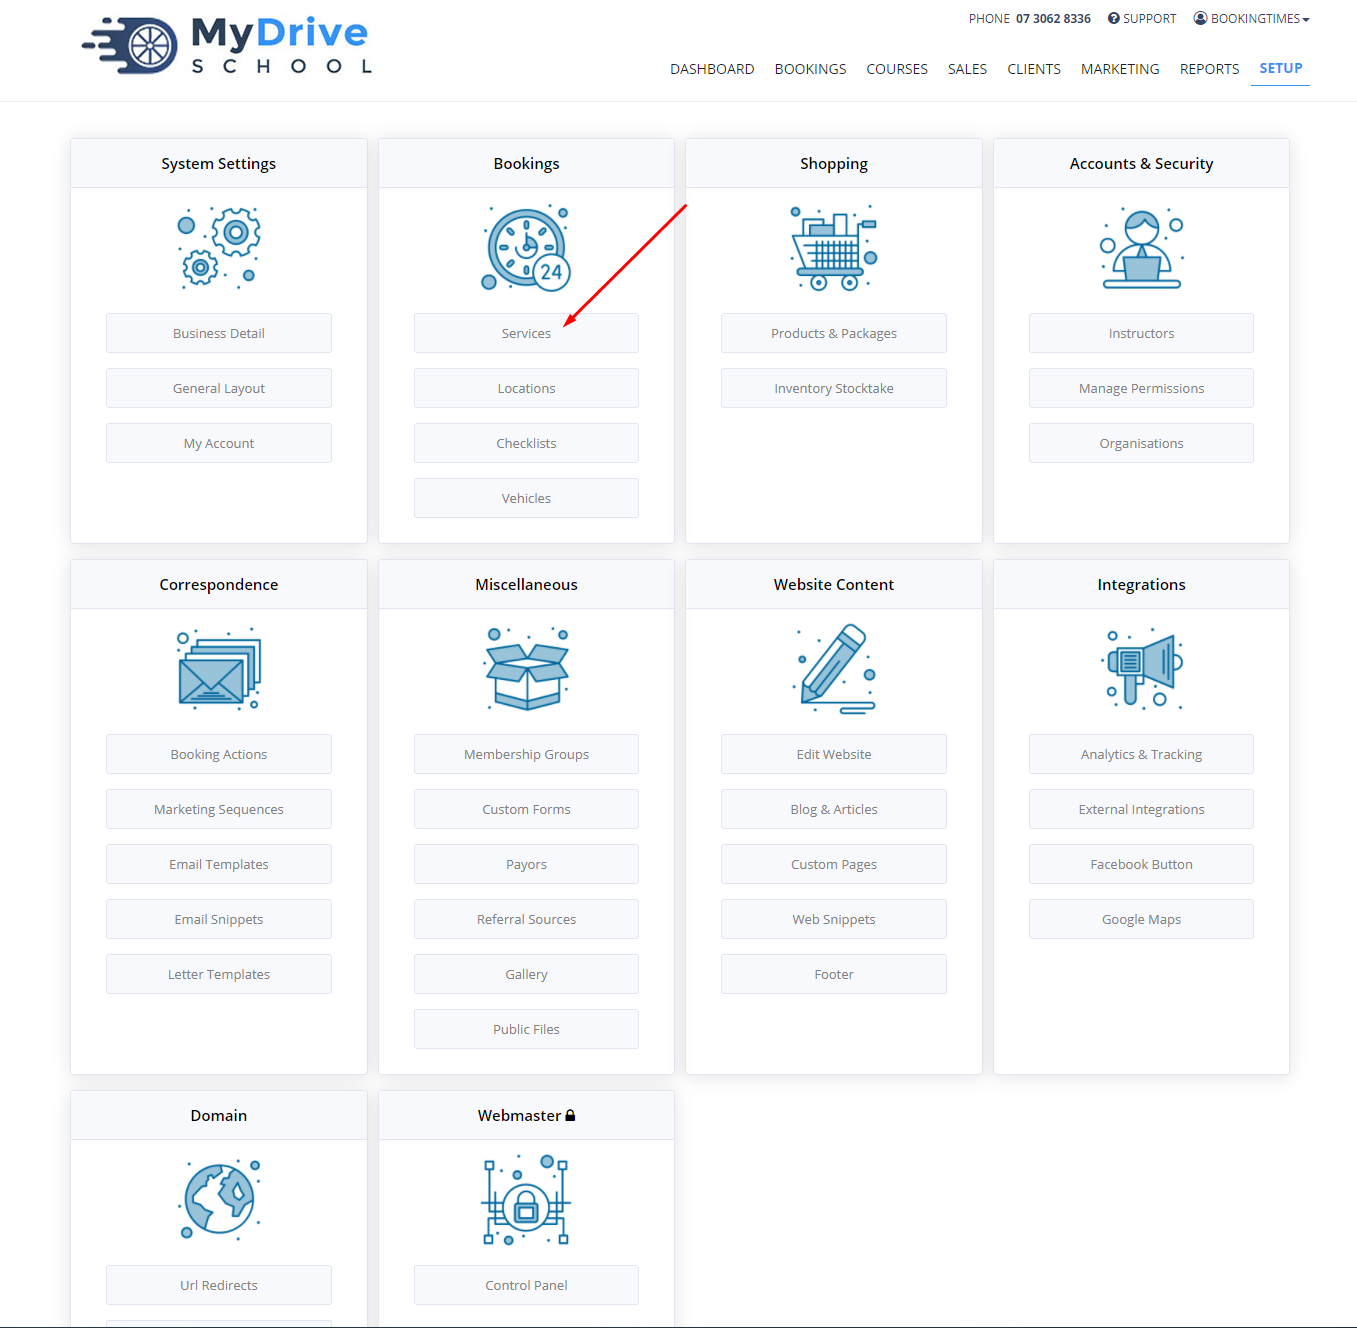
- Navigate to Setup > Bookings > Services
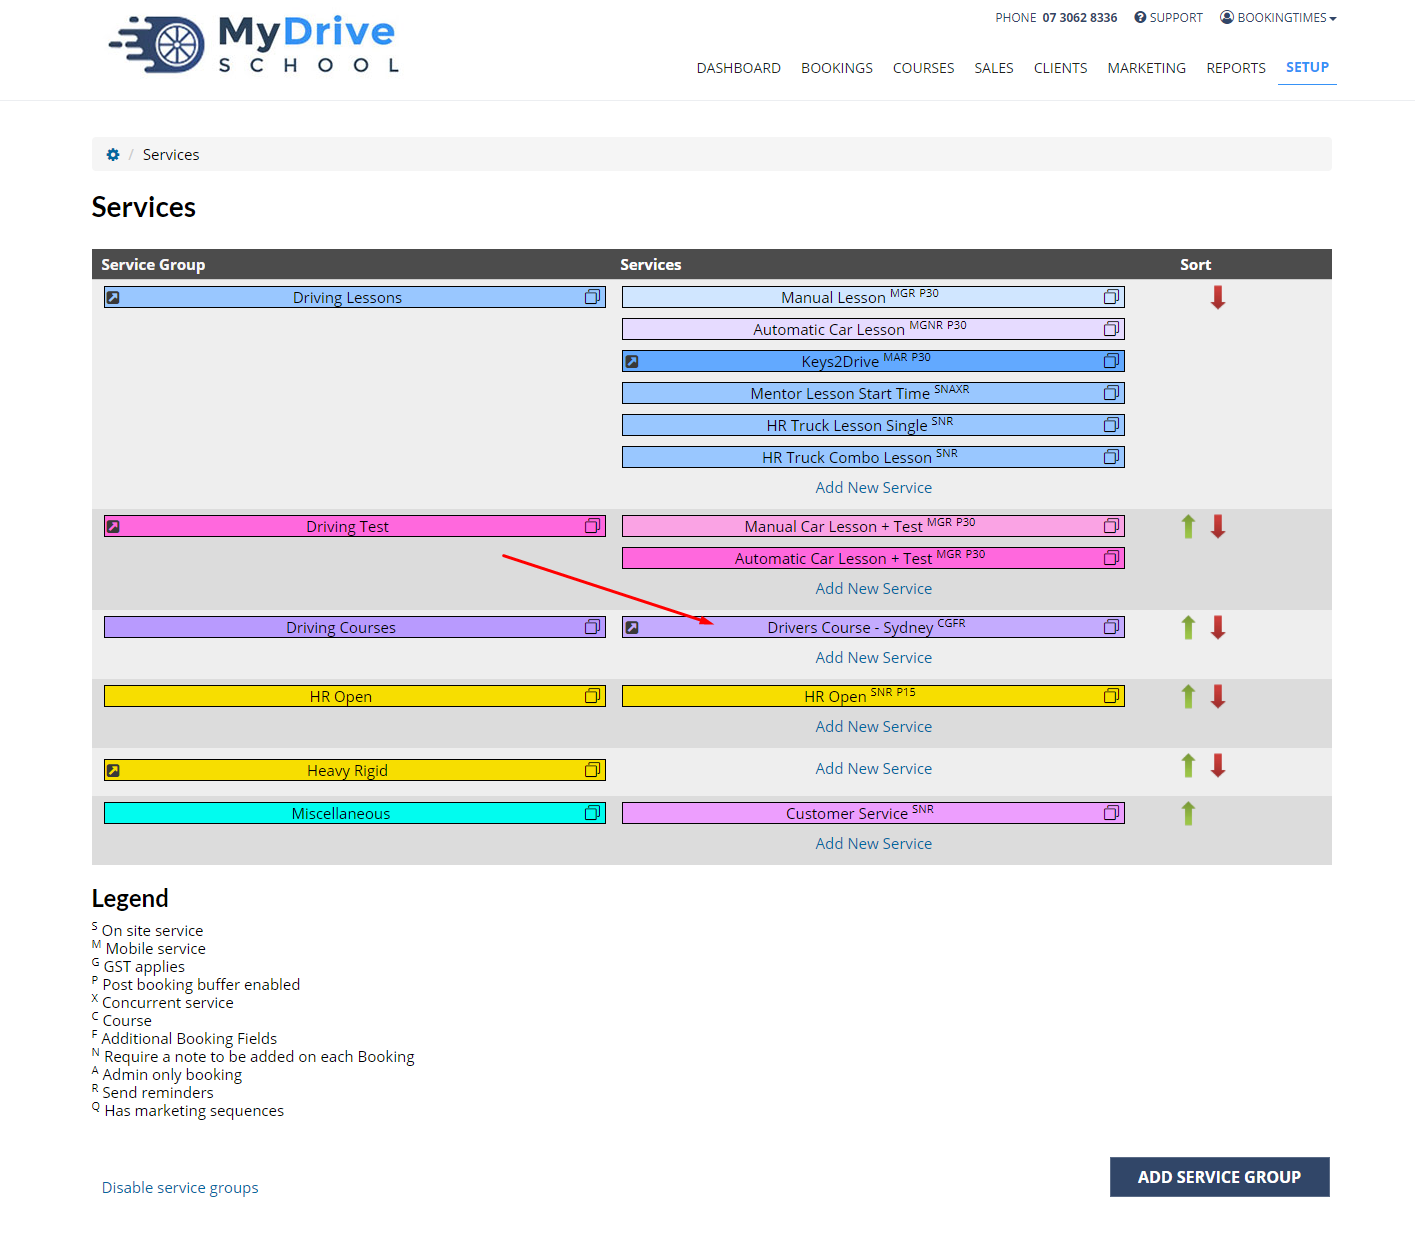
2. Click on the relevant Course
3. Find the URL bar at the top of your webpage.
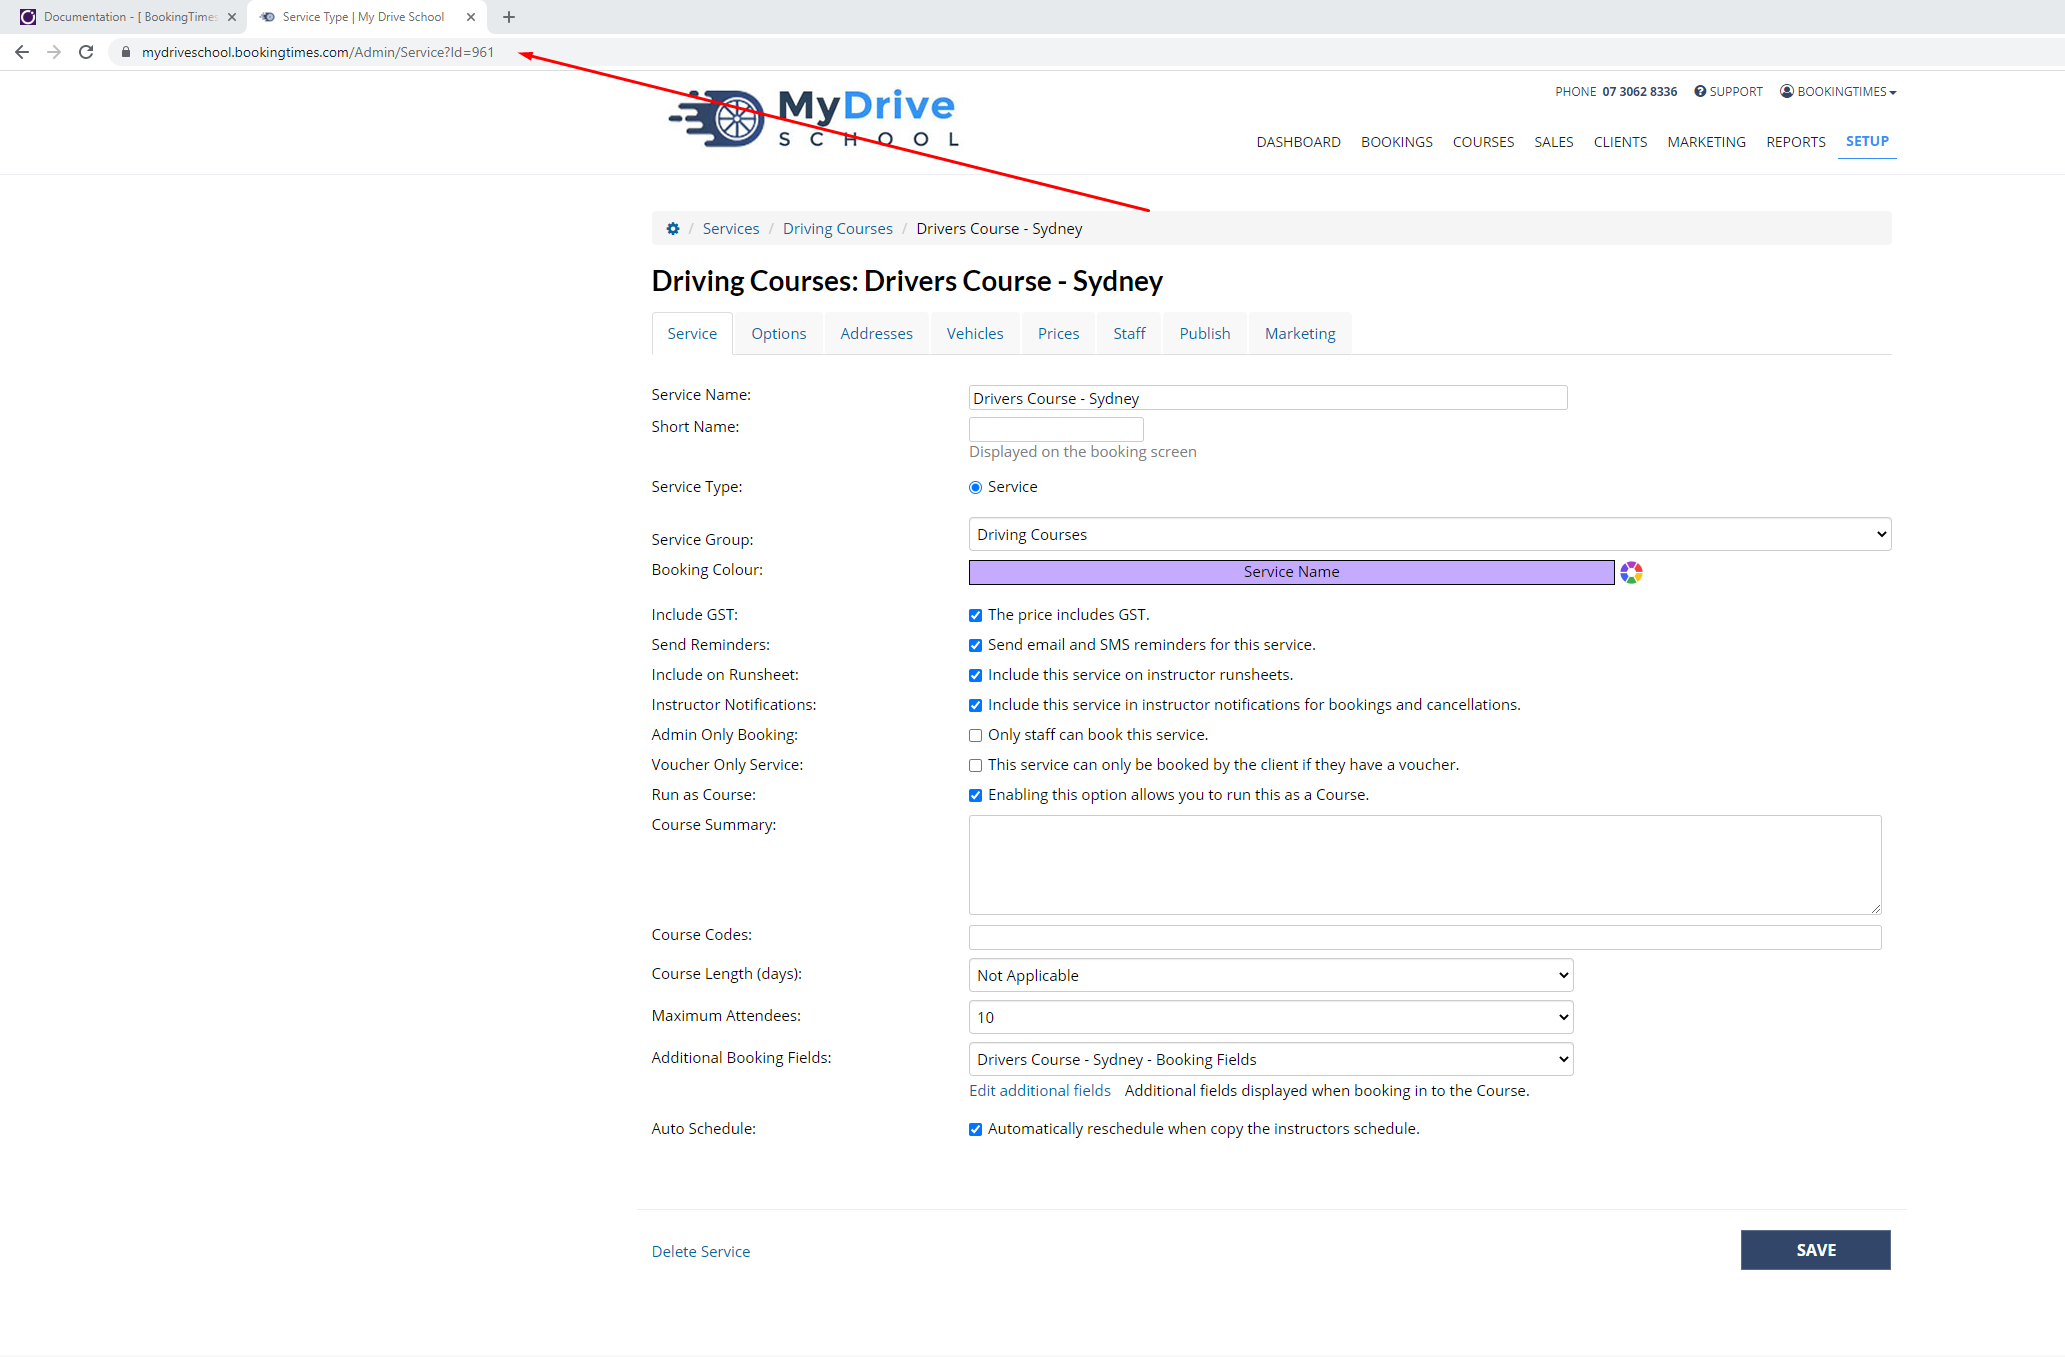
4. Note the number at the end of the URL. This is the course ID.
 5. Copy or note down the Course ID
Adding the course ID to the HTML
Steps
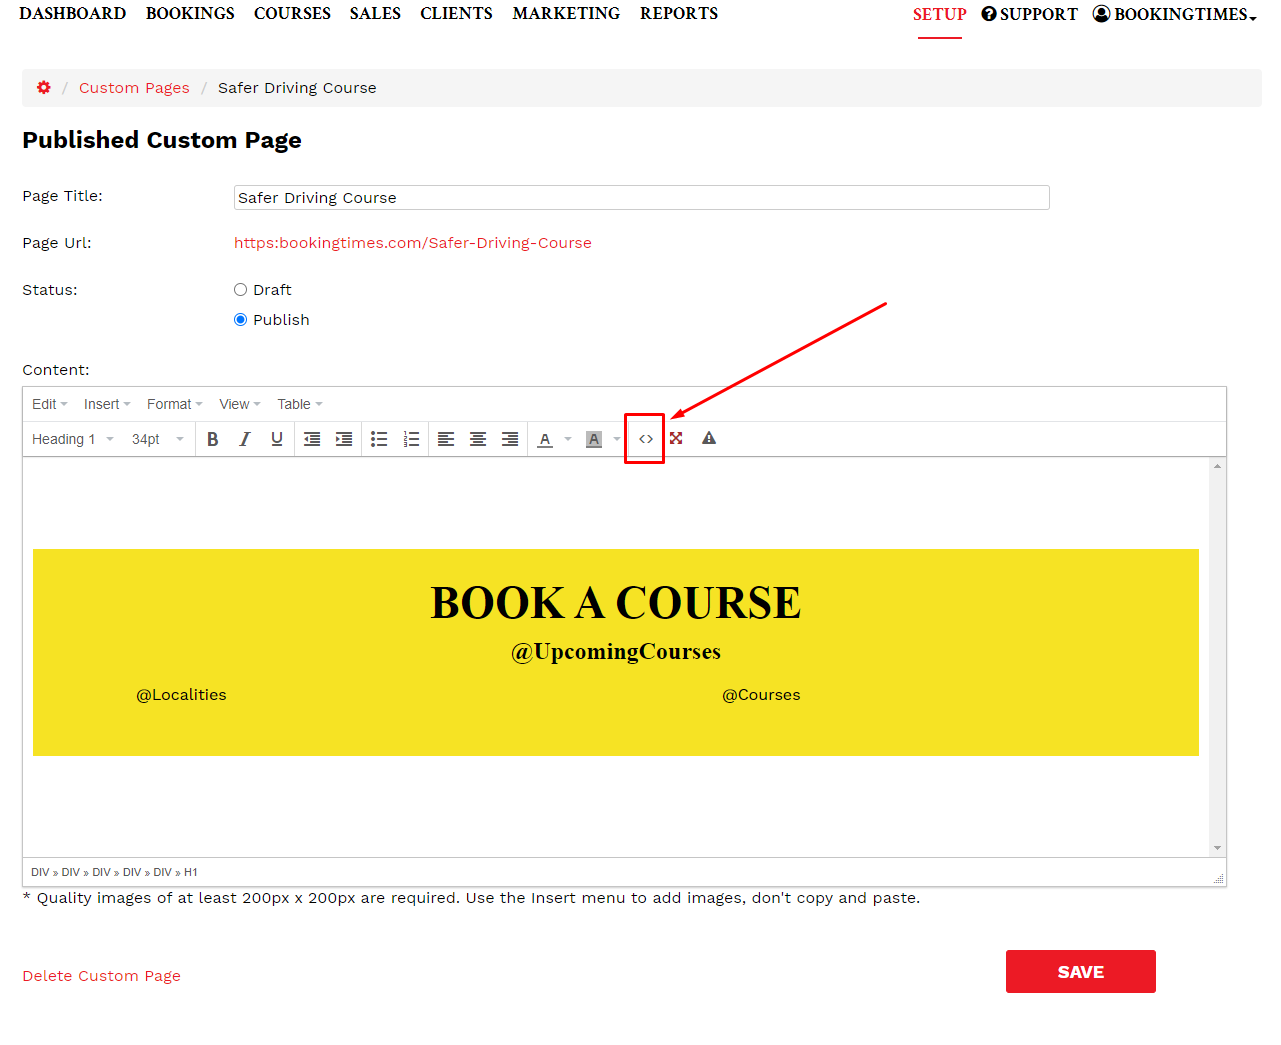
- Open the editor on the page with the course selector
2. Click the <> Icon on the toolbar to view the source code
3. Search for the @Courses placeholder
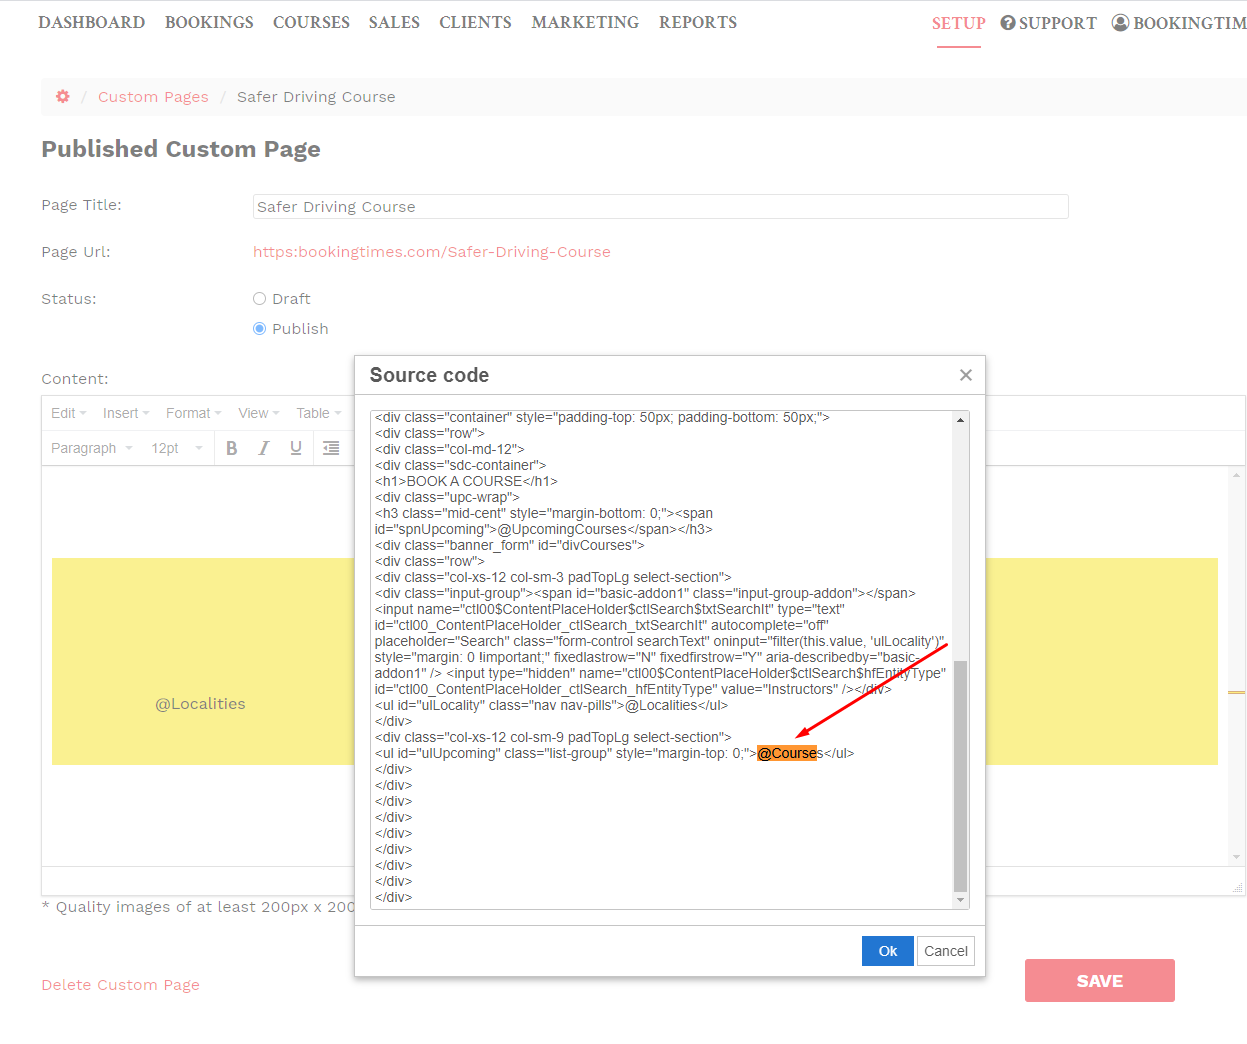
4. Append the Course ID directly onto the end of the placeholder
For example, @Courses becomes @Courses961
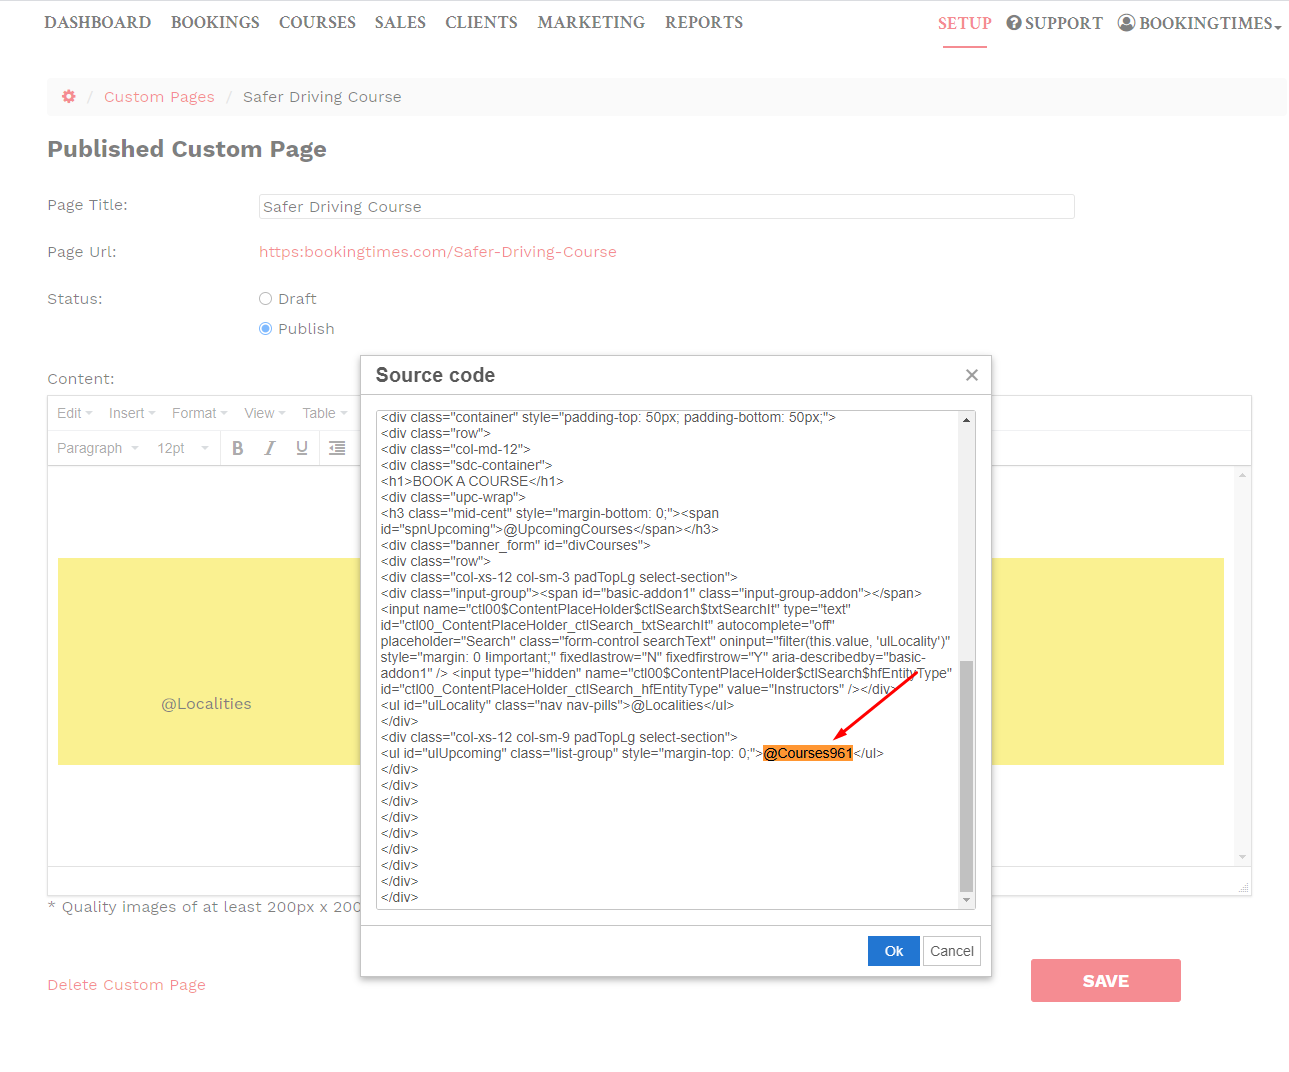
5. Click Ok
6. Click Save