BookingTimes also lets you process a sale without a booking. This can which can be used for items such as:
Prepaid vouchers (including emailing these as a Gift certificate to clients)
Physical products
Digital products/downloadable files
Typically the client themselves can purchase products themselves if you have you online store enabled (e.g. selling packages of driving lessons or massages etc) which will prompt them for immediate payment.
The process outlined in this article, allows you as the admin of the system to create a sale instead for any of the products you have set up. You can then either email the invoice to the client for payment, or take payment immediately if they’re on the phone or in person. All unpaid sales can be easily kept track off via the Dashboard and reports.
Purchase orders
For the prepaid vouchers product type, and the monetary gift voucher product type, only once a product sale is paid for in full, will the prepaid vouchers or monetary amount will be released onto the client’s account and ready to be used to apply to a booked service.
If you would like the prepaid vouchers or monetary amount to be allocated without taking a payment, then please complete the Purchase Order field. Please note - you will need to follow up on this unpaid sale (e.g. via the Dashboard > Unpaid Sales tab). Please refer to the Purchase Orders article for more details.
Creating a product sale
Creating a sale can be done via the Sales menu as detailed below, or you can also go to the client profile and create a Sale directly from there via the New > Sale / Purchase drop down list, which will then pre-populate the client.
Steps
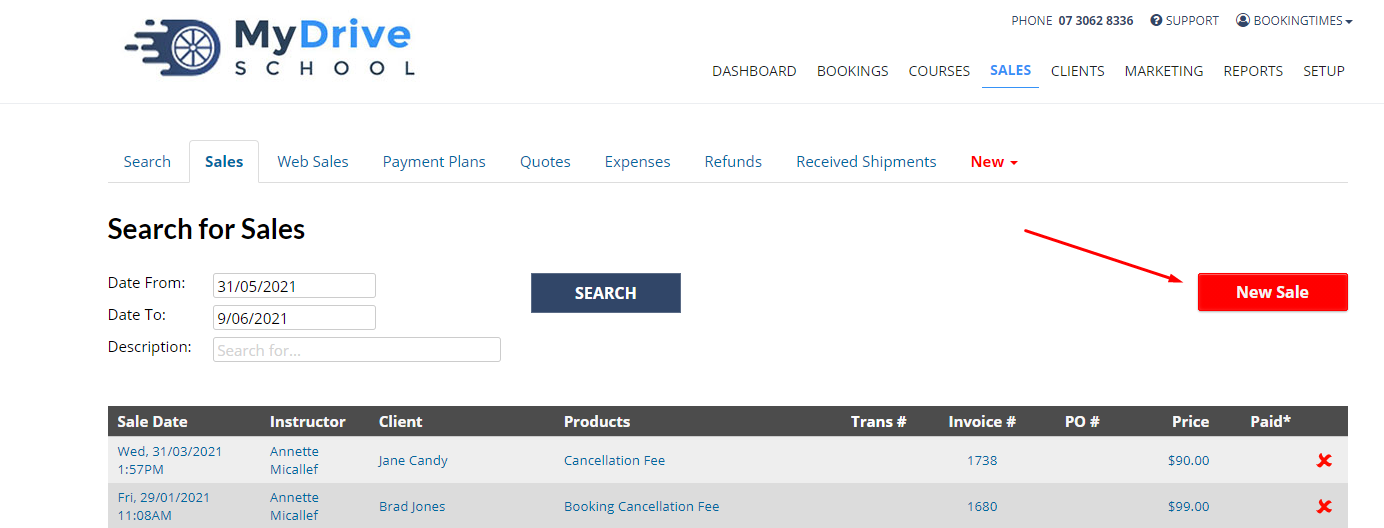
Navigate to the Sales menu
Select the Sales tab
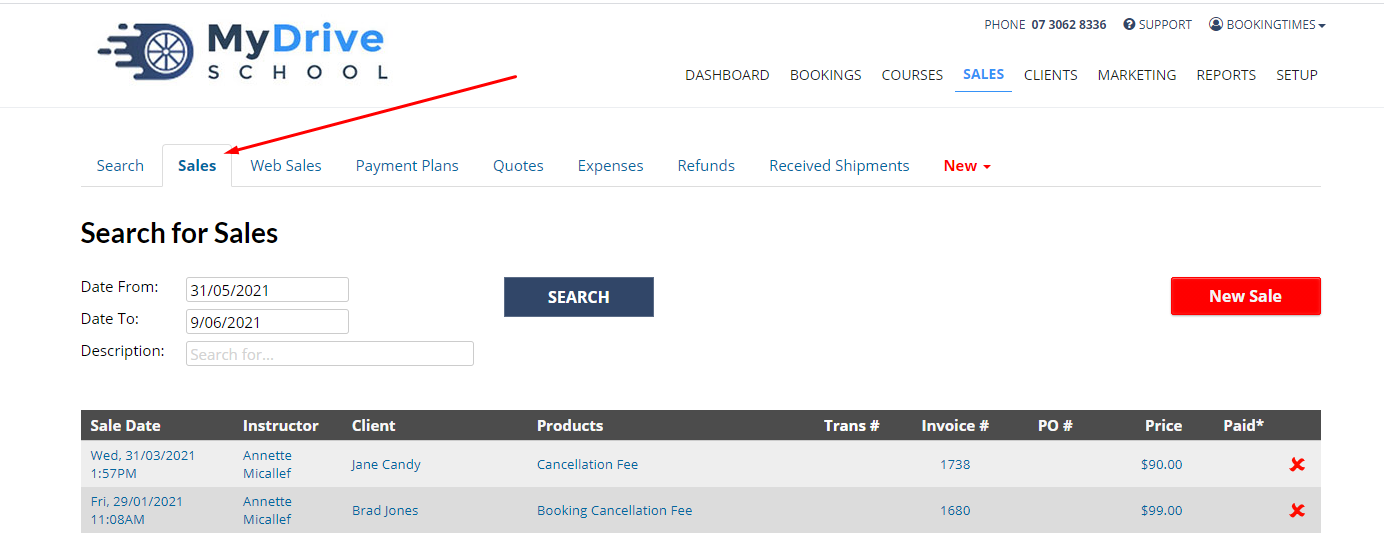
Click New Sale (or via the red coloured New drop down on the tabbed menu)
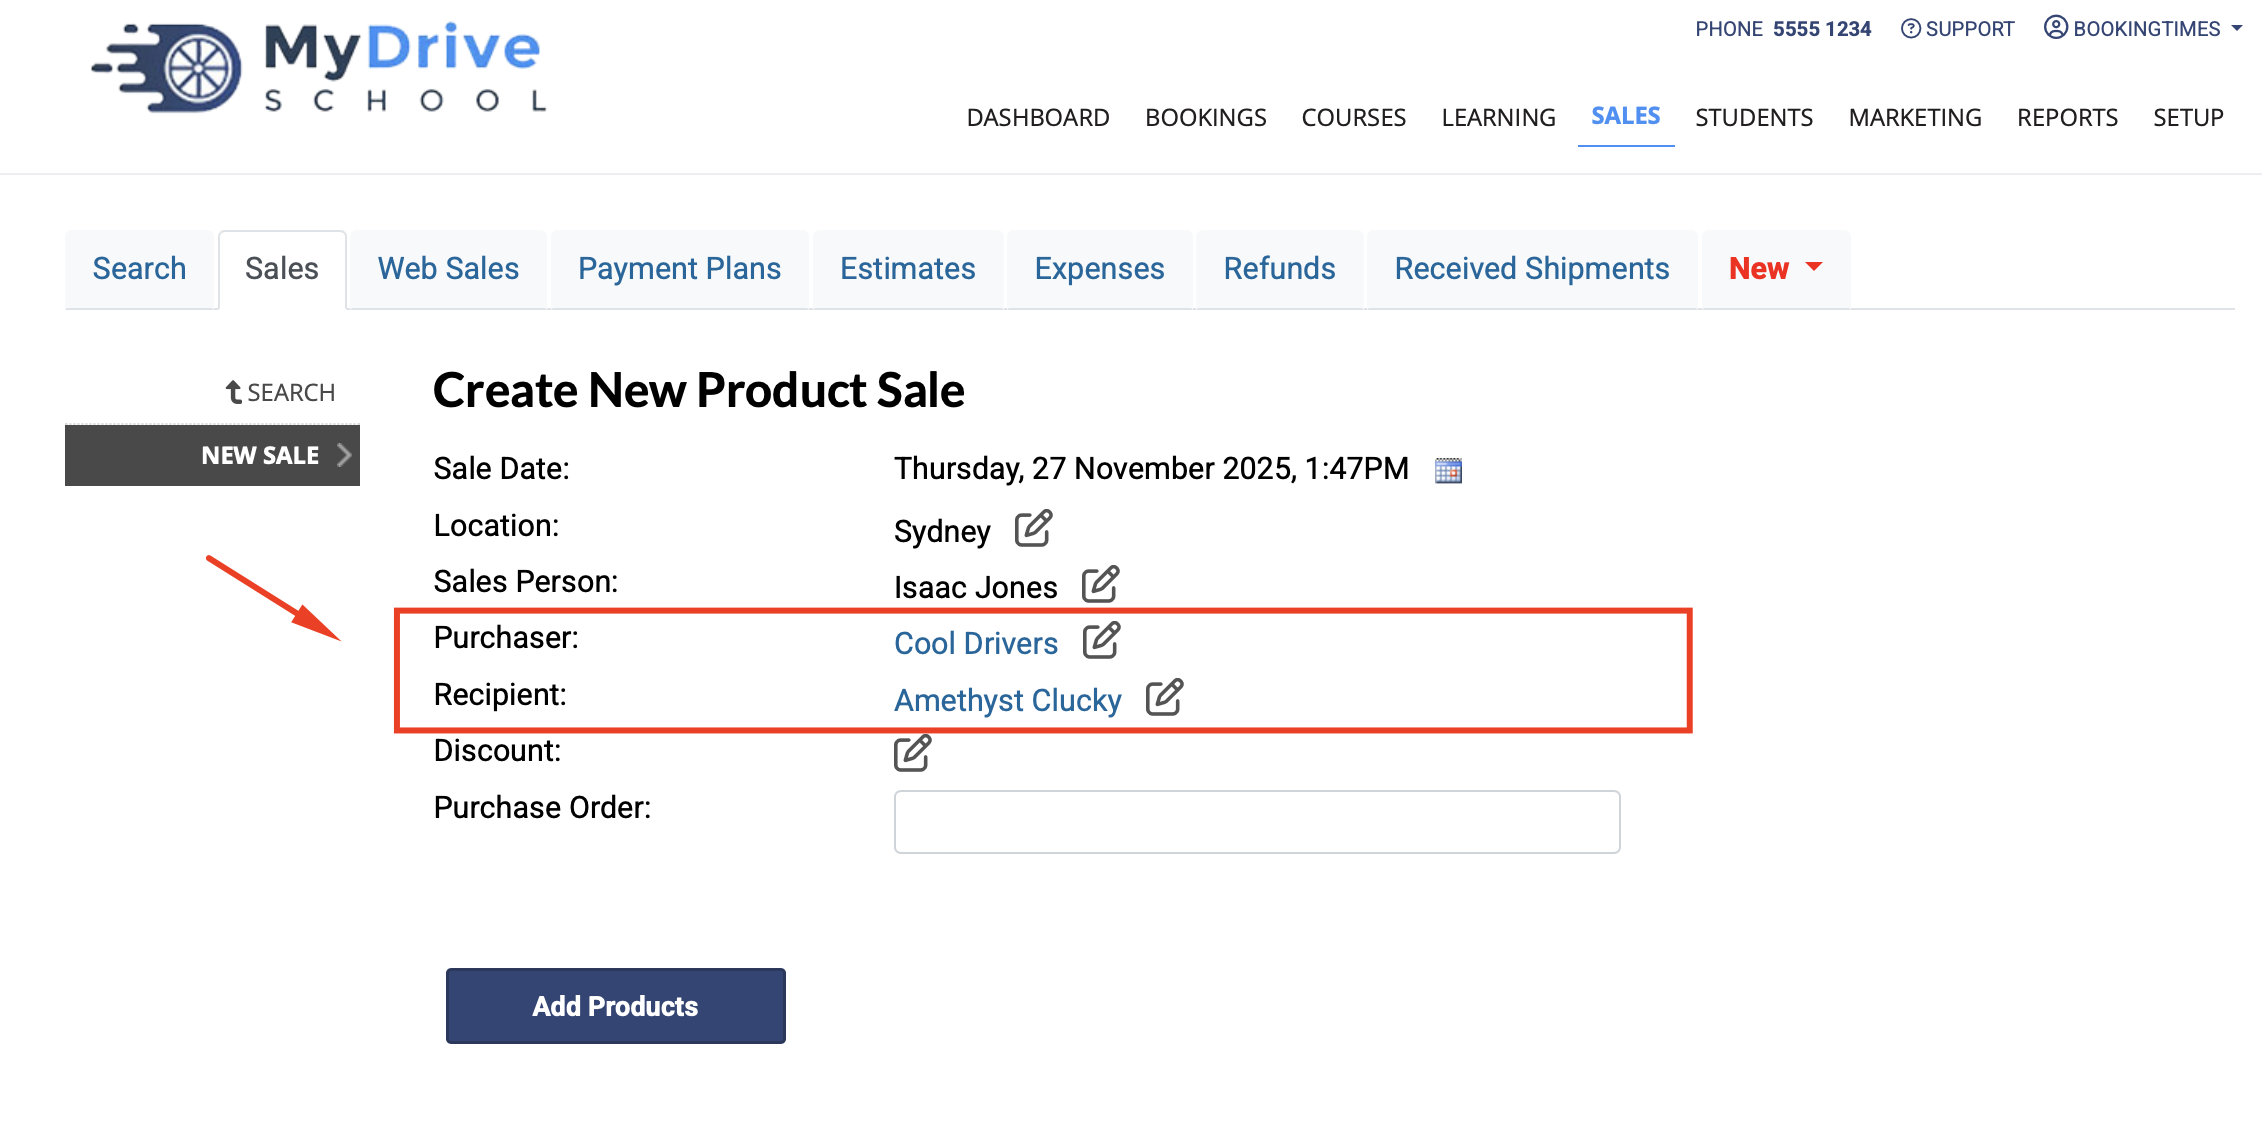
Enter the sale details including: Sale Date, Sales Person, Purchaser, Recipient, and optionally a Discount and Purchase Order.
Note: usually the Purchaser and Recipient are the same, however if it's for a client that is part of an organisation that will be paying then they would be set as follows:
Purchaser = the organisation who will pay the invoice
Recipient = the person who is receiving the product
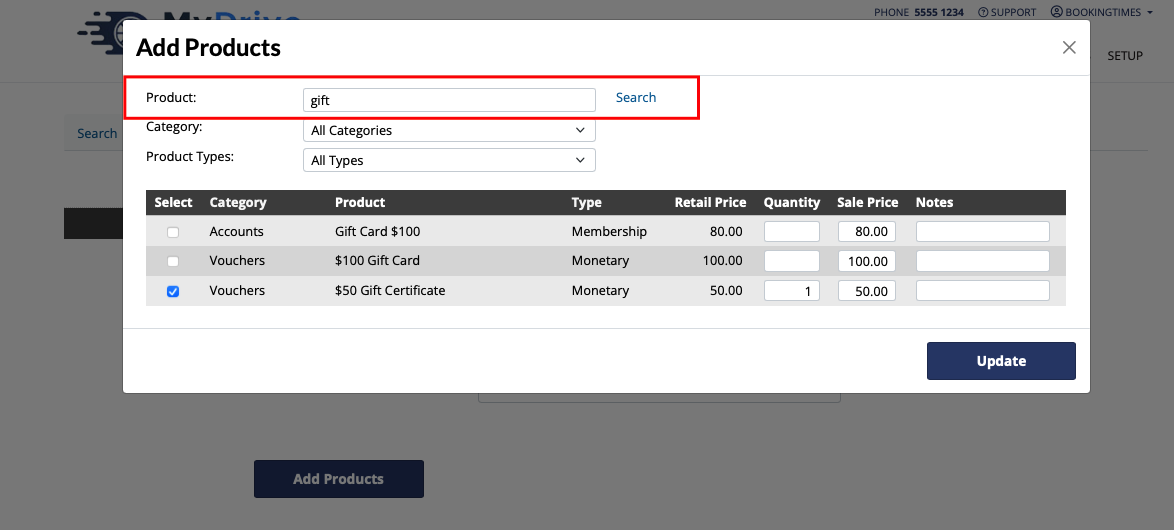
Click Add Products button and select a product.
You can search for a product in the search bar if required
You may update the Sale Price here (if not covered by a discount code)
You can add more than one product by selecting multiple
Click Update
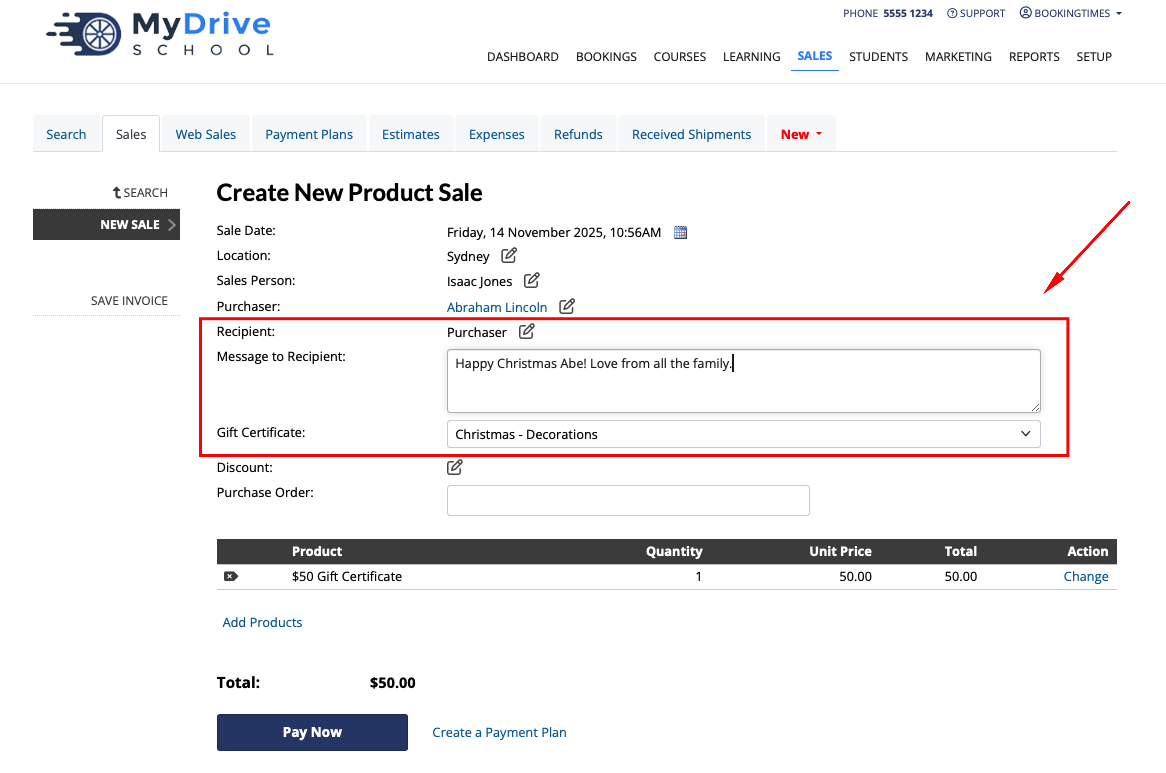
If you are wanting to gift this to a client as a Gift Certificate (Email or View/Save the gift certificate) ensure you have:
Set the correct Recipient if it’s not the Purchaser (they will be the person whose name is on the Gift Certificate). They can be added if they don’t already exist after you click the edit icon next to Recipient.
Add a Message to Recipient that will appear on the Gift Certificate
Select the Gift Certificate design (you can enable more see Purchasing Gift Certificate Designs or Create your own Gift Certificate)
You may save the invoice or take payment now (see next section Taking Payment which includes emailing the client if it’s a Gift Certificate)
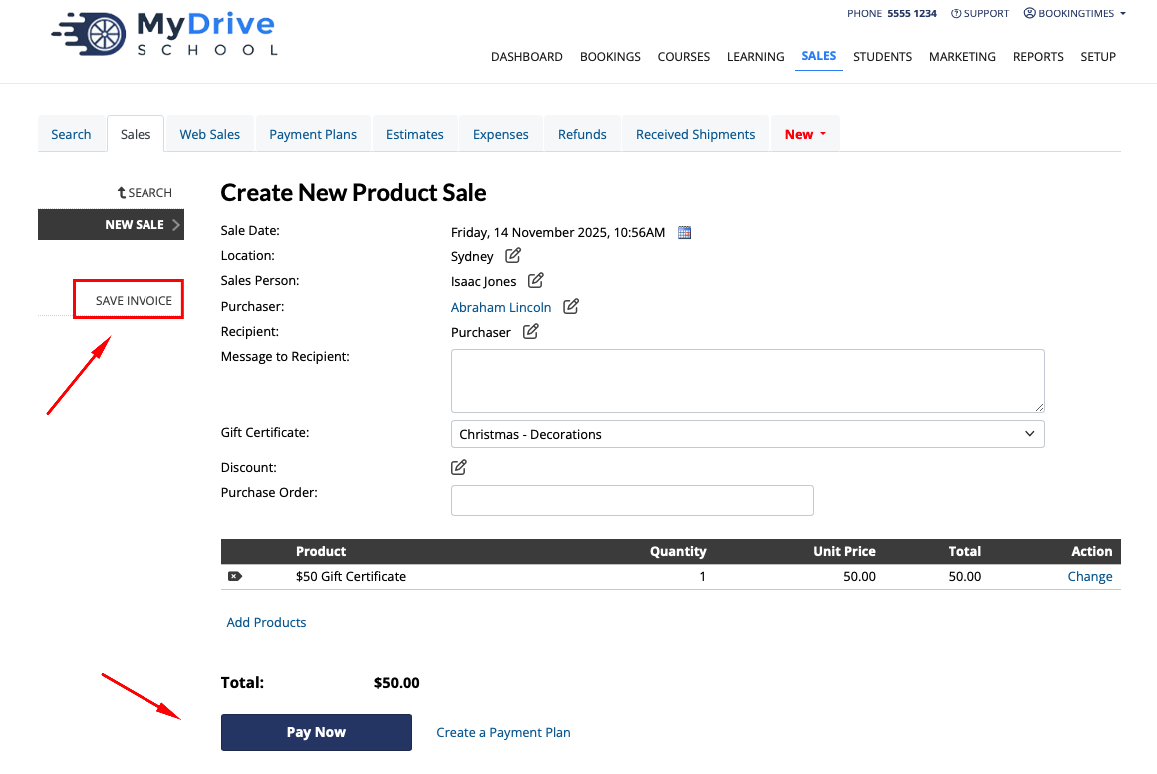
If no payment is taken immediately, then you can email it to the client by clicking on the Email Invoice link in the left hand menu.
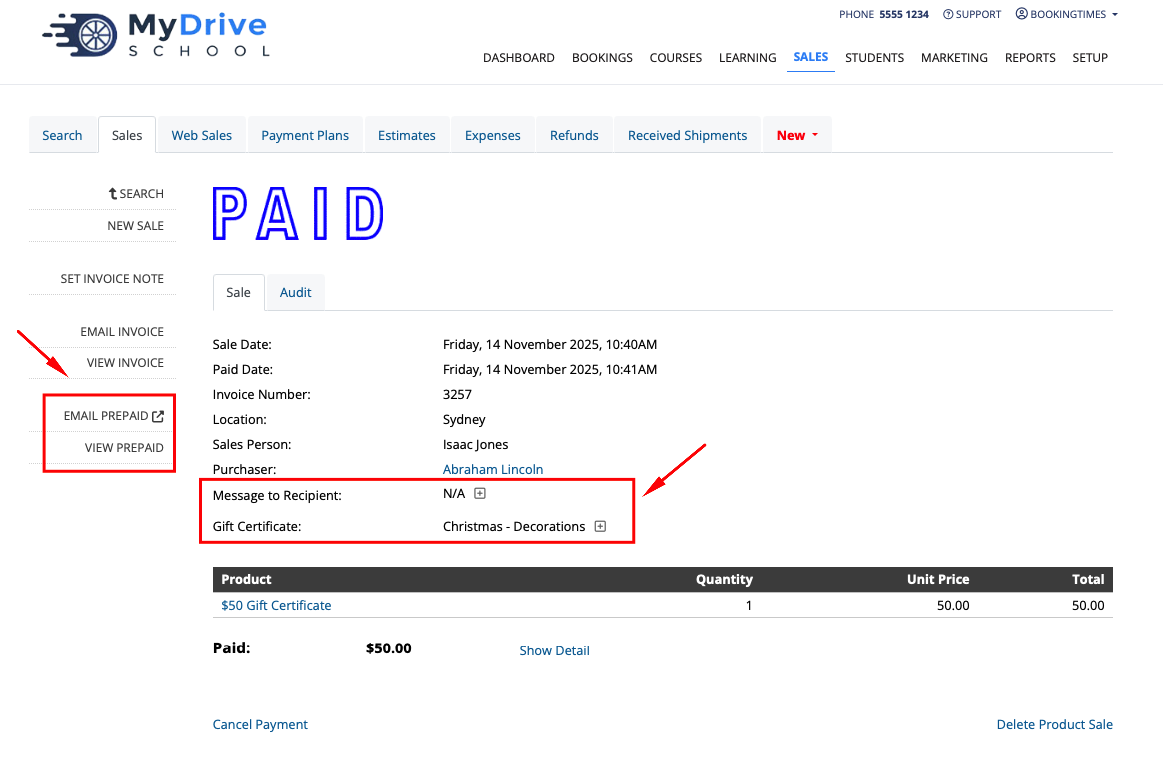
If payment is taken (see next section) then you as the admin can also Email or View/Save the prepaid voucher/monetary gift voucher to give to the client as a Gift Certificate.

To keep track of unpaid invoices simply navigate to your Dashboard menu item, and view the Unpaid Sales tab, or via the Outstanding Payments report that can be access via the Reports menu.

Taking payment for a product sale
Steps
Navigate to the relevant product sale:
Searching for the invoice number via the Sales menu
Searching for the client and via their History tab
Via the Dashboard menu > Unpaid Sales tab
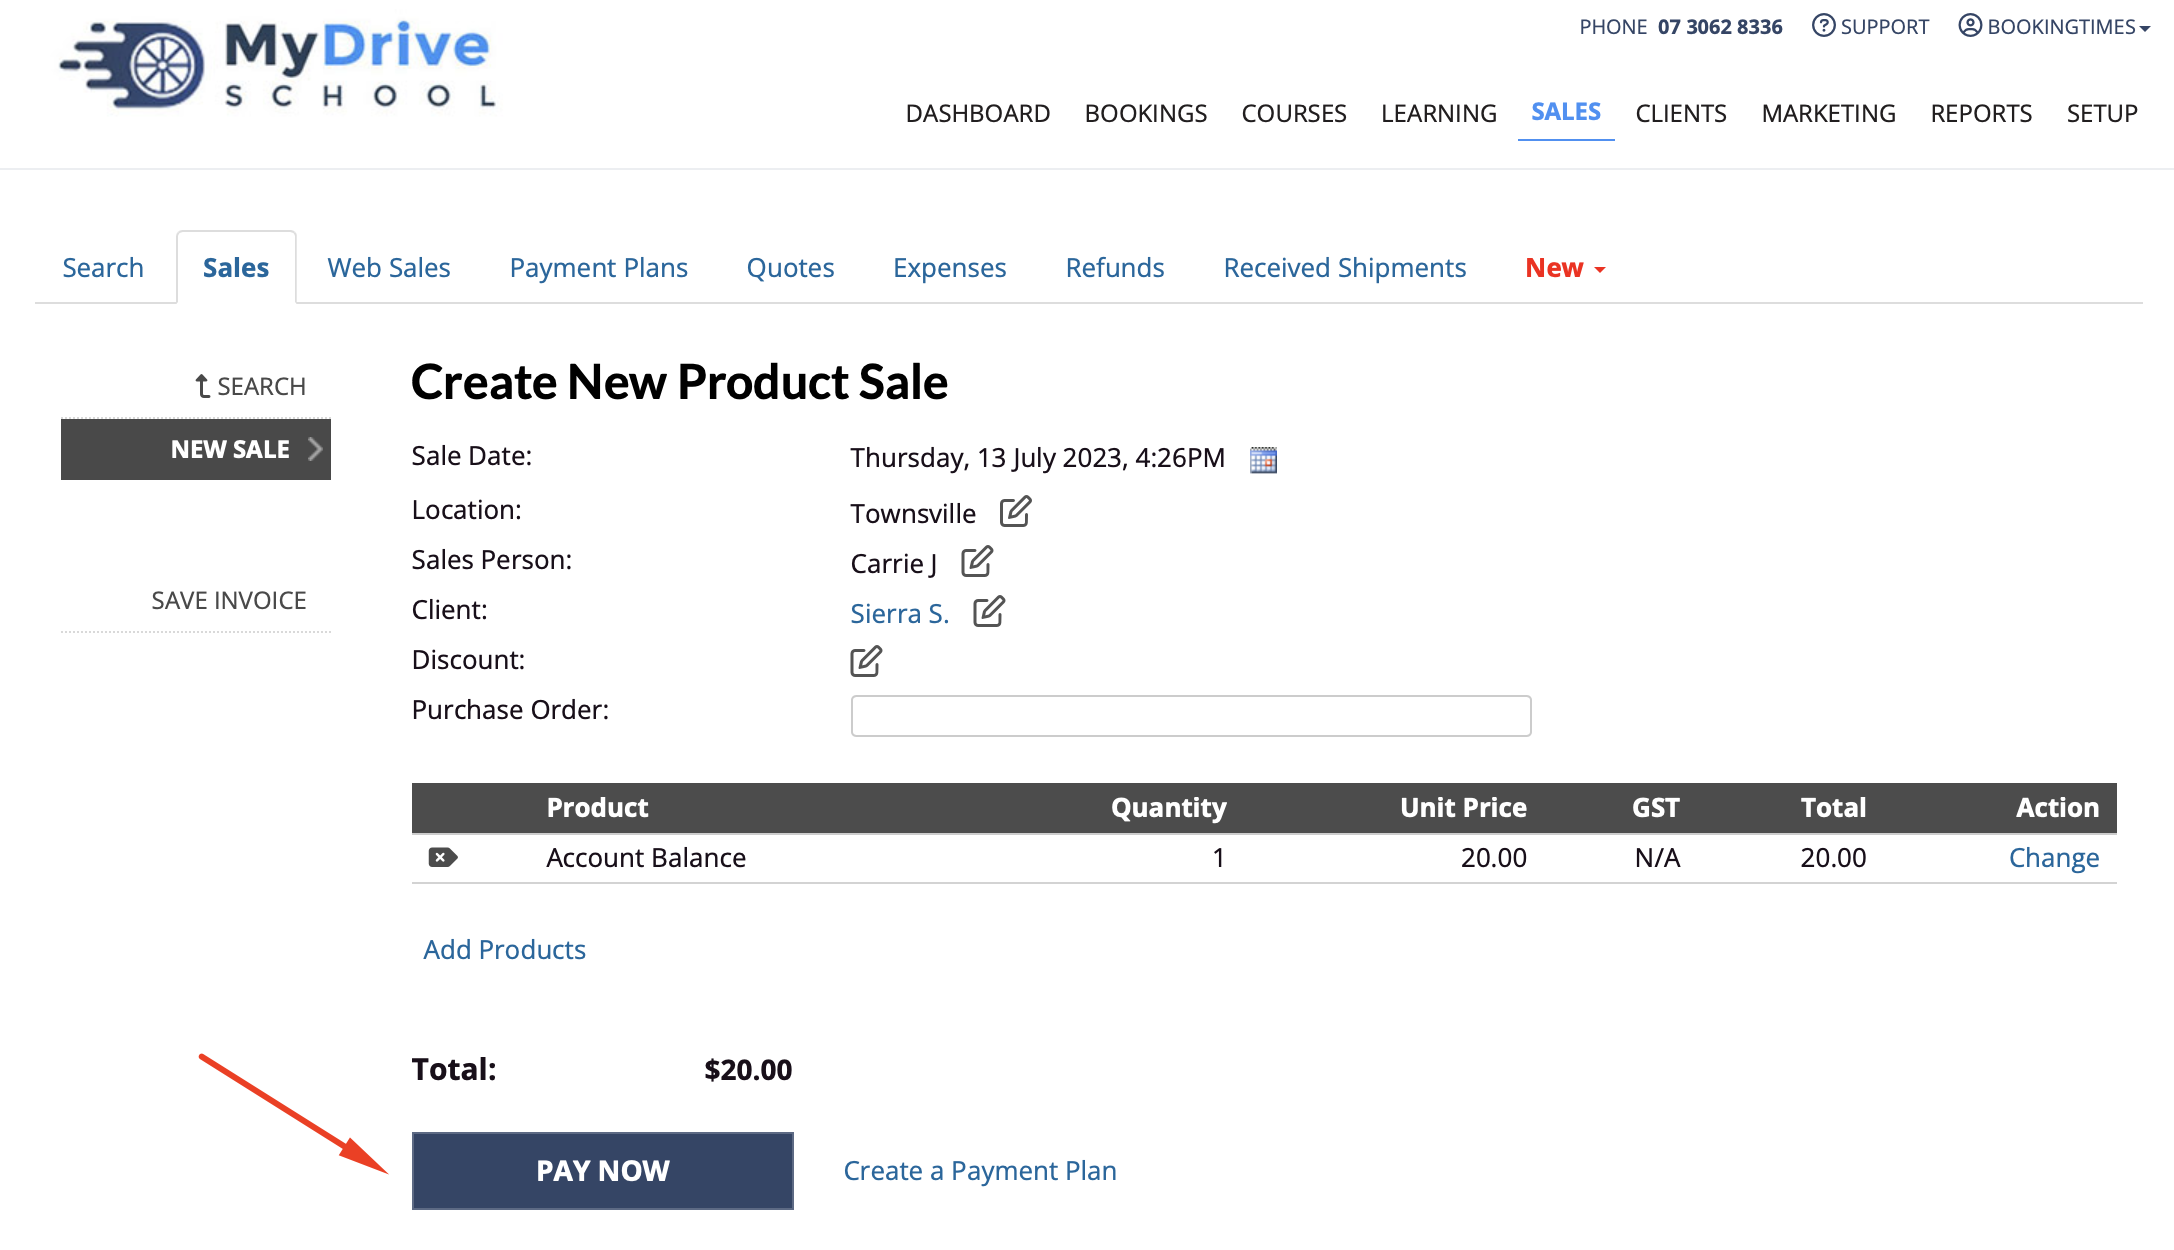
Click Pay Now
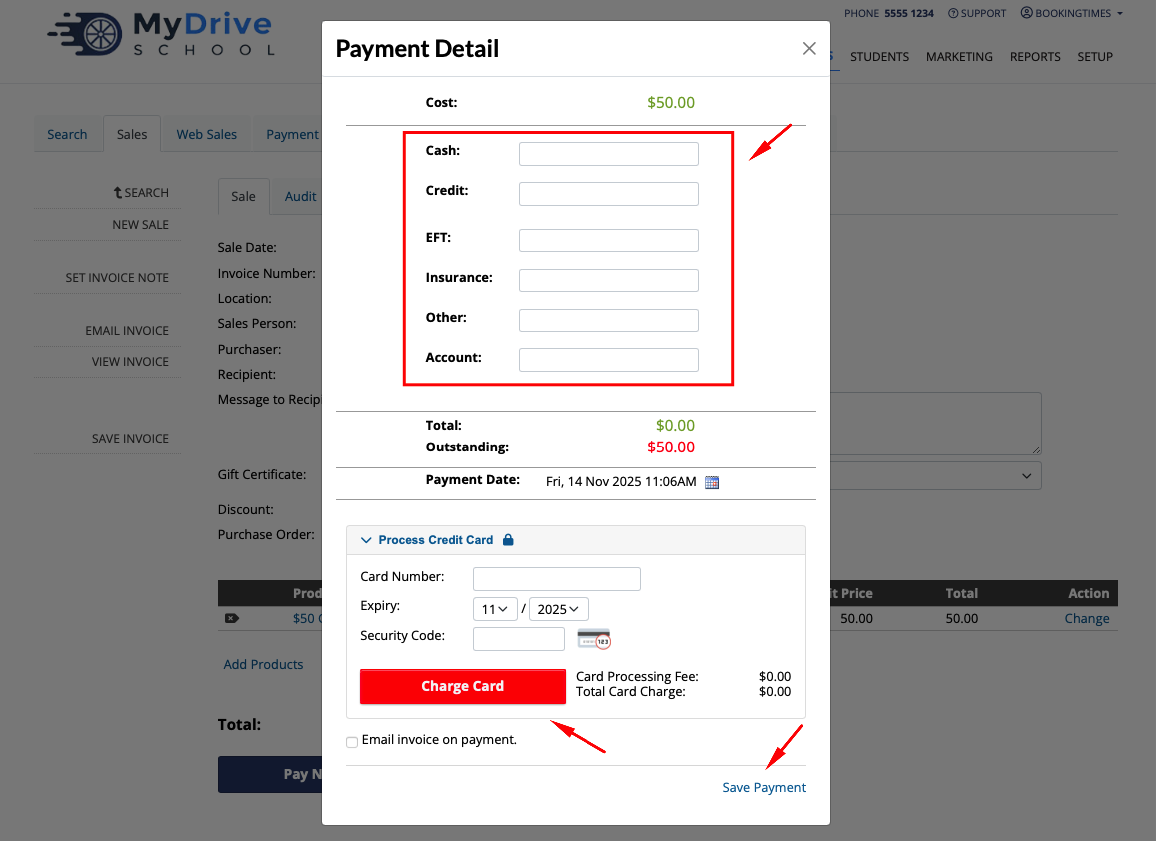
Enter payment details in the payment types
Click Charge Card button (for Credit), or the Save Payment link for other types.
If you wish to email the invoice immediately check the Email invoice on payment option.
Once payment has been taken, then you as the admin can also Email or View/Save the prepaid voucher/monetary gift voucher to give to the client as a Gift Certificate.
You can also include a Message to the Recipient, and choose the Gift Certificate design (and click the Save link underneath). To enable more designs or create your own please see Purchasing Gift Certificate Designs or Create your own Gift Certificate Designs
Cancelling a product sale
Please refer to the Cancelling a product sale article for more details.